13 Beautiful Simple Valentine’s Day Nail Ideas
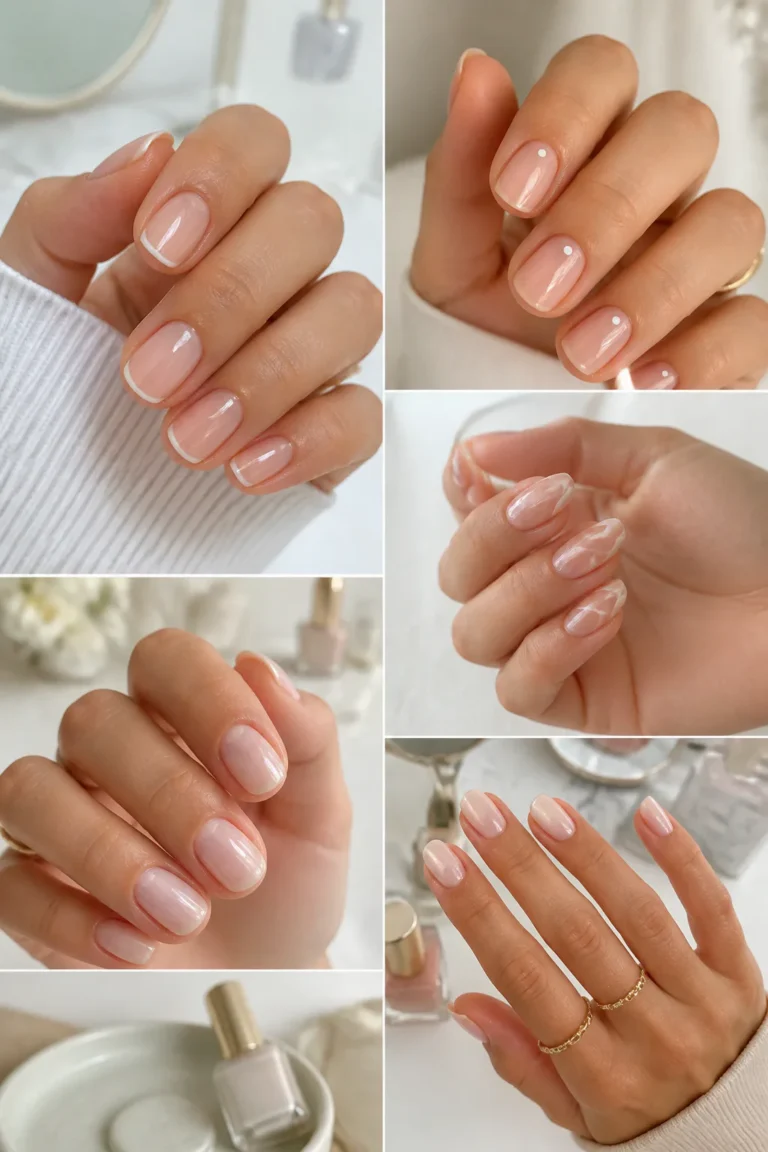
Valentine’s Day nails can feel festive without relying on elaborate art or a salon-level design. A simple base color, one small accent, or a subtle finish is often enough to make a manicure feel romantic and pulled together.
These 13 ideas range from classic cherry red to delicate hearts, soft gradients, and shimmery finishes. Many work on short nails as well as longer shapes, and you can adapt the colors to suit your everyday style.
If you’re doing your nails at home, choose a design that matches the tools and time you have. A steady hand helps with fine lines, while dots, foil, and a single accent nail offer approachable ways to add detail.
1. Add a Tiny Heart to a Sheer Nude Manicure
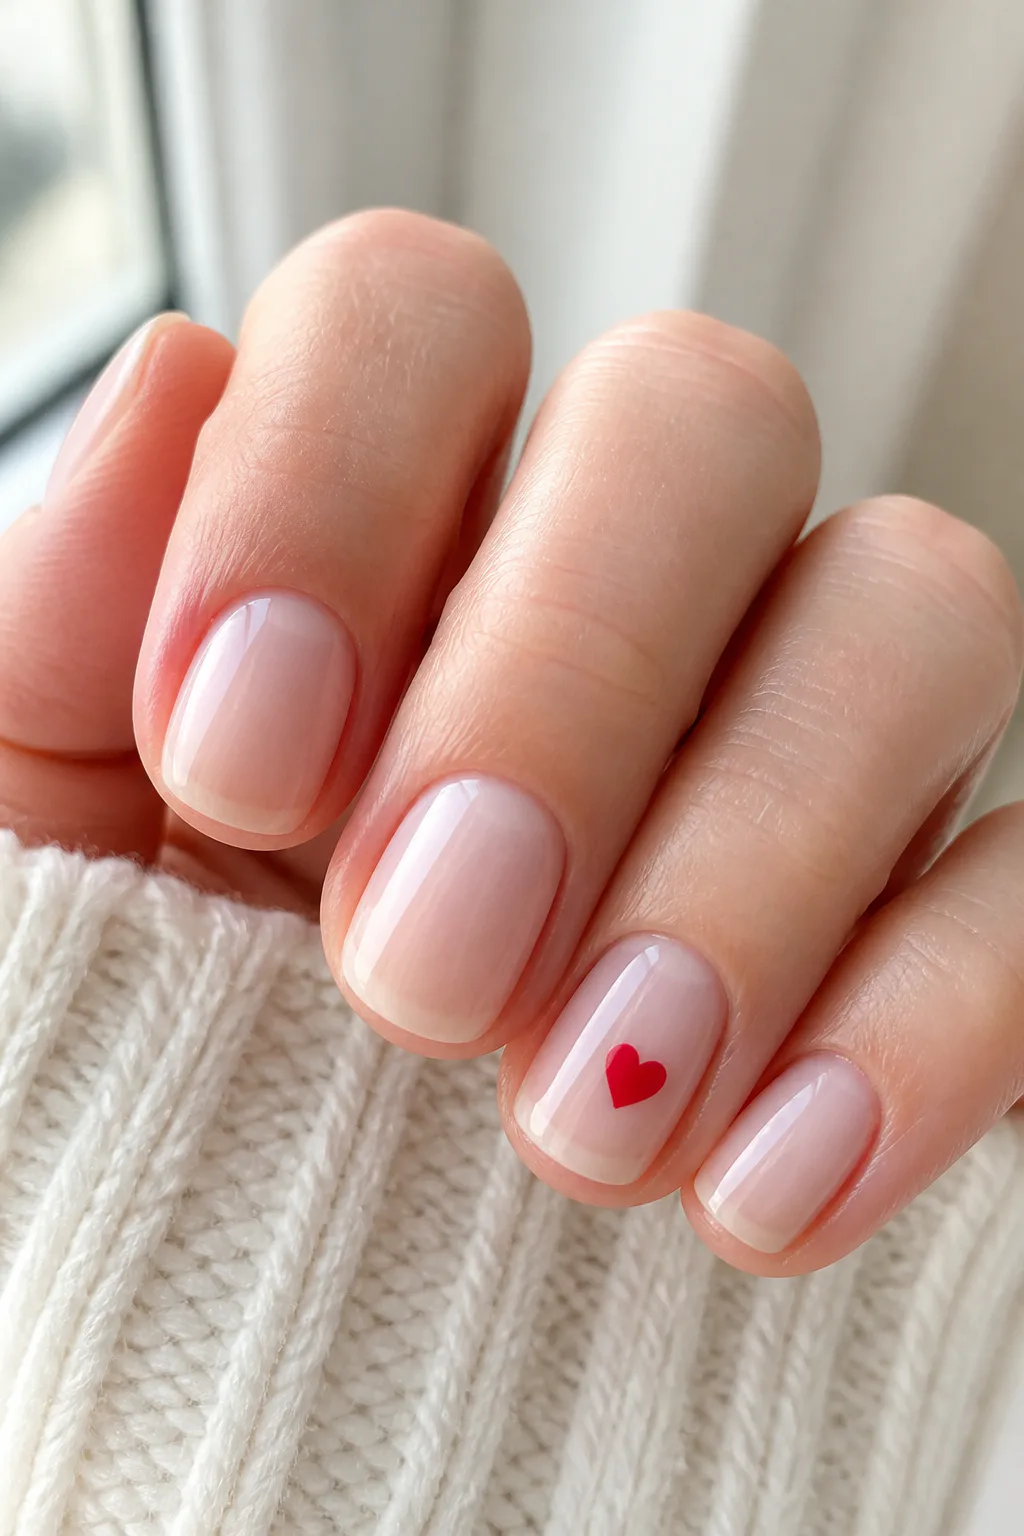
A glossy sheer nude or milky-white manicure gives a tiny heart room to stand out without making the whole design feel busy. Place one red or pink heart on a single accent nail, such as the ring finger, and keep the remaining nails simple.
This look suits short, rounded nails especially well, but it can be adapted to any length. The translucent base also lets your natural nail show through, creating a fresh finish that works beyond Valentine’s Day.
How to keep the accent crisp
Apply thin coats of your base color and let them dry before adding the heart. A fine nail-art brush or dotting tool can help create the shape; two small dots joined into a point are a useful starting point.
- Choose cherry red for a classic contrast or pink for a softer look.
- Keep the heart small so it remains a delicate accent.
- Seal the design with a clear top coat for a smooth finish.
The result feels thoughtful and romantic while staying easy to wear with everyday outfits.
2. Paint Nails Classic Cherry Red
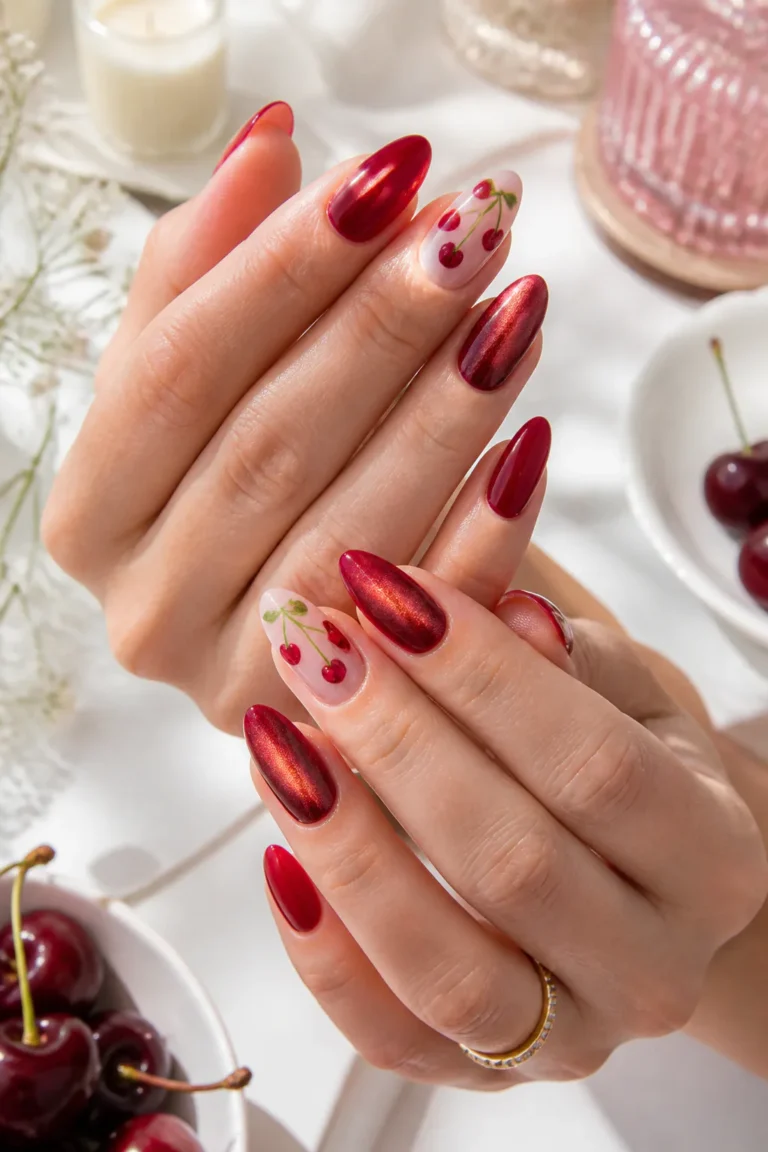
For a simple manicure that still makes a statement, coat every nail in glossy cherry red. The color has an unmistakably romantic feel, while a clean, even application keeps the look polished rather than fussy.
Short rounded nails are a natural match because the shape gives bold color a neat, classic frame. Oxblood or deeper berry-red polish offers a moodier alternative if you prefer a less vivid finish, and both shades work well on different nail lengths.
Tips for a smooth, glossy result
Red polish can show uneven edges, so take your time with application and use a small brush to tidy the outline. A base coat can help create a smoother surface, while a glossy top coat emphasizes the rich, glassy finish.
- Apply two thin coats rather than one thick coat.
- Leave a narrow gap between polish and cuticle for a clean edge.
- Choose cherry red for bright impact or oxblood for a deeper tone.
With no extra art to maintain, this is an easy choice when you want Valentine’s color without a complicated design.
3. Swap White French Tips for Crimson

A crimson French manicure keeps the familiar shape of a traditional French tip but trades white for a romantic pop of color. The result feels refined and playful at once, adding just enough Valentine’s detail to an otherwise neutral manicure.
Thin ruby tips look especially elegant over a sheer nude or pink base. They can follow the natural curve of the nail on a rounded shape or create a crisp edge on squarer nails, so the idea is flexible across lengths and shapes.
How to get a tidy tip
Start with a smooth nude base and allow it to dry fully before painting the tips. A fine liner brush gives you more control, while nail guides can help if you prefer a sharply defined curve.
- Use a sheer base to keep the manicure light and balanced.
- Make the crimson line thin for a subtle, classic effect.
- Repeat the same curve across each nail for a cohesive finish.
This design is a lovely option when you want a recognizable manicure with a seasonal color twist.
4. Add Gold Foil to Milky White Nails

Soft milky-white polish provides a gentle backdrop for a little gold foil. The combination feels romantic without relying on hearts or bright red, and the scattered metallic detail catches the light in a subtle way.
Use the foil sparingly so the base remains the main feature. A few tiny flakes near the tip or along one side of each nail can look delicate, while a single accent nail offers an even simpler approach. This design suits both short and long nails.
Ways to place the foil
Apply the milky polish in thin layers and let it become tacky before placing foil, following the instructions for your chosen product. Use tweezers or a small tool to position the pieces, then smooth them down beneath a top coat.
- Choose small flakes rather than large, solid patches.
- Keep foil placement irregular for a natural, airy feel.
- Concentrate the metallic detail on one or two nails if you prefer restraint.
The pale base and warm gold make a soft alternative to more traditional Valentine’s colors.
5. Outline Hearts on a Nude Base

Hollow heart outlines create a romantic motif while leaving plenty of open space on the nail. A clear or nude base keeps the look light, and the outline can sit near the cuticle, in the center, or slightly off to one side.
Because the heart is drawn as a simple contour rather than filled in, the design feels graphic and minimal. It works on short nails when the outline is kept small, while longer nails offer extra room for a larger or more elongated shape.
Drawing a simple outline
Use a fine nail-art brush or liner polish to trace two rounded curves that meet at a point. Practice the shape on paper first, and work slowly on each nail so the outline stays open and recognizable.
- Try red for a classic Valentine’s accent or pink for a softer effect.
- Place one heart per nail or limit the design to an accent nail.
- Keep the base sheer or nude to emphasize the negative space.
A glossy top coat finishes the design and helps the fine lines look smooth.
6. Decorate Sheer Pink Nails with Tiny Bows
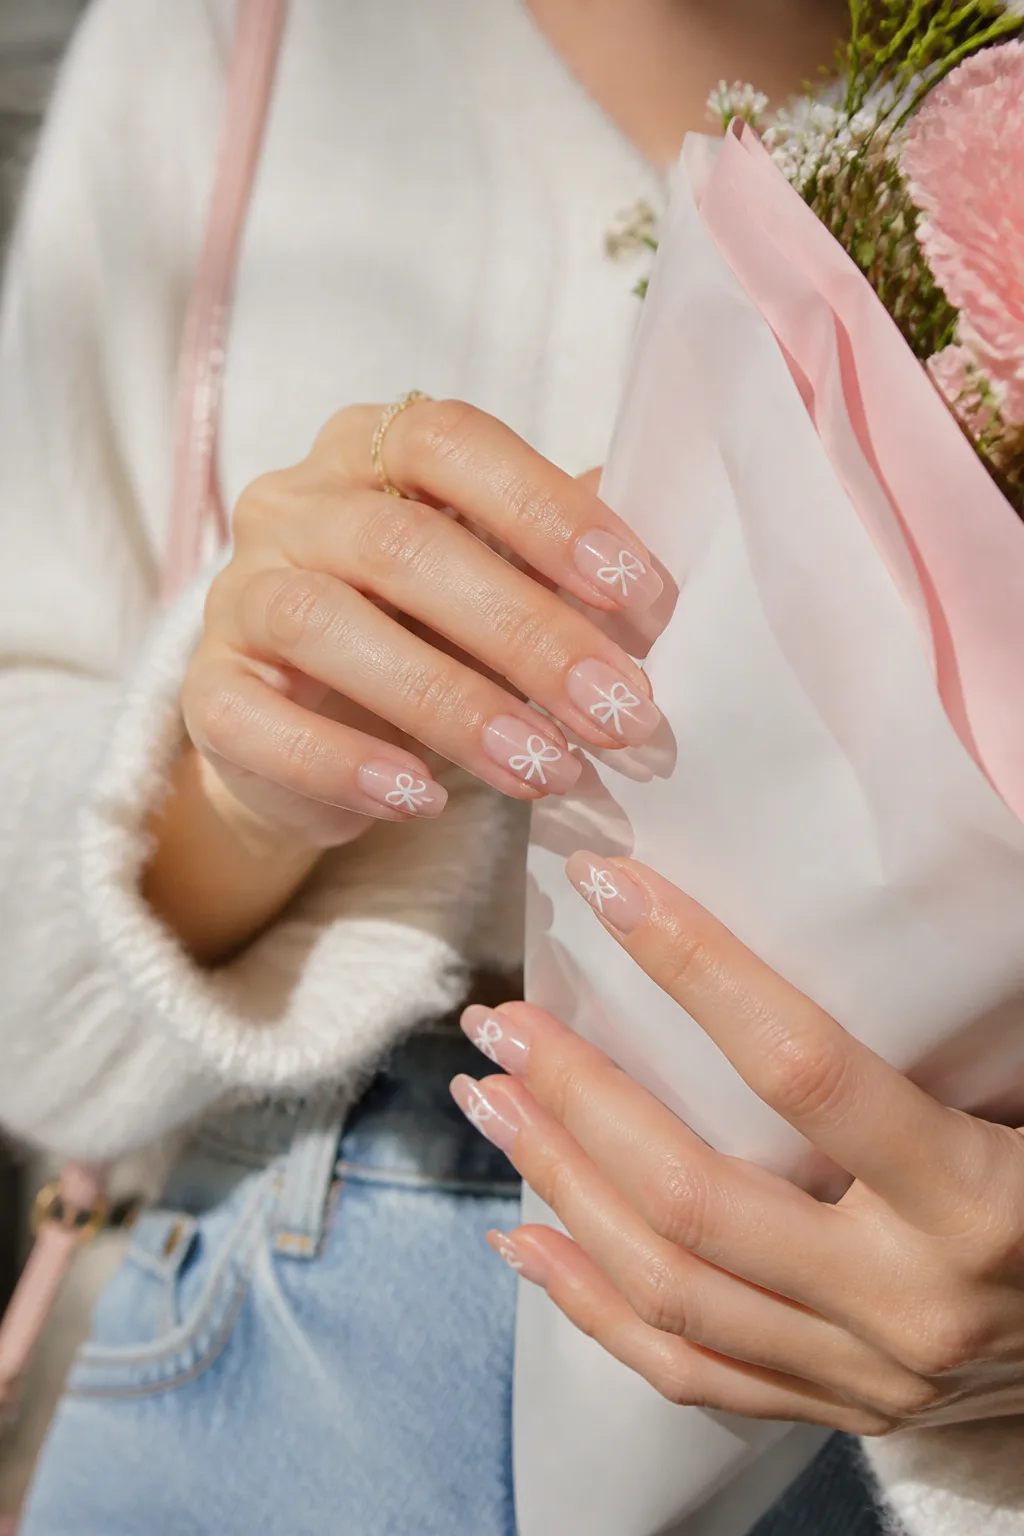
Sheer pink polish and small white bows make a delicate, coquette-inspired manicure. The translucent base keeps the design subtle, while the bow details bring a sweet, dressed-up touch that feels suited to Valentine’s Day.
Alternating the decorated nails with plain ones helps the manicure feel balanced. This approach is especially useful if you enjoy nail art but don’t want a motif on every finger; it also gives you flexibility to place bows where they are easiest to paint or apply.
Keep the bows light
Draw each bow with a fine brush using simple loops and two short tails, or use small nail stickers for a tidy result. Let the pink base dry completely before adding the details so the white lines stay clean.
- Use a soft, sheer pink rather than an opaque bright shade.
- Place bows on alternating nails or just one accent nail per hand.
- Keep the bow design small enough to leave visible space around it.
The finished look is playful and romantic without overwhelming a simple manicure.
7. Try Mauve Velvet Cat-Eye Nails

Magnetic cat-eye polish creates a shifting velvet effect that adds depth without requiring painted decorations. Mauve or berry tones give the finish a romantic character, and the shimmer changes as the light moves across your hands.
This idea works well when you want a special-looking manicure but prefer color and texture over hearts or bows. It can be worn on short nails for a neat, moody finish or on longer nails where the magnetic shimmer has more room to show.
Making the magnetic effect stand out
Apply the polish according to its directions and use the magnetic tool while the layer is still wet. Moving the magnet near different parts of the nail can shift the reflective band, so follow the product guidance and take one nail at a time.
- Pick mauve for a softer, understated look.
- Choose berry for a deeper and more dramatic finish.
- Keep the nail shape simple so the shifting effect remains the focus.
A smooth top coat completes the glossy, light-catching surface.
8. Dot Ruby Hearts Across Blush Pink Nails

A blush-pink base decorated with small ruby-red dots gives you a simple pattern with a romantic color palette. The dots can read like tiny hearts from a distance, especially when arranged in pairs, or remain classic polka dots for a more understated effect.
Even spacing keeps the design neat and intentional. You can cover every nail with a few dots or use the pattern on just one or two fingers, making it easy to adjust the amount of detail to suit your style.
Creating an even pattern
A dotting tool makes it easier to repeat similar-sized marks, but the rounded end of a fine tool can also work. Let the blush base dry before adding the red details, and avoid placing dots too close to the edges.
- Use small ruby dots for a delicate, airy pattern.
- Arrange two dots with a tiny point beneath them to suggest hearts.
- Leave some open space so the blush base remains visible.
The design adds a cheerful Valentine’s accent while staying approachable for a home manicure.
9. Draw Single-Line Hearts on Nude Nails
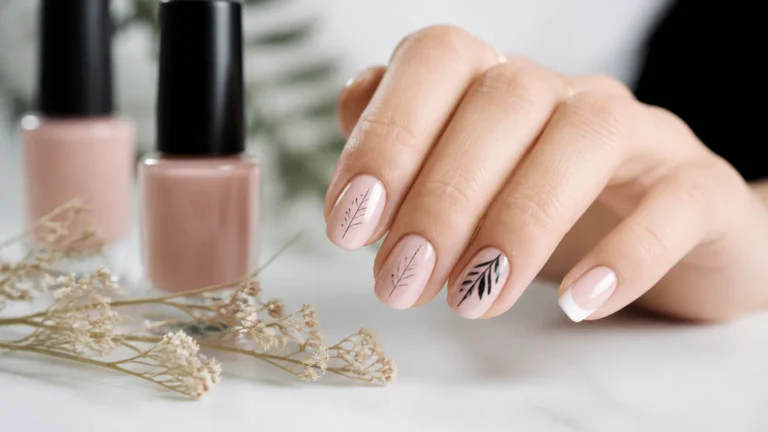
A continuous single-line heart brings a modern, minimalist feel to a neutral manicure. The outline can be painted in black for graphic contrast or red for a more traditional Valentine’s look, with the nude base keeping the overall design balanced.
This motif is most effective when it has room to breathe. Try one small heart on an accent nail or use a fine outline on each nail for a more consistent pattern. The neutral backdrop makes the linework the clear focus without needing extra decoration.
Make the line feel intentional
Practice a simple path on paper before working on your nails: form the two rounded sides of the heart and continue the line into a small trailing curve if desired. A fine liner brush helps keep the stroke delicate and controlled.
- Choose black for a crisp, contemporary contrast.
- Use red when you want the design to feel more festive.
- Keep the line thin and the motif small for a minimalist finish.
Once dry, seal the design gently with a clear top coat.
10. Create Rosy Aura Nails with Soft Fading

Aura nails use a soft rosy center that fades into a milky or clear-looking outer area. The gradual blend resembles a gentle blush on the nail, creating a romantic effect without relying on a sharply defined design.
Pink gives the manicure a soft, sweet mood, while red creates a more noticeable Valentine’s accent. The gradient can be worn across all nails for a coordinated look or used on a few fingers alongside a simple sheer manicure.
Blending the center outward
For a smooth fade, build the color gradually rather than placing one opaque spot in the middle. A sponge or suitable nail-art brush can help soften the edges; allow each layer to settle before adding another so the transition stays delicate.
- Start with a sheer milky or clear-toned base.
- Use a small amount of rosy polish at the center.
- Soften the color outward until the edge looks diffused.
The finished gradient feels dreamy and polished, even when the color palette stays simple.
11. Fade Pink Shades Across Each Nail

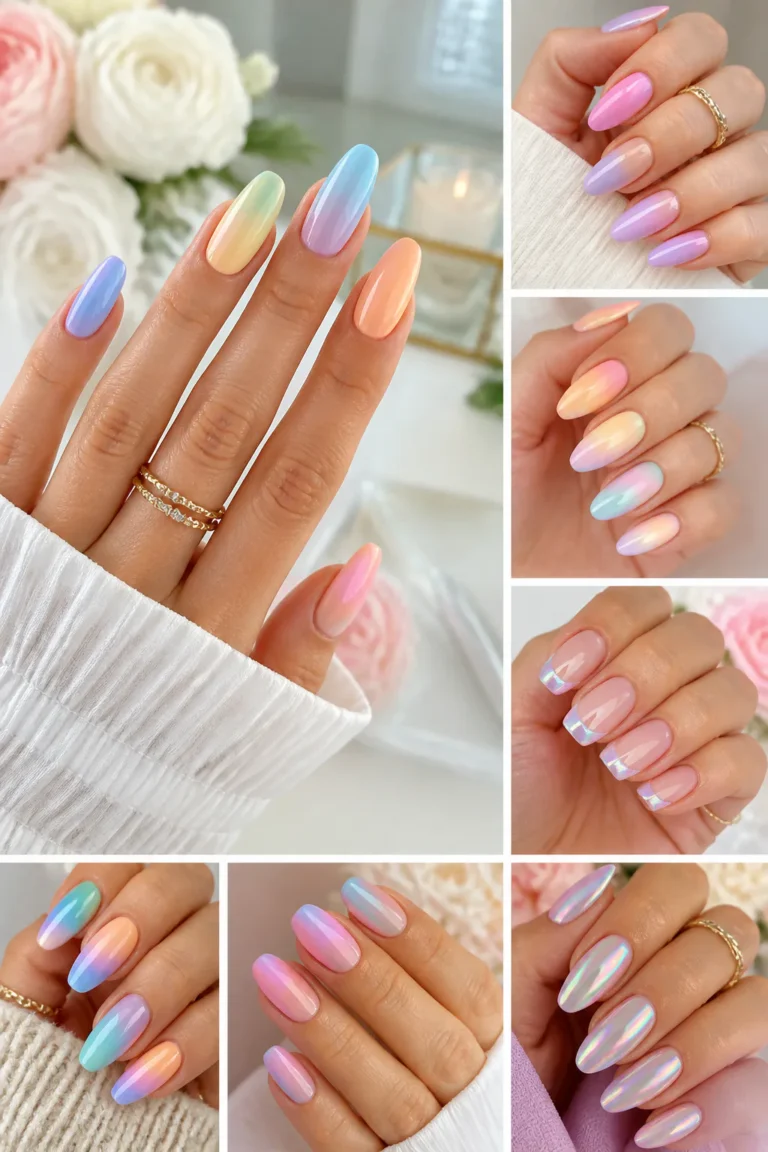
A manicure that moves from pastel pink to deep magenta or berry gives each nail its own shade while keeping the full set coordinated. The color progression creates visual interest without requiring any detailed nail art.
Arrange the shades from light to dark across your fingers, or reverse the order if you prefer the deeper color near the thumb. This “skittle” approach works with different nail shapes and is easy to personalize by choosing a gentle range or a more dramatic contrast.
Planning a smooth color progression
Lay out the polishes before painting so the change from one shade to the next feels gradual. If you don’t have five distinct pinks, a few closely related shades can still create a pleasing progression, especially when the finish is consistent.
- Begin with pastel pink for a soft, airy effect.
- Place brighter rose or fuchsia shades in the middle.
- Finish with magenta or berry for a deeper accent.
Keeping each nail a solid color makes this idea low-effort while still feeling thoughtfully styled.
12. Layer Two Colorful French Tip Lines

Two parallel lines along a nude nail tip add a fresh variation to the French manicure. Pair baby pink with crimson for a Valentine’s palette that feels playful, while the sheer or nude base keeps the overall design clean.
The twin lines can be very fine for a subtle detail or slightly more visible if you want the colors to stand out. This look suits a classic rounded tip, and the lines can be adapted to follow the curve of other nail shapes as well.
Keeping the lines parallel
Let the nude base dry fully, then paint the two colored strokes with a fine liner brush. Work from one side of the nail to the other and use the natural tip curve as a guide; nail guides may help if you want a more uniform shape.
- Place baby pink closest to the nail edge for a soft accent.
- Add crimson just below it for a stronger color contrast.
- Keep both lines thin so the design remains light.
The result adds detail to a familiar French manicure without covering the whole nail in color.
13. Finish Nails with a Rose Gold Glaze

A fine rose-gold glitter or chrome wash gives nails a warm, romantic shimmer. It is an easy alternative to painted hearts when you want a festive finish that still feels simple and versatile.
Wear the glaze over a bare-looking nail for a light, understated effect, or layer it over a sheer pink base to bring out its rosy tone. A fine finish tends to look more delicate than chunky glitter, making it a comfortable choice for both everyday wear and a special occasion.
Choosing the right amount of shine
Apply a thin, even layer and check the result in different light before adding more. If you are using a chrome-style product, follow its application instructions and finish with the recommended top coat to help create a smooth surface.
- Choose fine glitter for a soft, diffused sparkle.
- Use a sheer pink base to emphasize the warm rose tone.
- Keep the finish light if you want a subtle everyday manicure.
The gentle metallic glow gives a simple nail look a polished Valentine’s touch.
Final Thoughts
Simple Valentine’s Day nails can be as minimal as one tiny heart or as expressive as a rosy gradient or velvet shimmer. Start with the colors and finishes you already enjoy, then add one small detail if you want your manicure to feel more seasonal.
Whether you paint your nails at home or take an idea to a salon, use these designs as a starting point rather than a strict template. Adjust the accent, shape, or color intensity to make a romantic manicure that feels comfortable for you.