Easy Nail Art Designs: Beginner Techniques
Easy nail art designs are easier to finish when they suit your nail length, supplies, and drying method. Short nails can carry micro-French tips or small dots, while medium and long nails leave more room for swirls and larger accents. Regular polish keeps the setup simple; gel and press-ons last longer but require curing or extra removal steps. Start with a design you can comfortably complete at home, then browse simple nail art ideas, French tip nail designs, and best nail polish for short nails.
Easy Nail Art Designs
| Design | Difficulty | Suitable Nail Length | Supplies | Basic Technique |
|---|---|---|---|---|
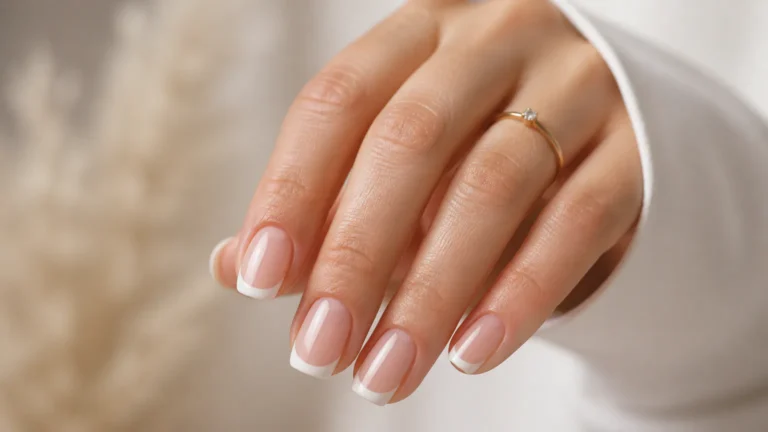
| Micro-French tips | Beginner | Short–medium | Sheer base, white polish, top coat | Paint a thin curved tip along the edge |
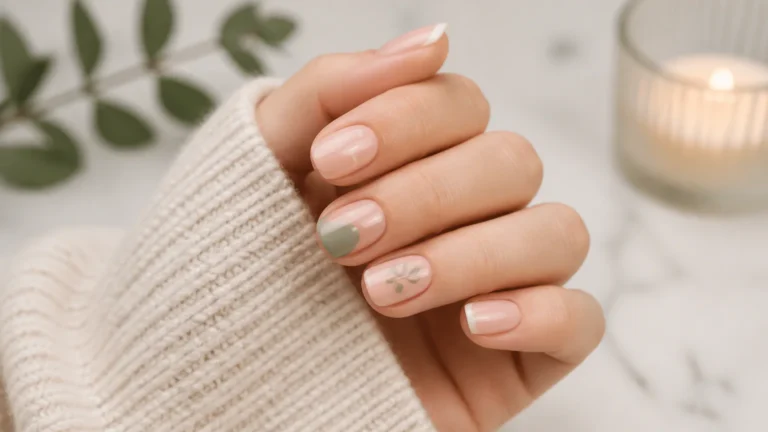
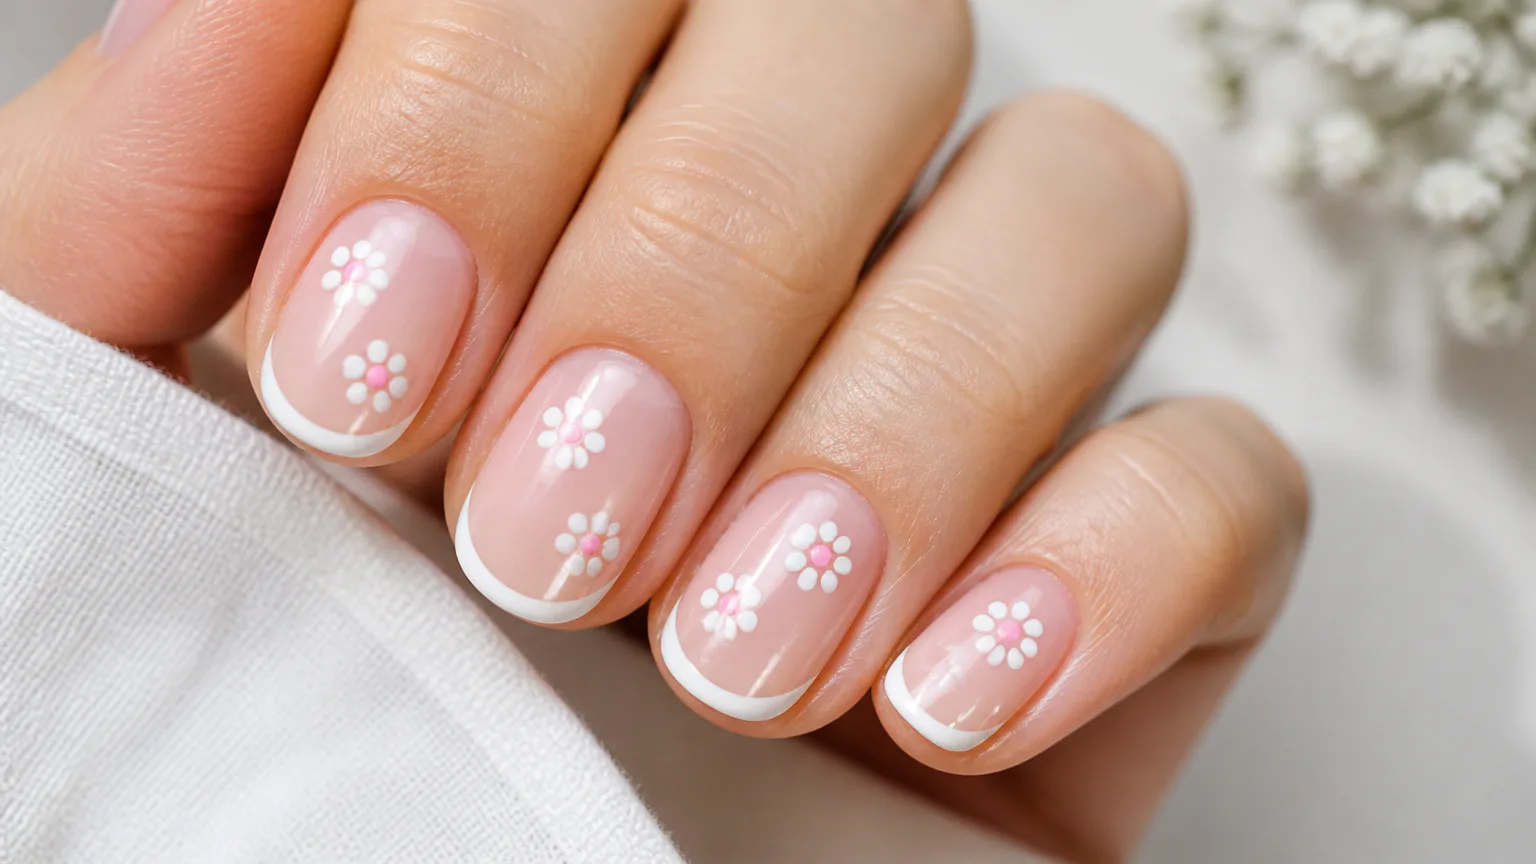
| Polka dot florals | Beginner | Short–long | Base polish, two accent colors, top coat | Place five petal dots and one center dot |
| Starbursts | Beginner | Short–medium | Base polish, accent polish, top coat | Drag rays outward from a wet dot |
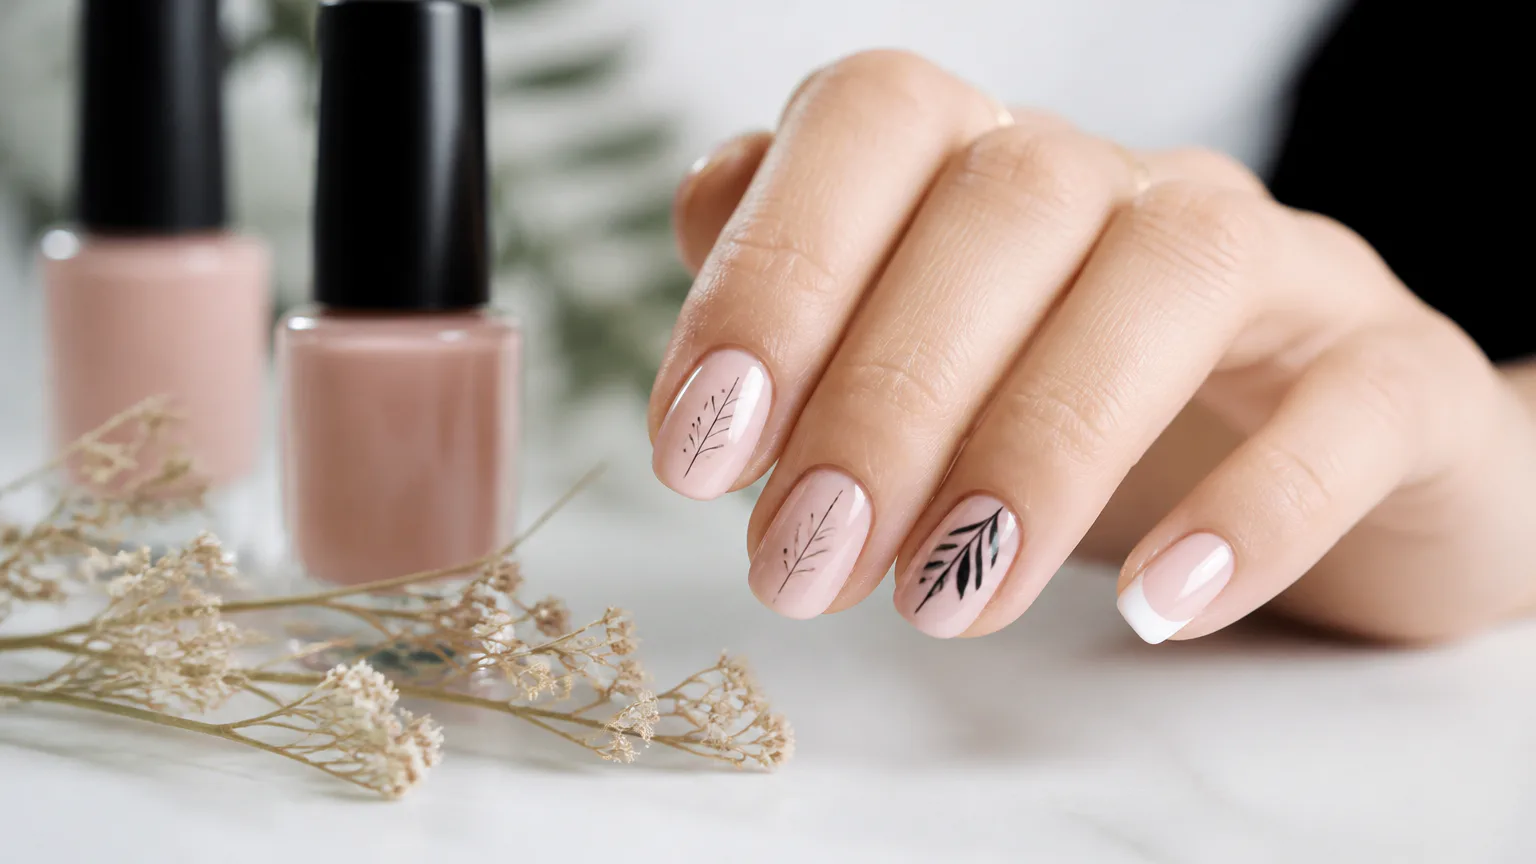
| Geometric lines | Beginner | Short–long | Neutral base, contrasting polish, top coat | Draw straight lines over dry color |
| Organic swirls | Beginner | Medium–long | Sheer base, two polish colors, top coat | Paint loose curved lines |
| Dewdrop accents | Beginner | Short–medium | Base polish, clear thick top coat or gel, dotting tool | Place dimensional dots over dry polish |
| Aurora glazed cat-eye | Intermediate | Short–long | Gel color, magnetic pigment, gel top coat | Move pigment with a magnet and cure |
| Accent gems | Intermediate | Short–long | Gel color, nail gems, gel top coat | Place gems and cure to secure |
Prepare Your Nails for Art
Good preparation helps polish grip the nail instead of lifting around the edges. Remove old color, wash your hands, and dry them completely. Wipe each nail with rubbing alcohol or nail cleanser to remove surface oil, then shape the free edge with a file.
- Gently push back the cuticle without cutting living skin.
- Lightly smooth shine from the nail plate with a fine buffer.
- Remove dust and oil from every nail.
- Apply a thin base coat and let it dry before adding color.
- Leave a narrow gap around the cuticle so polish does not flood the skin.
Use thin coats instead of one thick coat. Thick layers can stay soft in the center, leading to dents and smudges even when the surface feels dry. If your nails are thin, peeling, or painful, skip buffing and avoid covering damaged areas until they recover.
Create Dots, Flowers, and Hearts
Dotted designs are a good place to start because they do not require a perfectly steady line. A dotting tool makes uniform circles, while the rounded end of a bobby pin works for larger dots. For tiny starbursts, a toothpick gives more control than a large rounded tip.
- Paint and dry the base color.
- Place a small amount of accent polish on foil or another mixing surface.
- Dip the rounded tip into the polish and tap it lightly onto the nail.
- Make a polka dot flower with five petal dots and one center dot.
- For a heart, place two dots side by side and pull their lower edges together with a pointed tool.
- Apply top coat after the dots have set.
To make a starburst, place one wet dot and drag a toothpick outward through its center to create thin rays. Reload the tool for each nail so the marks stay similar in size. A cleanup brush dipped in acetone removes stray polish around the cuticle before you apply top coat.
Paint Lines, Swirls, and Tips
Thin lines add detail without covering the entire nail, which makes them a good choice for short nails. A fine detail brush works for geometric lines, loose swirls, stars, and floral stems. Use less polish than you think you need, and steady your working hand on a table while moving the finger you are painting.
- Apply the base color and let it dry fully.
- Load the brush with a small amount of contrasting polish.
- Rest the side of your hand on a stable surface.
- Pull one continuous line across the nail instead of retracing several short strokes.
- Let the design dry before applying top coat.
For a French alternative, press a makeup sponge loaded with color along the nail edge, then clean the surrounding skin. Striping tape or regular tape can create blocked geometric sections, but the base layer must be completely dry before the tape touches it. Abstract swirls are easier on medium to long nails because the curves need more space.
Use Stickers, Stamping, and Press-Ons
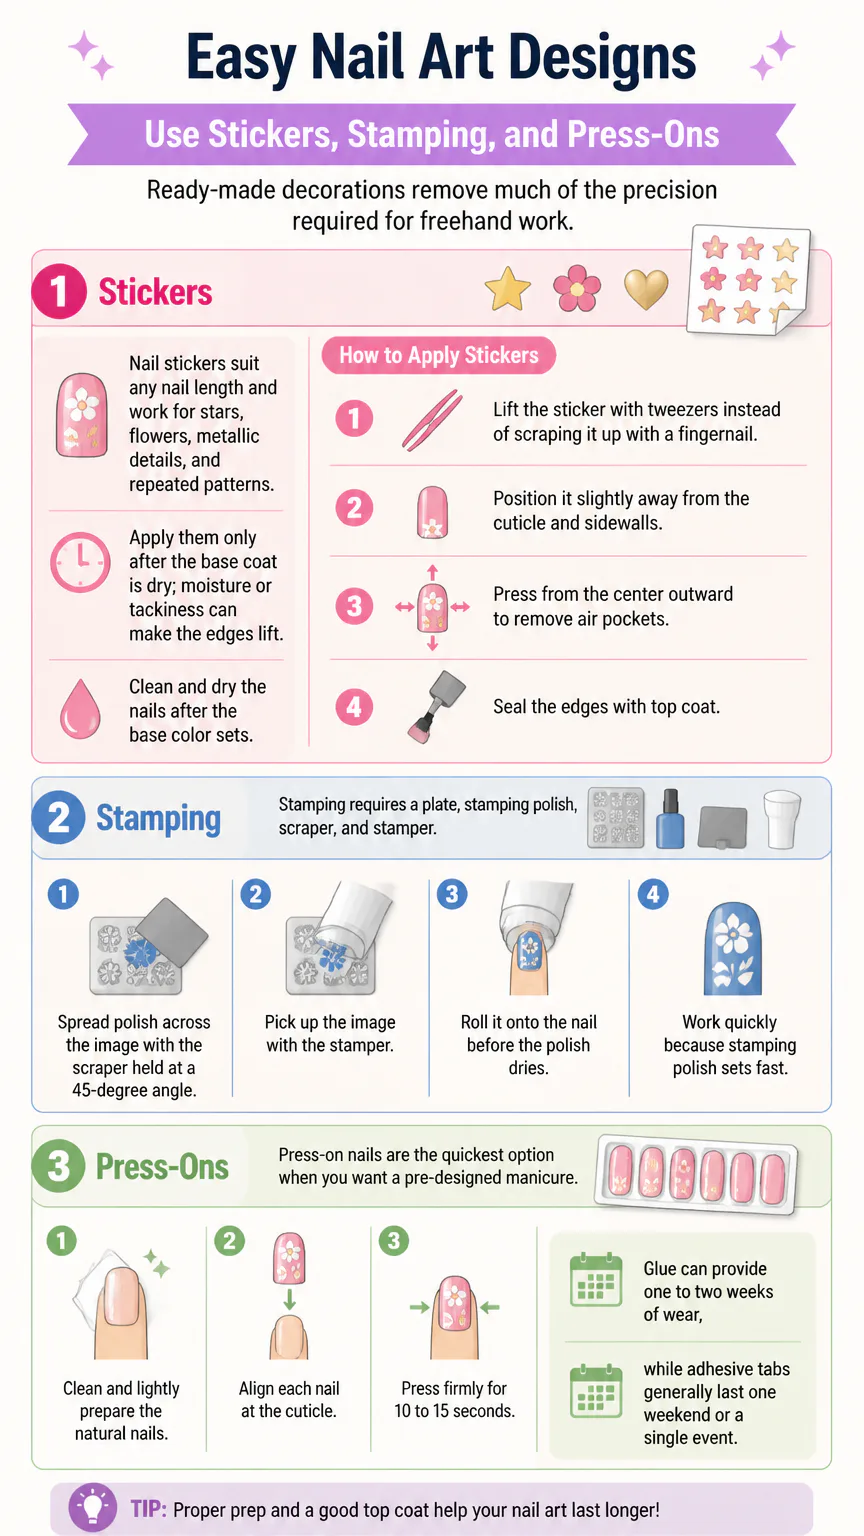
Ready-made decorations remove much of the precision required for freehand work. Nail stickers suit any nail length and work for stars, flowers, metallic details, and repeated patterns. Apply them only after the base coat is dry; moisture or tackiness can make the edges lift.
- Clean and dry the nails after the base color sets.
- Lift the sticker with tweezers instead of scraping it up with a fingernail.
- Position it slightly away from the cuticle and sidewalls.
- Press from the center outward to remove air pockets.
- Seal the edges with top coat.
Stamping requires a plate, stamping polish, scraper, and stamper. Spread polish across the image with the scraper held at a 45-degree angle, pick up the image with the stamper, and roll it onto the nail before the polish dries. Work quickly because stamping polish sets fast.
Press-on nails are the quickest option when you want a pre-designed manicure. Clean and lightly prepare the natural nails, align each nail at the cuticle, and press firmly for 10 to 15 seconds. Glue can provide one to two weeks of wear, while adhesive tabs generally last one weekend or a single event.
Choose Regular Polish or Gel
Regular polish is the simplest starting point because it needs no lamp and comes off quickly. Gel polish costs more and requires curing, but properly applied gel art can remain chip-free for about two to three weeks. The table below compares the practical details that matter when choosing between the two systems.
| Polish system | Setup cost | Equipment | Expected wear | Removal |
|---|---|---|---|---|
| Regular polish | $10–$25 | Polish and top coat | 3–5 days | Remover and cotton |
| Gel polish | $30–$60 | Gel products and UV/LED lamp | 2–3 weeks | 10–15 minute acetone soak |
A basic gel starter kit can cost $30 to $60, and nail art add-ons add about $5 to $10. A compact lamp such as the Le Mini Macaron cures in 30 seconds with its compatible system; other gel products may require 60 seconds. Follow the curing time printed for the specific product instead of shortening it.
Keep gel polish off the surrounding skin. Uncured gel can irritate the skin, while under-curing leaves product soft beneath the surface. Wear sunscreen or UV-shielding fingerless gloves during lamp exposure, and use ventilation while working with polish and remover.
Protect Nails and Remove Art
Keep product on the nail plate and avoid force during removal. Do not peel gel, stickers, or press-ons away from the surface; pulling can remove layers of keratin and leave nails thin. Keep acetone away from open cuts and moisturize the surrounding skin after removal.
- Use ventilation when applying polish, gel, glue, or acetone.
- Keep polish off the cuticle and sidewalls.
- Wear sunscreen or fingerless UV gloves for repeated gel curing.
- Stop if burning, swelling, itching, or pain develops.
- Do not use metal tools to scrape softened product aggressively.
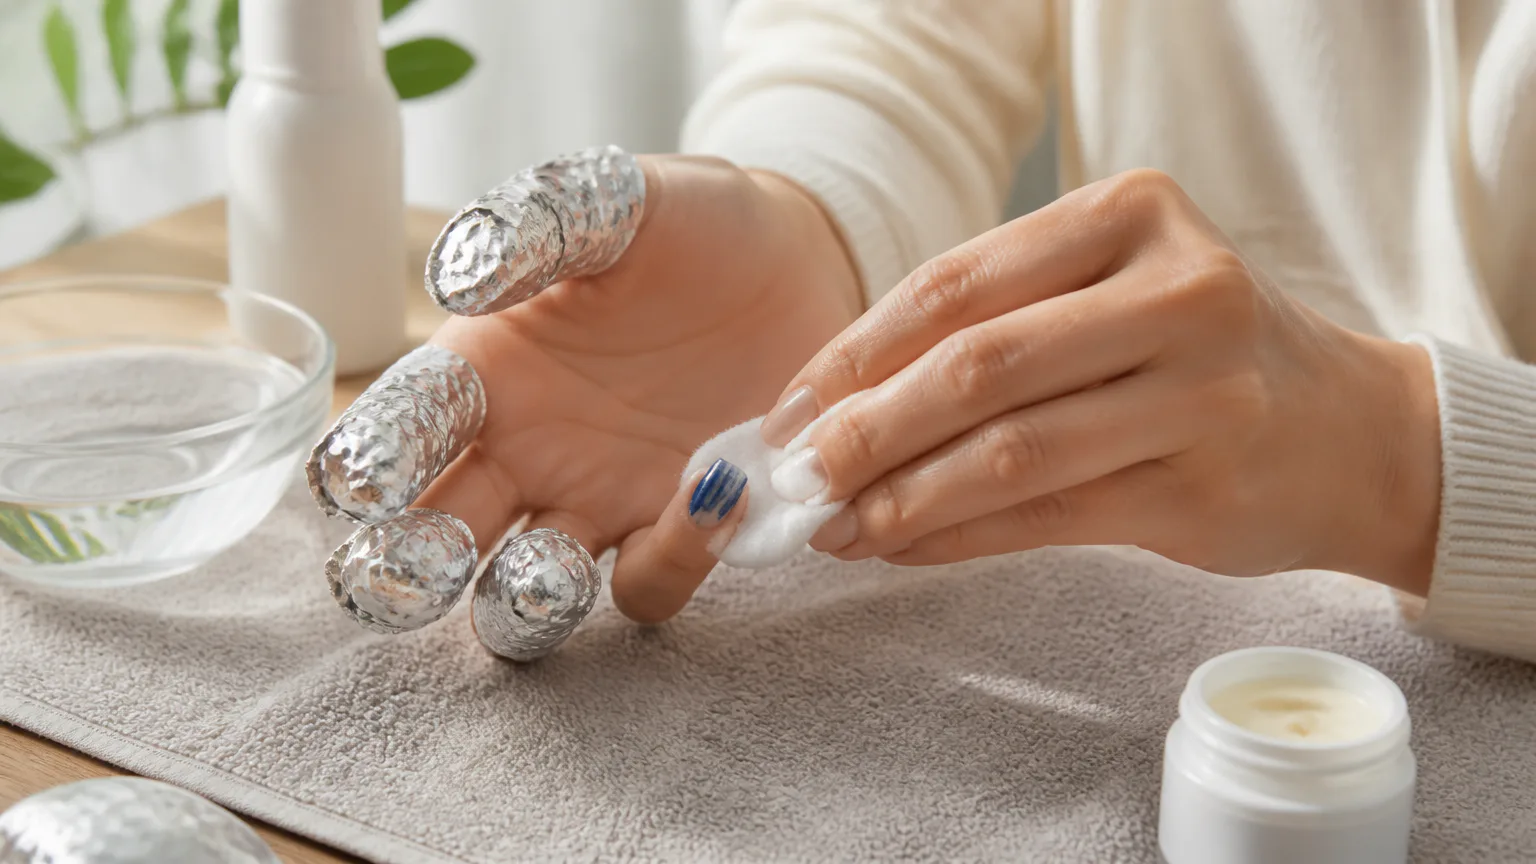
For regular polish, press remover-soaked cotton onto the nail for five seconds, then wipe downward. For gel, buff away the shine, soak cotton in pure acetone, wrap each nail in aluminum foil, and wait 10 to 15 minutes. Gently push off only the softened gel. If it remains firmly attached, repeat the soak.
Fix Common Beginner Mistakes
Most beginner problems come from using too much product, allowing too little drying time, or skipping surface preparation. Small corrections are better than covering a mistake with another thick layer.
- Smudged design: Wait longer between layers and use a thin top coat without pressing the brush into the art.
- Flooded cuticle: Remove wet polish immediately with a cleanup brush and acetone.
- Uneven lines: Use less polish and make one controlled stroke instead of several short strokes.
- Lifting sticker: Press the edges flat, trim any overhang, and seal with top coat.
- Chipped tip: Smooth the loose edge with a file, add a small amount of color, and seal it.
- Press-on gap: Replace the nail with a better-fitting size instead of filling a large gap with glue.
If a design feels too difficult, use it on one accent nail per hand. One detailed nail with simple solid-color nails creates a finished manicure while reducing the chances of smudging.
Trendy Simple Designs for 2026
Micro-French tips: Paint a narrow curved white tip over a sheer base. This design suits short to medium nails.
Dewdrop accents: Add dimensional clear or glossy dots over dry polish. The raised finish works best on short to medium nails.
Aurora glazed cat-eye: Move magnetic pigment through gel color with a magnet, then cure it under a lamp. The design suits short, medium, and long nails.
Easy Designs Without Nail Art Tools
Regular polish, a base coat, and a top coat are enough for simple no-tool designs. To make starbursts, place a wet accent dot and drag a toothpick outward through it to create thin rays. For larger dots, dip the rounded end of a bobby pin into polish and tap it onto the nail.
For sticker designs, lift each sticker with tweezers or clean fingers, place it on fully dry polish, press from the center outward, and seal the edges with top coat. These designs need no lamp or specialized brush, making them useful when you are working with basic supplies.
Classy Simple Nail Designs
Micro-French tips look understated over a sheer nude or pink base with a thin white edge, and they suit short to medium nails. Neutral geometric lines create a clean finish when drawn in black, white, taupe, or another contrasting shade over a beige or nude base.
For a restrained accent, place clear or glossy dewdrops on one nail per hand over a neutral base. Keep the remaining nails cream, beige, pink, or sheer so the raised dots remain the only decoration.
FAQs
Can easy nail art work on acrylic nails?
Yes. Regular polish, gel polish, stickers, stamping, and press-ons can all be used with acrylic enhancements when the surface is clean and fully dry. Avoid filing through the enhancement while correcting a design, and remove color without picking or pulling.
Conclusion
Start with dots, stickers, or micro-French tips if you are new to nail art, then try lines, swirls, and gel accents as your control improves. Thin application, careful preparation, and patient removal will improve the result more than buying a large collection of tools.