Simple Nail Art Ideas: Easy Designs at Home
Simple nail art ideas are easiest when they match your tools, polish formula and nail length. Dots, hearts and micro-French tips are forgiving because small imperfections blend into the pattern. Start with clean, short nails for an easy canvas. Use regular air-drying polish for a low-commitment manicure or gel polish when you want the design to last longer. Related reads: easy nail art designs, French tip nail designs, and nail polish finishes explained.
Simple Nail Art Ideas to Try
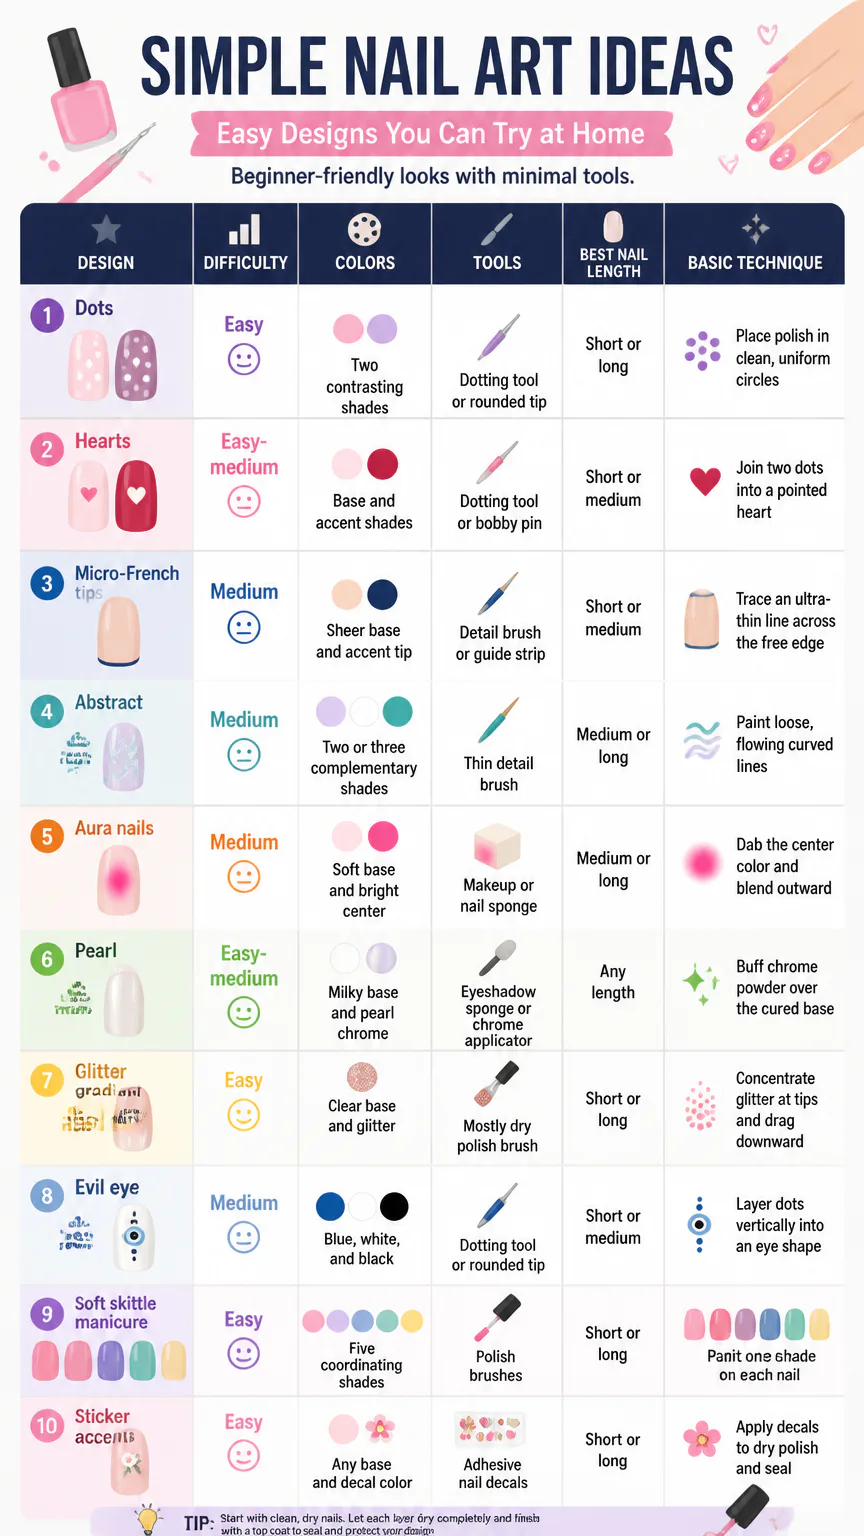
| Design | Difficulty | Colors | Tools | Best Nail Length | Basic Technique |
|---|---|---|---|---|---|
| Dots | Easy | Two contrasting shades | Dotting tool or rounded tip | Short or long | Place polish in clean, uniform circles |
| Hearts | Easy-medium | Base and accent shades | Dotting tool or bobby pin | Short or medium | Join two dots into a pointed heart |
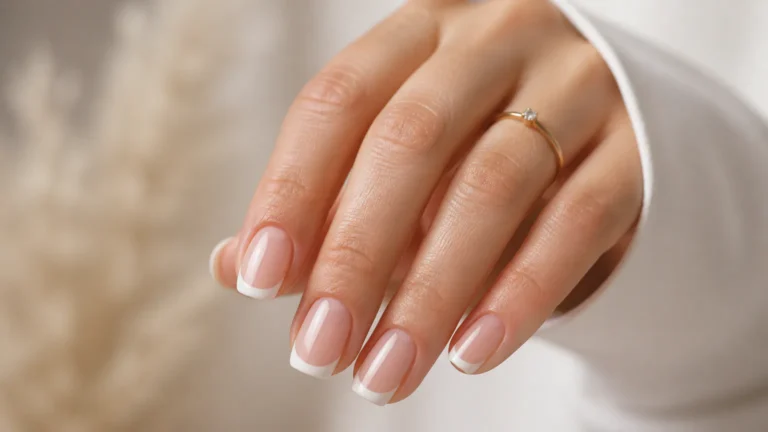
| Micro-French tips | Medium | Sheer base and accent tip | Detail brush or guide strip | Short or medium | Trace an ultra-thin line across the free edge |
| Abstract swirls | Medium | Two or three complementary shades | Thin detail brush | Medium or long | Paint loose, flowing curved lines |
| Aura nails | Medium | Soft base and bright center | Makeup or nail sponge | Medium or long | Dab the center color and blend outward |
| Pearl chrome | Easy-medium | Milky base and pearl chrome | Eyeshadow sponge or chrome applicator | Any length | Buff chrome powder over the cured base |
| Glitter gradient | Easy | Clear base and glitter | Mostly dry polish brush | Short or long | Concentrate glitter at tips and drag downward |
| Evil eye accents | Medium | Blue, white, and black | Dotting tool or rounded tip | Short or medium | Layer dots vertically into an eye shape |
| Soft skittle manicure | Easy | Five coordinating shades | Polish brushes | Short or long | Paint one shade on each nail |
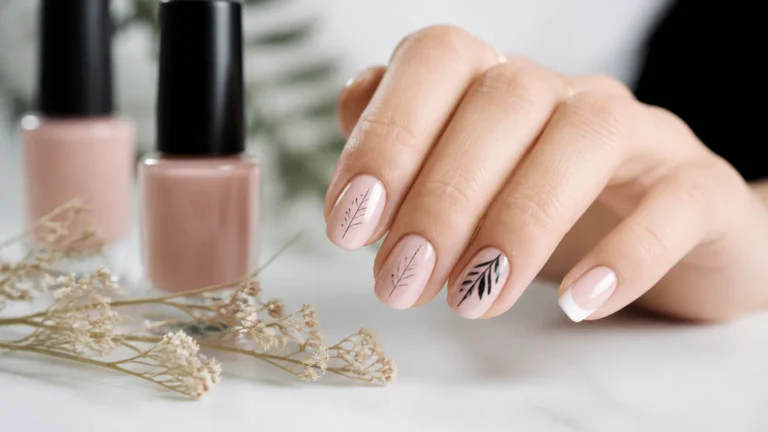
| Sticker accents | Easy | Any base and decal color | Adhesive nail decals | Short or long | Apply decals to dry polish and seal |
Try These Easy Nail Art Designs
Apply two coats of your base color and wait until the surface is touch-dry before adding details. Slightly thicker accent polish holds its shape better. Let the design settle before applying top coat so the brush does not drag the lines.
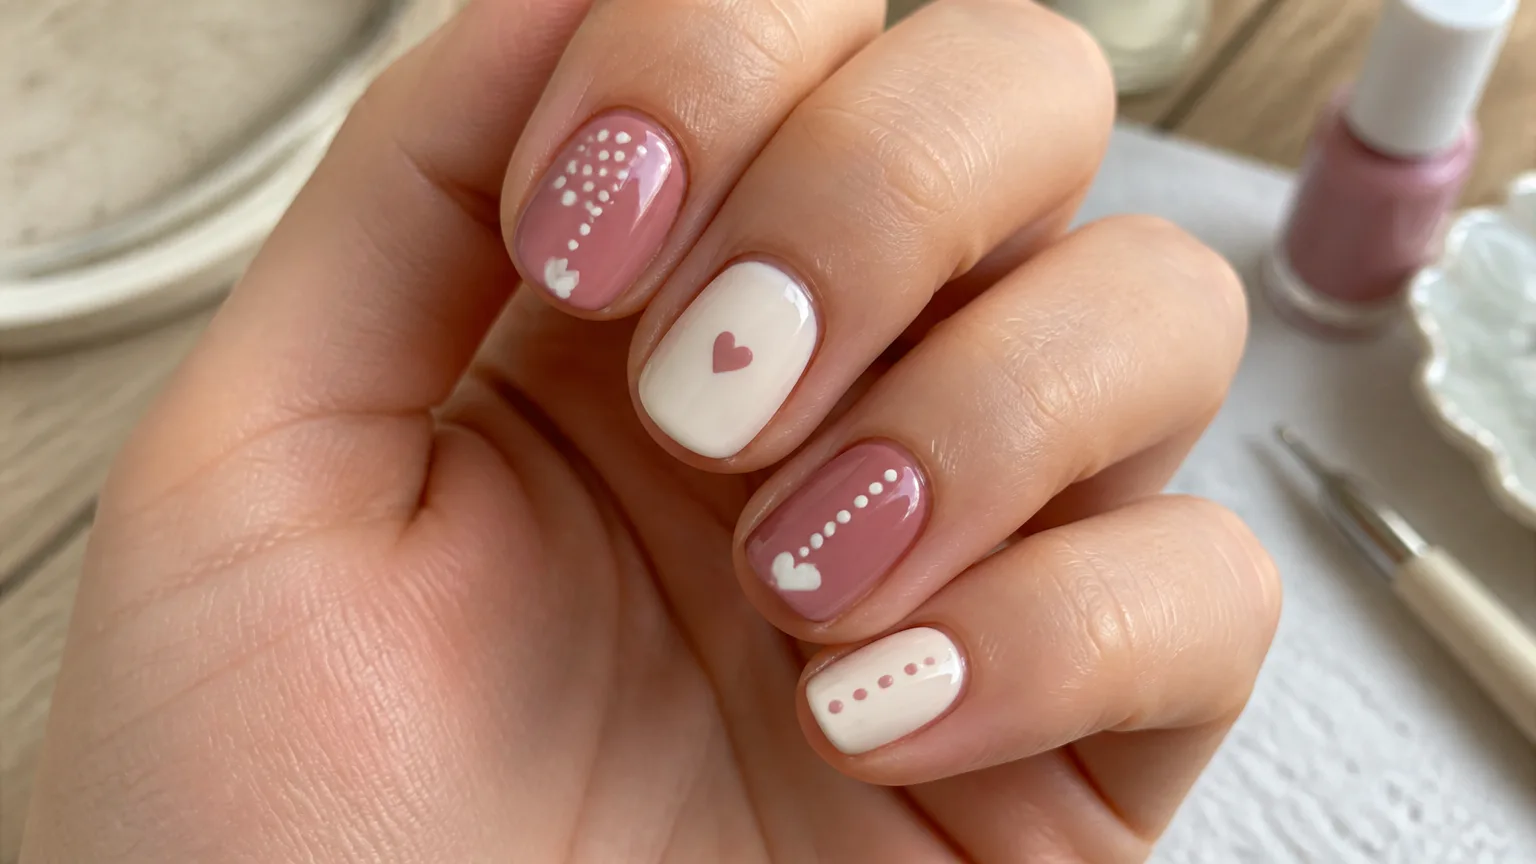
- Make dots: Put a small amount of polish on foil, dip the rounded end of a dotting tool into it and touch the nail once for each circle.
- Shape hearts: Place two dots side by side. Drag the bottom of each dot toward the center to create a point.
- Paint French tips: Use a fine liner brush or guide stickers to trace a narrow line along the free edge. Brick red and tomato red give the manicure a modern micro-French look.
- Draw swirls: Sweep two or three complementary colors into loose curves. Paint one line at a time and leave space between the strokes.
- Apply stickers: Wait until the base is dry, position each decal with tweezers, press down the edges and seal the nail with top coat.
- Stamp patterns: Spread polish across a nail stamping plate and silicone stamper, lift the image and press it onto the nail before sealing it.
For a silver accent manicure, use a milky base with pearl chrome. Buff the pearl chrome over the cured base for a clean finish.
Simple Designs Without Brushes
Household items can handle several simple nail art designs when you do not have detail brushes. A bobby pin creates rounded dots, while a toothpick pulls wet polish into points, petals and marbled lines. Use a light touch: household items can drag the base color if it has not set.
- Dot accents: Use the rounded end of a bobby pin for evenly spaced dots. Change the amount of polish on the tip to vary their size.
- Heart accents: Make two small dots with a bobby pin, then use a toothpick to pull the lower edges together.
- Blobs: Place irregular drops of two or three shades beside one another for a soft abstract pattern.
- Aura color: Dab a bright shade in the center with a cosmetic sponge and blend it outward until the edge fades.
- Glitter tips: Wipe most of the product off the polish brush, then sweep glitter from the tip toward the middle.
- Chrome nails: Apply chrome powder only after the gel surface has cured fully. Remove loose powder before applying top coat.
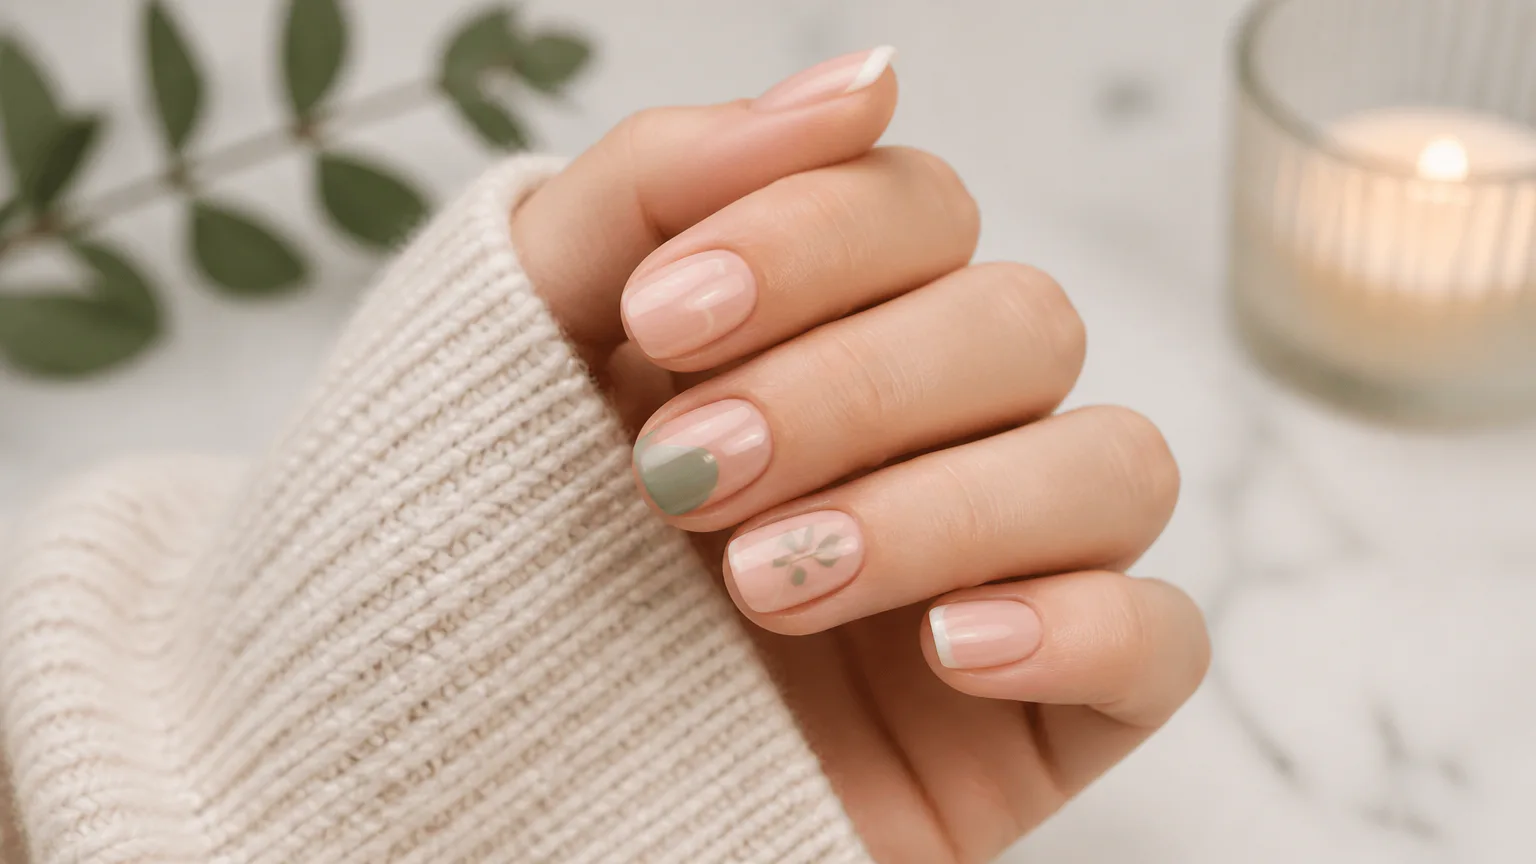
Short nails suit dots, hearts, micro-French tips, chrome and single-nail accents. Keep the design near the center or tip to prevent the pattern from looking crowded. Small details also leave more of the base color visible, which helps short nails look neat.
Choose Regular or Gel Polish
Regular nail polish is the simplest place to start. It air-dries through evaporation and comes off with non-acetone or acetone remover. A basic setup costs about $15 to $30. Base coat and top coat generally cost $4 to $8 each, while individual colors cost $3 to $7.
| Polish type | Drying or curing | Removal | Equipment | Best use |
|---|---|---|---|---|
| Regular nail polish | 15-20 minutes touch-dry; 1-2 hours fully hardened | Non-acetone or acetone remover | Base coat and top coat | Low-commitment practice |
| Gel polish | 30-60 seconds per layer | 10-15 minute acetone soak | UV/LED curing lamp | Longer-wearing designs |
Regular polish can smudge before it fully hardens. A quick-dry top coat can make the surface touch-dry in about five minutes, although the layers underneath still need more time to harden. Gel polish cures in seconds under a UV/LED curing lamp. Each layer must be cured correctly, and removal needs more care. Do not use gel on irritated skin or leave uncured product on the surrounding skin.
Le Mini Macaron kits cost about $35 to $40 and combine a portable LED lamp with a 3-in-1 base, color and top-coat formula. Maniology stamping starter kits cost about $21 to $25, while Dashing Diva magnetic starter kits cost under $20.
Prepare Nails for Longer Wear
Proper preparation helps polish adhere evenly and reduces early chipping. Keep the nail plate dry while preparing it. Avoid cutting living cuticle tissue, which can become irritated.
- Remove old polish: Clean the nail completely with remover.
- Shape the edge: File in one direction instead of sawing back and forth.
- Manage the cuticle: Gently push back softened cuticles without cutting them aggressively.
- Lightly buff: Smooth surface ridges with minimal pressure.
- Dehydrate: Wipe away oil and moisture immediately before applying base coat.
- Seal the edge: Brush base color and top coat across the free edge to reduce tip wear.
Apply thin coats instead of one thick coat. Thin layers dry more evenly, make dots and lines easier to control, and reduce the chance of polish flooding the cuticle area. Allow each layer to settle before adding the next one.
Dry, Remove, and Protect Nail Art
Regular polish may feel dry after 15 to 20 minutes but can still dent for one to two hours. A quick-dry top coat shortens the touch-drying period to about five minutes. Pressure, heat and water can still mark the surface while the layers finish hardening.
- Keep your hands still while the first layers set.
- Apply top coat after detailed lines have settled slightly.
- Use ventilation when working with polish remover or acetone.
- Wear gloves during prolonged contact with water or cleaning products.
- Stop filing if the natural nail feels thin, tender or warm.
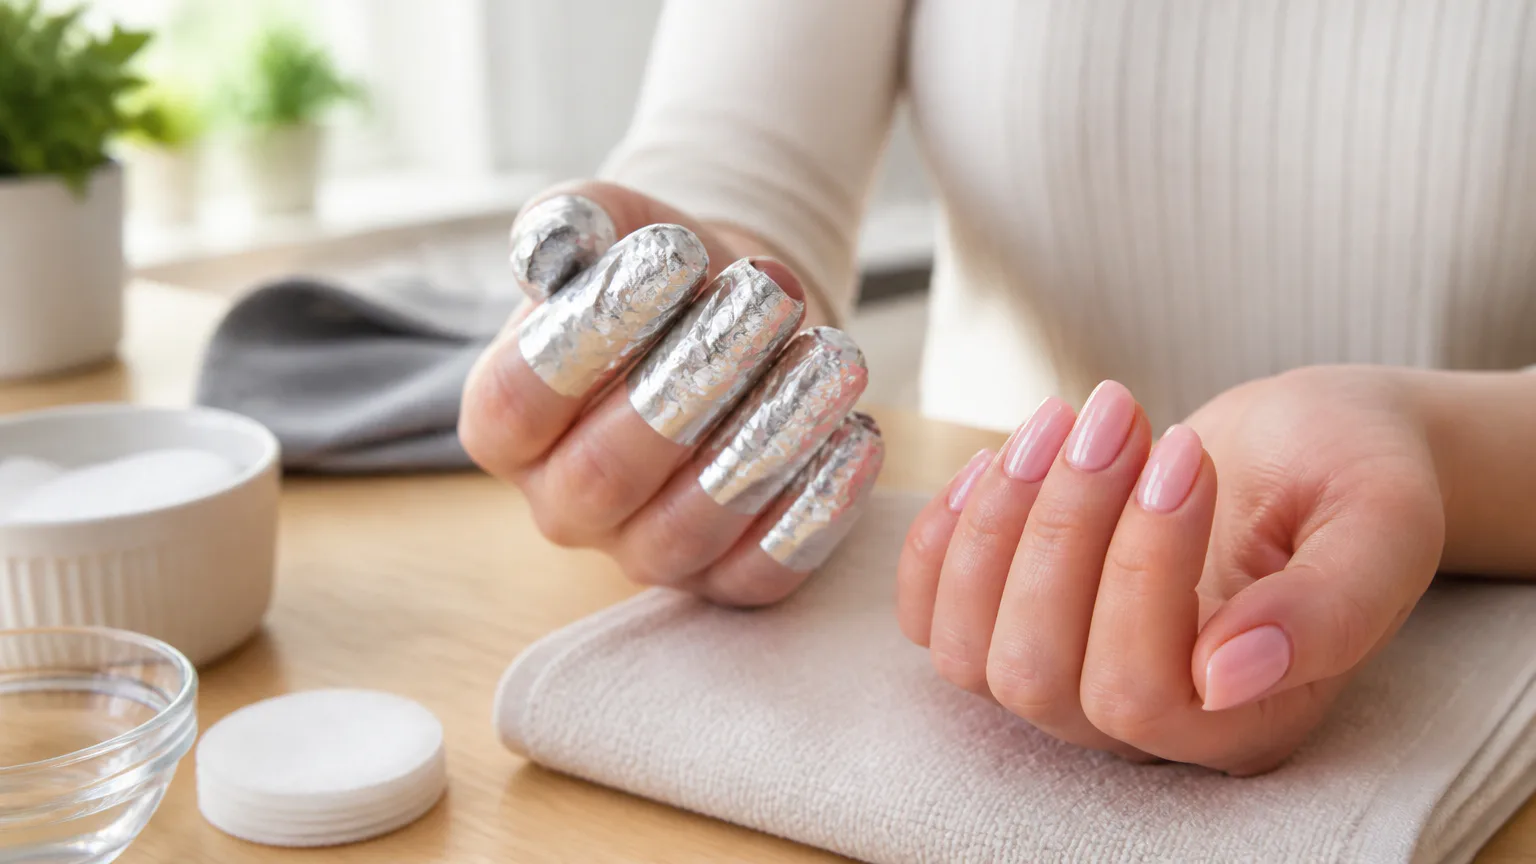
For safe gel removal, file off the shine, soak cotton in acetone, wrap each nail with foil and wait 10 to 15 minutes. Gently push away the softened product and repeat the soak if needed. Never peel gel from the natural nail; peeling can remove layers of the nail plate.
How to practice simple nail art
Practice each motion on a plastic nail tip, a piece of foil or an old glossy surface before working on your manicure. Start with one accent nail and use contrasting colors. Keep the first designs small enough to correct with a clean-up brush or a little remover.
- Practice dots in rows, curves and clusters.
- Use tape or guide stickers to learn French-tip placement.
- Test color combinations on paper before painting your nails.
- Leave enough drying time between the base and the details.
A minimal micro-dot accent can take about one to two minutes per hand once the base is ready. Repeating the same small pattern builds control faster than starting with a complicated design.
FAQs
What are the easiest nail art ideas for beginners?
Dots, glitter gradients, sticker accents and soft skittle nails require the least freehand control. Hearts are also beginner-friendly because they start with two simple dots.
Can simple nail art work on short nails?
Yes. Short nails suit dots, hearts, micro-French tips, chrome finishes and small accent designs. Keep lines thin and place details carefully so the nail does not look crowded.
Can I do nail art without special tools?
Yes. A bobby pin can replace a dotting tool, a toothpick can pull wet polish into points, and a cosmetic sponge can blend aura color. Nail stickers provide clean designs without freehand painting.
How many colors should a beginner use?
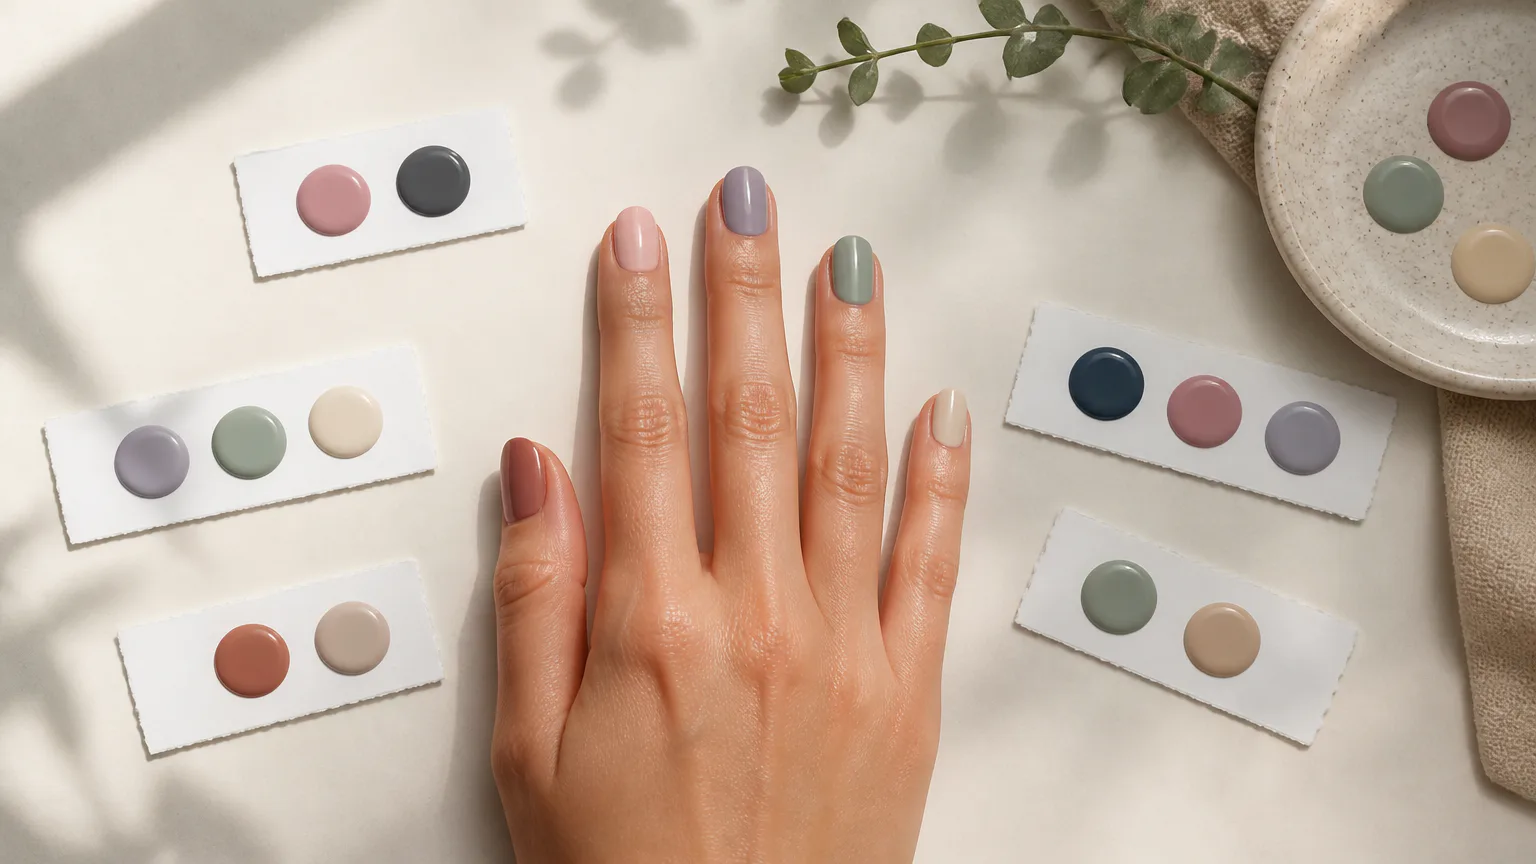
Two contrasting shades are enough for dots, hearts and French tips. Abstract swirls work well with two or three complementary colors, while a skittle manicure uses one coordinating shade per nail.
Conclusion
Start with regular polish, short nails and one small accent design, such as dots or a glitter gradient. Once your base coats and drying times feel manageable, add a fine liner brush, stamping supplies or gel equipment for more detailed and durable looks.