How to Make Nail Polish Last Longer: A Complete Guide
Regular nail polish usually lasts about a week, but careful preparation and daily protection can extend wear to nearly two weeks. Chipping often starts when oil or moisture remains on the nail, layers are too thick, edges are left unsealed, or the polish is not given enough time to dry. For step-by-step application, see how to apply nail polish and how to prevent chipping. A long-lasting manicure depends on managing each of these weak points from preparation through removal.
Follow the Long-Lasting Polish Steps
- Remove old polish completely.
- Shape the nails with slightly rounded sides and relatively straight corners.
- Clean the nail plate with 75% or higher isopropyl alcohol.
- Apply one thin preparatory coat.
- Apply one thin color coat.
- Wait 2 to 3 minutes between layers.
- Apply a second thin color coat.
- Seal the free edge with a thin finishing coat.
- Allow at least 10 minutes of drying time per coat.
- Protect the manicure from prolonged water exposure and harsh chemicals.
- Refresh the finishing coat every 2 to 3 days.
- Repair small chips before they tempt you to pick or peel the polish.
Prepare Clean, Dry Natural Nails
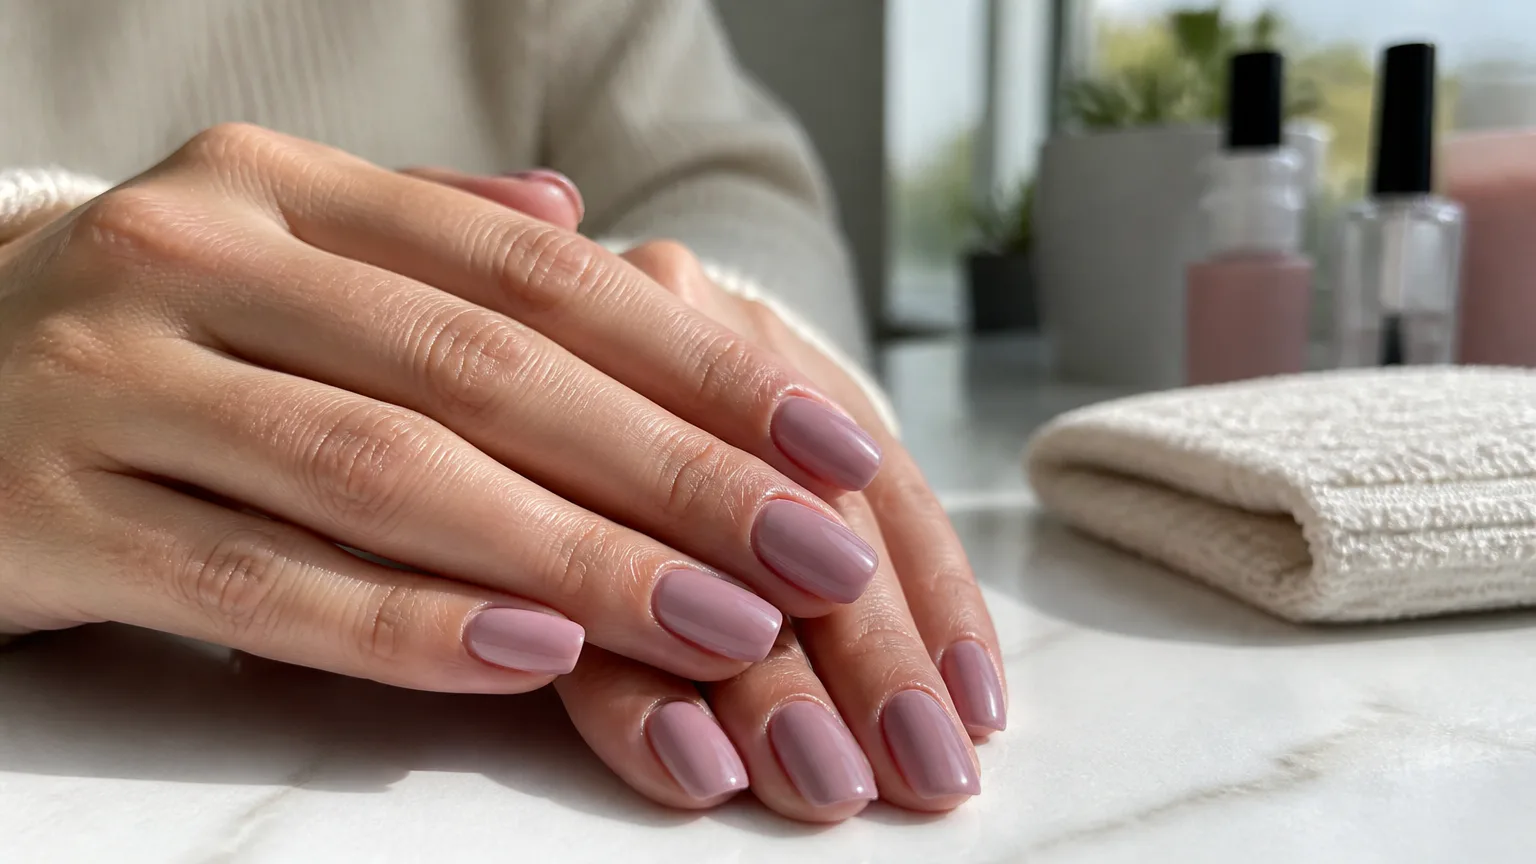
Preparation affects how well polish bonds to the nail. Remove all traces of old color, wash away filing dust, and dry your hands thoroughly. Avoid hand cream, cuticle oil, and other oily products immediately before polishing because residue creates a slippery layer between the nail and lacquer.
- Remove old polish with a gentle, controlled motion.
- File in one direction to reduce splitting.
- Shape the nails slightly oval or round, while keeping the corners fairly straight.
- Push back softened cuticles gently without cutting living tissue.
- Buff lightly only if the surface is uneven.
- Wipe each nail with 75% or higher isopropyl alcohol.
- Wait until the nail plate feels completely dry before painting.
Over-buffing thins natural nails and can make them more flexible, which allows the polish to crack as the nail bends. Acetone works well for stubborn polish, but isopropyl alcohol is generally better for the final cleansing step because it removes surface oil without leaving an oily film.
Apply Thin Coats and Seal Edges
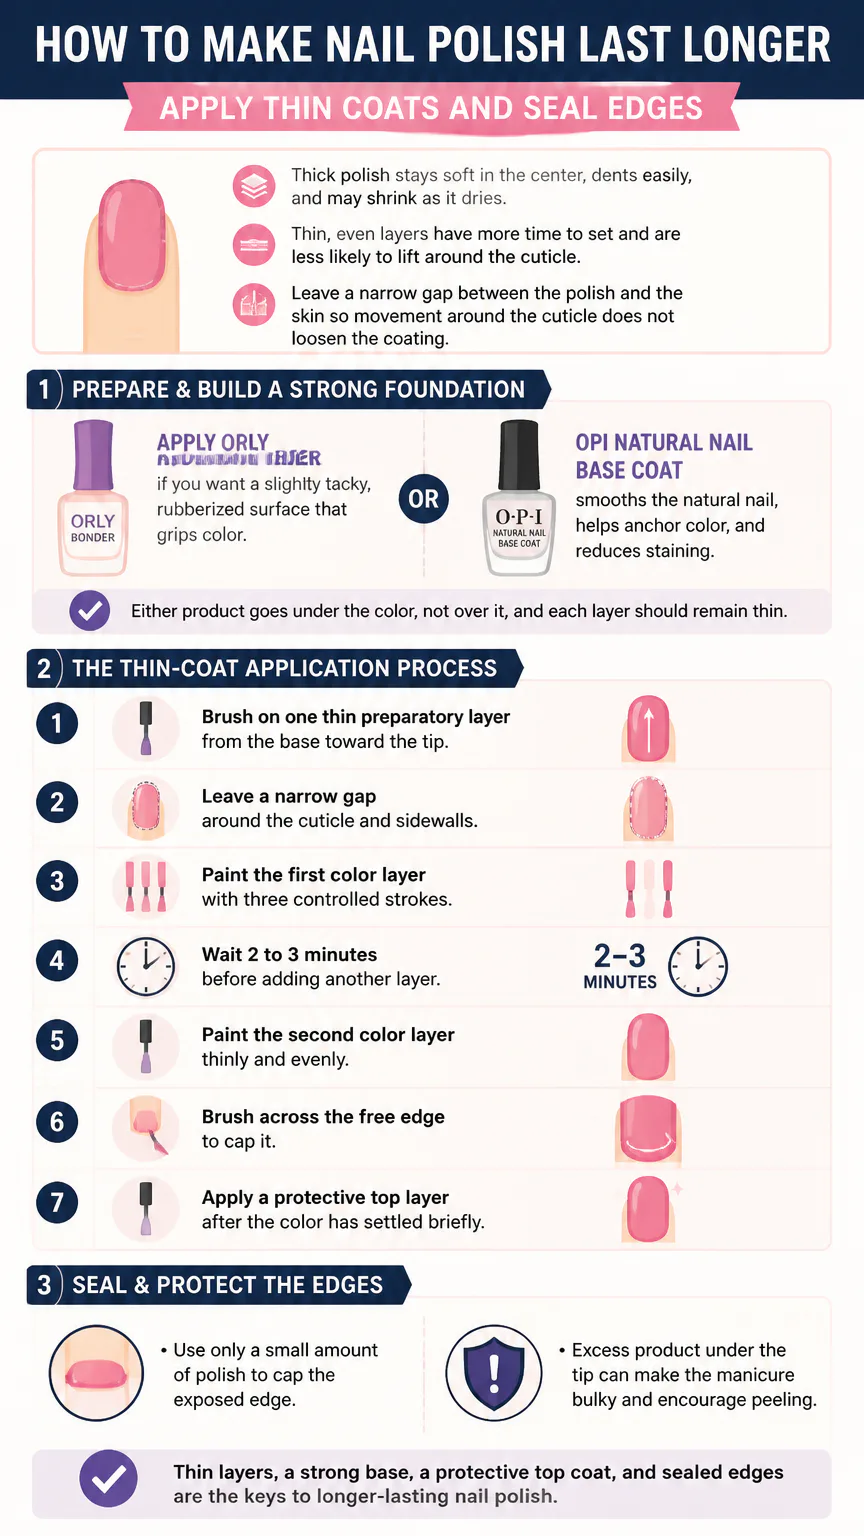
Thick polish stays soft in the center, dents easily, and may shrink as it dries. Thin, even layers have more time to set and are less likely to lift around the cuticle. Leave a narrow gap between the polish and the skin so movement around the cuticle does not loosen the coating.
Apply Orly Bonder if you want a slightly tacky, rubberized surface that grips color. OPI Natural Nail Base Coat smooths the natural nail, helps anchor color, and reduces staining. Either product goes under the color, not over it, and each layer should remain thin.
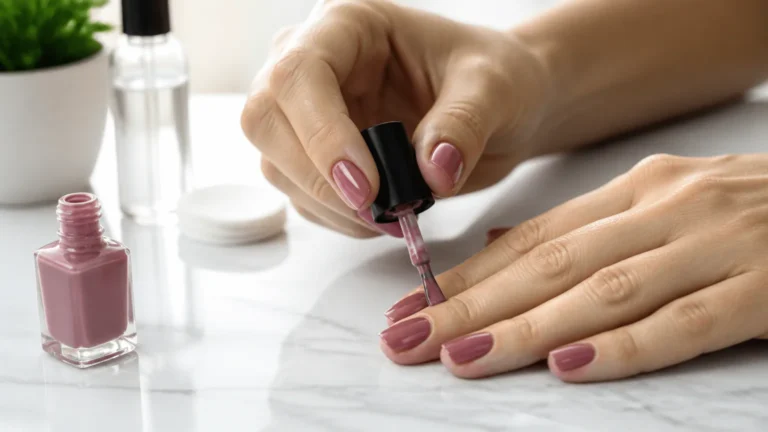
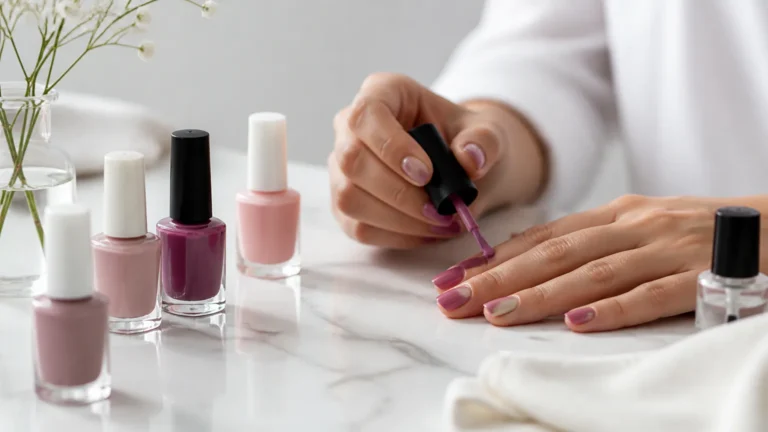
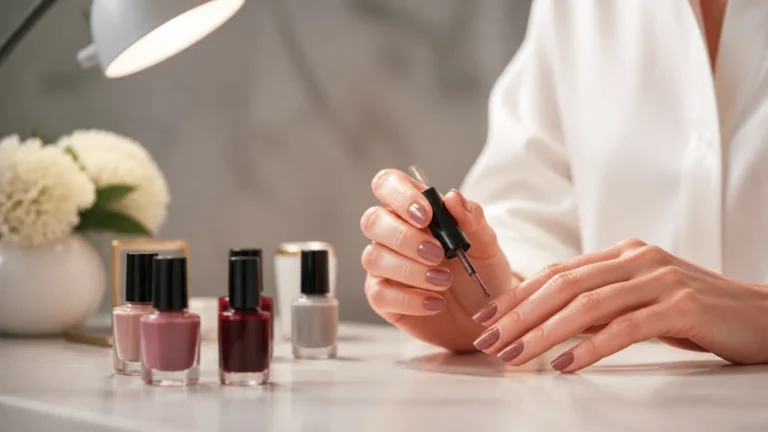
- Brush on one thin preparatory layer from the base toward the tip.
- Leave a narrow gap around the cuticle and sidewalls.
- Paint the first color layer with three controlled strokes.
- Wait 2 to 3 minutes before adding another layer.
- Paint the second color layer thinly and evenly.
- Brush across the free edge to cap it.
- Apply a protective top layer after the color has settled briefly.
Use only a small amount of polish to cap the exposed edge. Excess product under the tip can make the manicure bulky and encourage peeling.
Let the Manicure Dry Completely
Polish may feel dry on the surface while remaining soft underneath. Allow at least 10 minutes of drying time per coat, and remember that a regular manicure can take up to a full day to harden completely. During that time, avoid pressing your fingertips into fabric, opening tight containers, or using your nails for detailed tasks.
Heat and forceful air do not instantly harden lacquer, and friction can leave dents or dull marks. Keep your hands still during the first several minutes, then handle them carefully for the rest of the day. The Dazzle Dry system dries in about five minutes, but its finished layers still need gentle handling while they harden.
Protect Polish During Daily Tasks
Water affects both the nail and the polish. Nails expand when wet and contract as they dry, and repeated cycles can contribute to lifting around the edges. Household cleaners and other harsh chemicals can also weaken the finish or remove its shine.
- Wear rubber gloves while washing dishes, cleaning, or handling chemicals.
- Dry your hands and the undersides of your nails after washing.
- Use your fingertips or a tool instead of your nails to open cans and packages.
- Limit long baths, hot tubs, and prolonged soaking.
- Keep heavy hand work brief immediately after polishing.
- Apply hand moisturizer around the manicure once the polish has hardened.
Moisturizer helps the surrounding skin and natural nail, but keep oily products away from the nail plate before a new manicure. For toenails, minimize contact with shoes and socks until the polish dries, and choose footwear that does not press against the tips.
Refresh the Top Coat and Fix Chips
The finishing layer gradually wears away from the tips and surface. Reapplying it every 2 to 3 days restores protection and can smooth small scratches before they turn into visible chips. Apply a thin layer over clean, dry polish and lightly seal the free edge again.
- Wash and dry your hands before maintenance.
- Wipe lotion or oil from the nail surface.
- Smooth a small rough edge with a fine file.
- Fill a small chip with a thin layer of matching color.
- Wait briefly for the repair to settle.
- Apply a thin finishing layer over the repaired nail.
Do not pick at a lifted corner. Pulling polish away can remove superficial layers of the natural nail and enlarge the damaged area. If a chip reaches the sidewall or the polish has lifted broadly, remove it and start again rather than repeatedly covering the loose section.
Avoid Mistakes That Cause Chipping
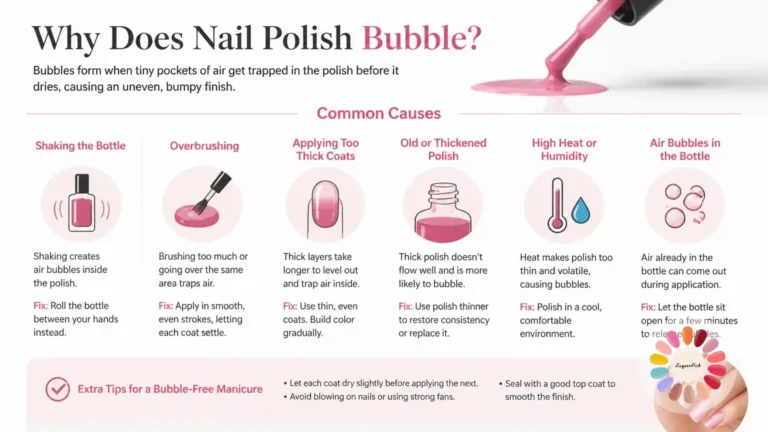
Early chips usually point to a preparation or application problem. Oily nails, thick layers, flooded cuticles, and skipped protective layers all make it easier for polish to lift. Old lacquer can also become stringy and difficult to spread evenly.
- Remove oil after washing and before applying polish.
- Keep color layers thin instead of trying to achieve full coverage in one heavy coat.
- Keep polish off the cuticle and surrounding skin.
- Use a fresh, fluid formula that spreads without dragging.
- Roll the bottle gently between your hands instead of shaking it vigorously.
- Let each layer settle before adding the next one.
- Do not over-moisturize immediately before painting.
- Avoid aggressive buffing that thins the natural nail.
If polish repeatedly peels from the entire nail, check the preparation step first. If only the tips chip, focus on sealing the edge, reducing free-edge length, and wearing gloves during wet work.
Remove Polish Without Weakening Nails
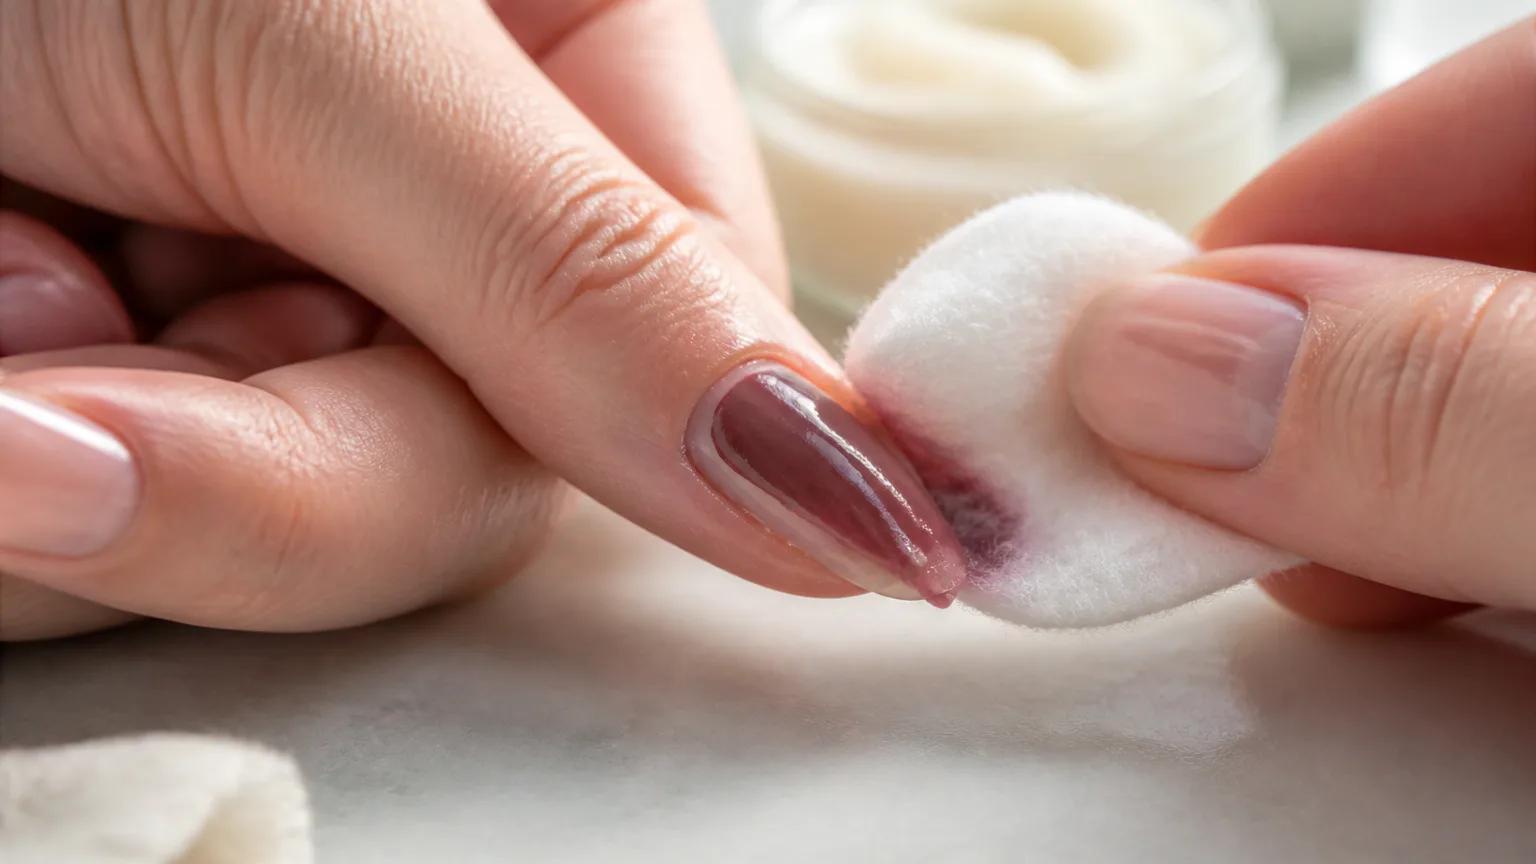
Gentle removal protects the surface needed for the next manicure. Peeling or scraping can take natural nail layers off with the polish, leaving roughness that affects future adhesion. Use enough remover to dissolve the coating, then slide it away with light pressure. Full details are in how to remove nail polish safely.
- Soak a small piece of cotton with acetone.
- Press the cotton against the nail for 10 to 15 seconds.
- Slide the softened polish from the base toward the tip.
- Soak again if patches remain instead of scraping them.
- Wash and dry your hands after removal.
- Apply moisturizer to your hands and the surrounding skin.
- Wait before polishing again if the nail feels thin, sore, or unusually dry.
Acetone works quickly but can dry the surrounding skin, so keep contact focused on the nail and moisturize afterward. Do not force off polish that has not softened. Gentle removal preserves the smooth nail plate needed for lasting adhesion.
Choose Products That Match the Problem
Once preparation and technique are consistent, product choice can address specific problems. A gripping preparatory layer suits polish that peels, a smoothing formula helps uneven natural nails, and a hard, glossy finishing layer protects color from scratches. No product can make up for oil, moisture, thick application, or incomplete drying.
Use Orly Bonder when adhesion is the main concern and color tends to lift from the nail. Choose OPI Natural Nail Base Coat when smoothing and stain protection matter more. For the finishing step, Seche Vite suits fast drying and high gloss, while Essie Gel Setter gives a glossy, gel-like finish without lamp curing.
Regular polish generally lasts about one week. With careful preparation, thin coats, sealed edges, and consistent maintenance, a long-wear system can last up to two weeks. Nail flexibility, hand use, water exposure, and the polish formula still affect the result.
FAQs
Can nail polish last longer without a top coat?
It can, but the manicure will have less protection from scratches, water, and edge wear. If you skip a finishing layer, keep the color especially thin, cap the tips, and limit soaking and chemical exposure.
How do you make nail polish last two weeks?
Remove oil thoroughly, apply a thin preparatory layer and two thin color coats, seal the free edges, and allow the polish to dry completely. Wear gloves for wet work, refresh the finishing layer every 2 to 3 days, and repair chips instead of peeling them.
How should nail polish be stored so it lasts longer in the bottle?
Close the cap tightly after every use and store the bottle upright in a cool, dry place away from direct sunlight and heat. Wipe the bottle neck clean so the cap seals properly, and roll the bottle gently before use.
Can the same routine be used on toenails?
Yes. Clean and dry the toenails, apply thin layers, keep polish off the skin, cap the tips, and allow extra drying time because shoes can create pressure and friction. Wear roomy footwear until the polish has hardened.
Does vinegar help polish last longer?
Vinegar is not necessary or well supported for extending regular polish wear. Clean, dry nails and careful oil removal provide a better preparation routine.
Can nail-polish thinner improve an old bottle?
Polish thinner can restore flow to a thickened bottle, but do not add remover or acetone. Apply thin, even coats, and discard the polish if it remains stringy or separates after appropriate thinning.
Conclusion
To make regular nail polish last longer, start with oil-free preparation, apply thin layers, seal the tips, and protect the manicure from water and friction. Consistent aftercare and gentle removal help preserve both the color and the natural nails underneath. If you want product shortcuts, compare our best long lasting nail polish and how many coats of nail polish guides.