How to Prevent Nail Polish from Chipping: An Easy At-home Routine
Keeping nail polish intact starts before the first coat. Clean, dry nails improve adhesion, thin layers reduce cracking, and less hot-water exposure protects the manicure while it dries. The routine below works for at-home regular manicures and explains where gel polish needs different handling. Pair with how to make nail polish last longer, how to apply nail polish, and best long lasting nail polish.
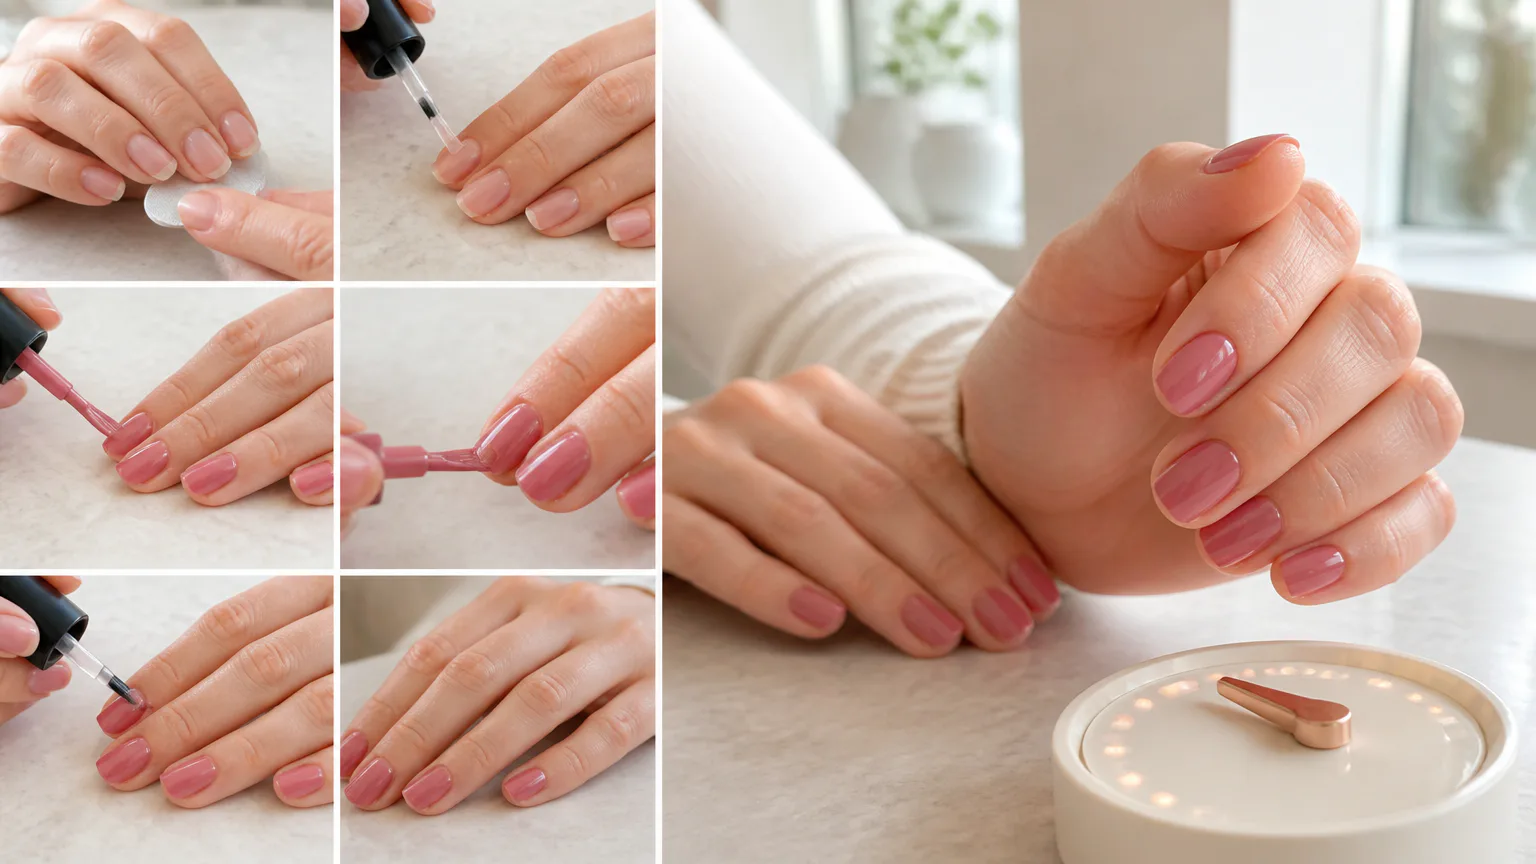
Chip-Resistant Manicure Steps
- Prepare clean, shaped nails before applying any coating.
- Apply one thin layer of base coat, including a light swipe across each free edge.
- Apply two thin color coats, waiting about 1-2 minutes between coats until the previous layer is no longer tacky.
- Seal the tips with color polish, then apply one thin layer of top coat.
- Let the manicure dry fully. Regular polish can remain vulnerable for several hours after it feels touch-dry.
- Keep the manicure away from hot water and heavy use for at least one hour after painting.
- When using a maintenance formula, apply another thin layer of top coat every 2-3 days.
Understand Why Polish Chips
Polish chips when its bond with the nail plate breaks or when the nail flexes beneath a rigid coating. Natural oils, lotion, moisture and other residue can stop lacquer from gripping the keratin surface. Thin, peeling or frequently wet nails also move more than the polish can tolerate.
- Moisture: Prolonged warm or hot water can expand the porous nail plate and loosen the coating.
- Thick layers: Heavy coats dry unevenly, stay soft underneath and split or dent more easily.
- Tip impact: Typing, cleaning, crafts and opening packages put repeated stress on the free edge.
- Weak structure: Flexible or damaged nails bend beneath polish and encourage lifting.
- Incomplete drying: Polish that feels dry to the touch can still be vulnerable for hours.
Keratin is the main structural protein in the nail. A balanced diet and suitable nail treatments can support stronger growth over time, but they cannot repair a damaged surface immediately or make up for poor preparation.
Prep Your Nails Before Painting
Preparation gives polish the clean, dry surface it needs. Remove old color, oils and lotion, and avoid applying hand cream immediately before the manicure.
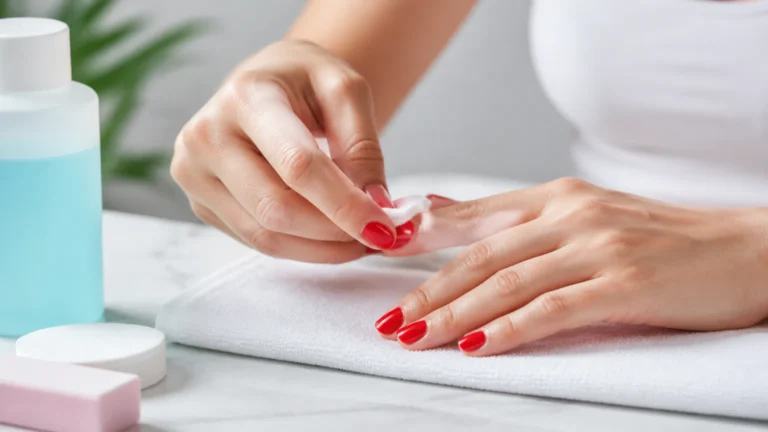
- Remove old color and residue with nail polish remover, then let the nails dry completely.
- Shape the nail plate with a file, moving in one direction when using a coarse file.
- Use a 240-grit file when possible. It is gentler on the natural nail than a lower-grit file.
- Gently push back the cuticles and remove only loose tissue from the nail surface.
- Lightly smooth ridges with a nail buffer when needed, avoiding repeated or aggressive buffing.
Do not soak the nails for a long time before painting. If soaking is necessary, limit it to about 1-2 minutes in lukewarm water, then wait until the nail plate is fully dry. Excess water temporarily expands the nail and can contribute to lifting as it returns to its normal state.
Polish adheres best to a clean nail surface, but how you apply nail polish matters too. Use controlled brush strokes, keep polish off the cuticle, and leave a narrow gap around the edges to reduce lifting when your hands get wet or face friction.
Apply Thin Layers and Seal Tips
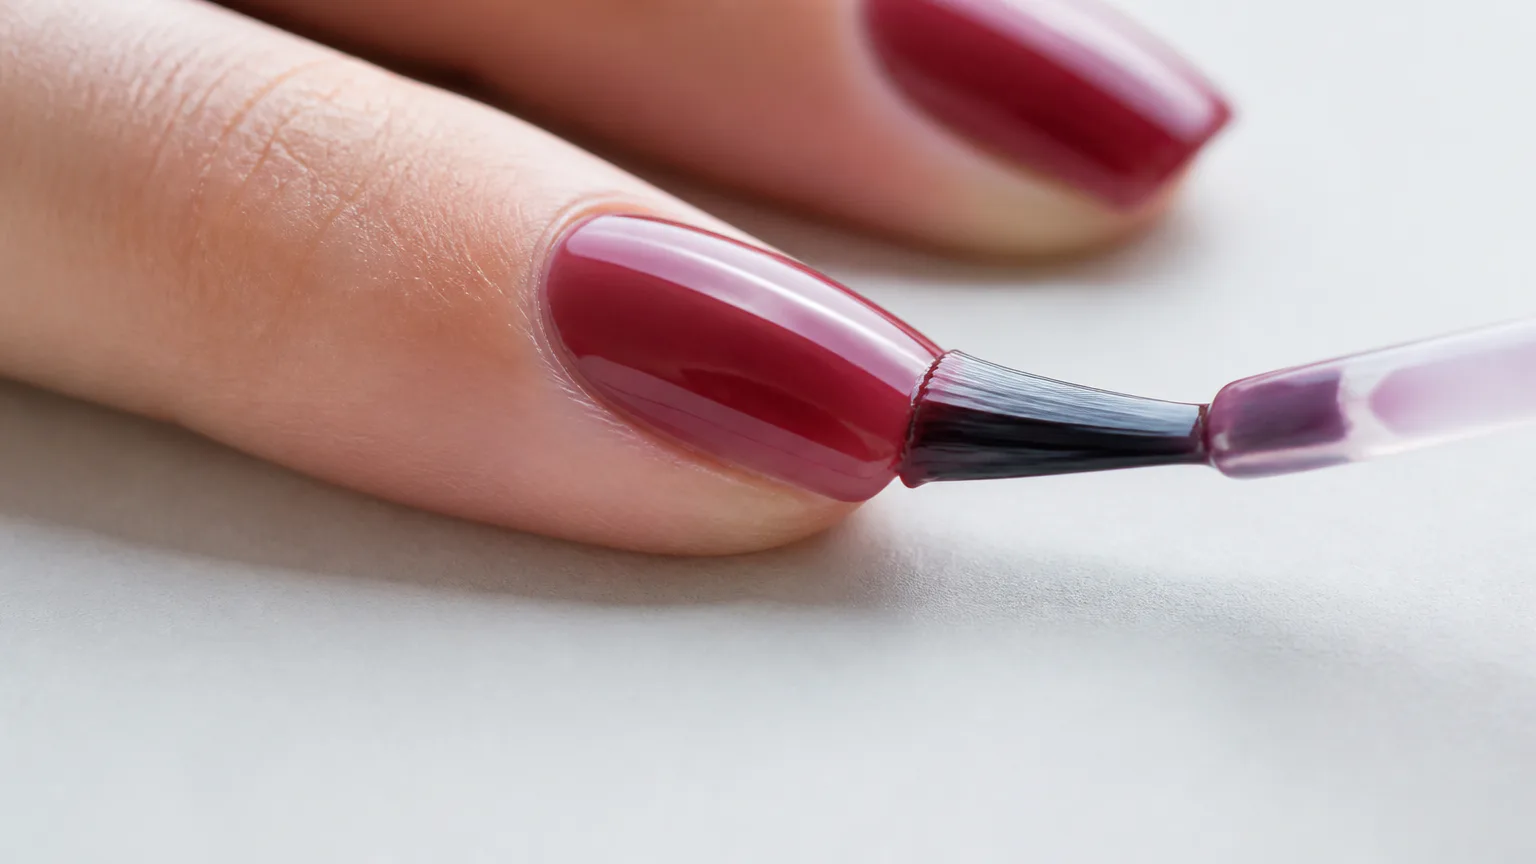
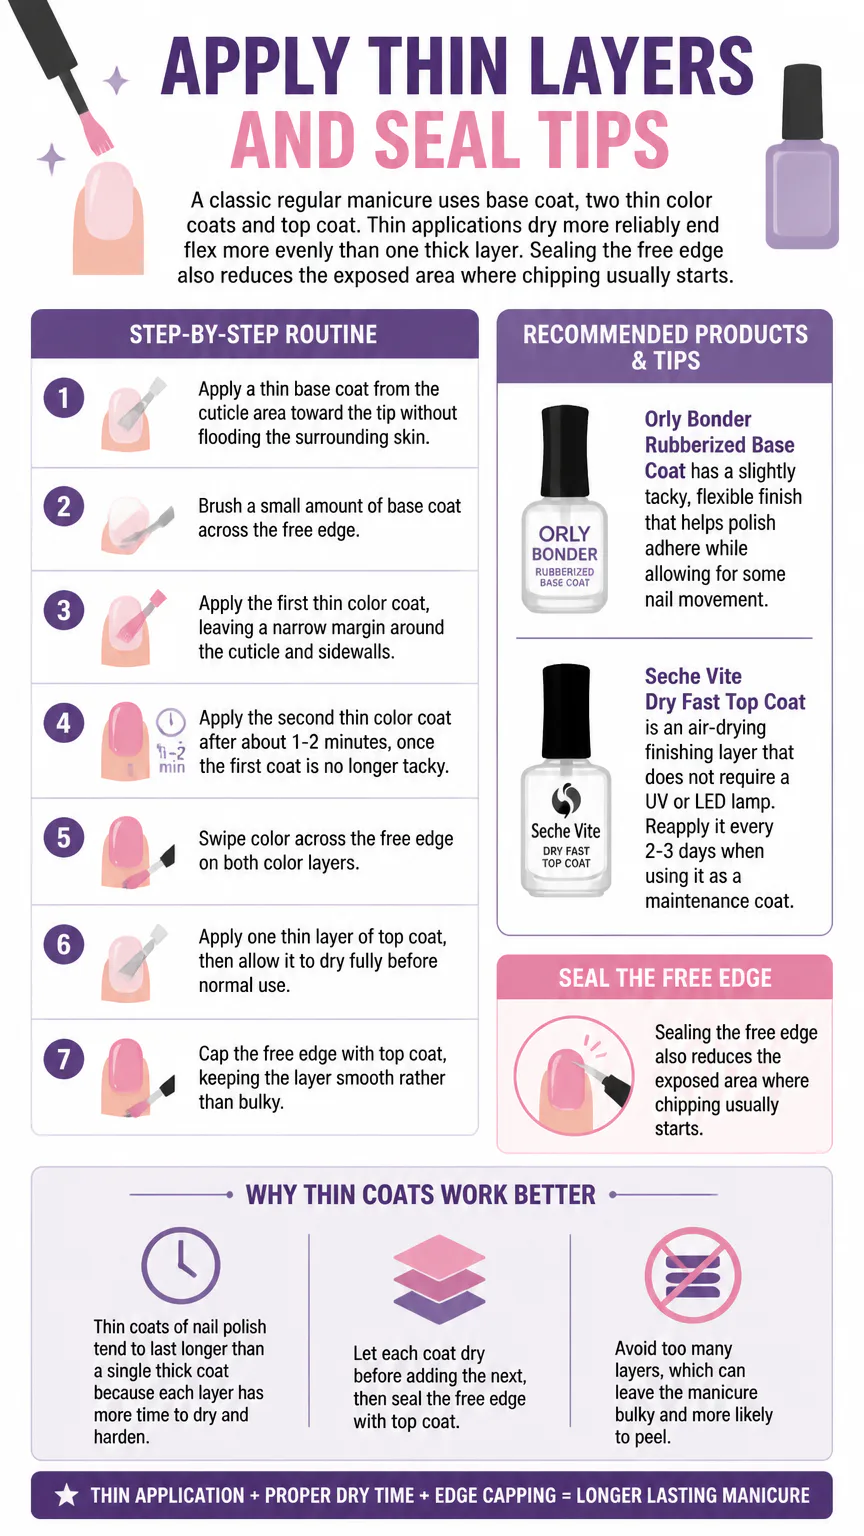
A classic regular manicure uses base coat, two thin color coats and top coat. Thin applications dry more reliably and flex more evenly than one thick layer. Sealing the free edge also reduces the exposed area where chipping usually starts.
- Apply a thin base coat from the cuticle area toward the tip without flooding the surrounding skin.
- Brush a small amount of base coat across the free edge.
- Apply the first thin color coat, leaving a narrow margin around the cuticle and sidewalls.
- Apply the second thin color coat after about 1-2 minutes, once the first coat is no longer tacky.
- Swipe color across the free edge on both color layers.
- Apply one thin layer of top coat, then allow it to dry fully before normal use.
- Cap the free edge with top coat, keeping the layer smooth rather than bulky.
Orly Bonder Rubberized Base Coat has a slightly tacky, flexible finish that helps polish adhere while allowing for some nail movement. Seche Vite Dry Fast Top Coat is an air-drying finishing layer that does not require a UV or LED lamp. Reapply it every 2-3 days when using it as a maintenance coat.
Thin coats of nail polish tend to last longer than a single thick coat because each layer has more time to dry and harden. Let each coat dry before adding the next, then seal the free edge with top coat. Avoid too many layers, which can leave the manicure bulky and more likely to peel.
Best Products to Prevent Chipping
No color polish guarantees chip-free wear. Preparation, thin coats, sealed free edges and compatible base and top coats have more influence on durability than the color itself. Top coat protects finished polish from friction, water and everyday impact.
| Product | Role | Finish | Drying or curing | Best use |
|---|---|---|---|---|
| Orly Bonder Rubberized Base Coat | Base coat | Flexible, slightly tacky | Air-dries; no UV or LED lamp | Helping regular polish adhere to a moving nail |
| Seche Vite Dry Fast Top Coat | Top coat | Protective finishing layer | Air-dries; no UV or LED lamp | Fast-drying protection for regular manicures |
| Essie Gel Setter Top Coat | Top coat | Cushioned, gel-like | Air-dries; no UV or LED lamp | Adding a gel-like finish to regular polish |
| Revlon Quick Dry Top Coat | Top coat | Protective finishing layer | Air-dries; no UV or LED lamp | Quick-drying maintenance between applications |
Even with careful preparation and thin coats, polish will chip if the formula wears away quickly. A long-lasting nail polish can provide a stronger base, especially if its finish stays flexible through typing, washing and other everyday movement.
Protect Polish During Daily Activities
Aftercare often determines whether a manicure lasts one day or several. Fresh polish may feel dry while deeper layers remain soft, so avoid treating the nails as fully hardened immediately after painting.
- Keep your hands out of hot water for at least one hour after the manicure.
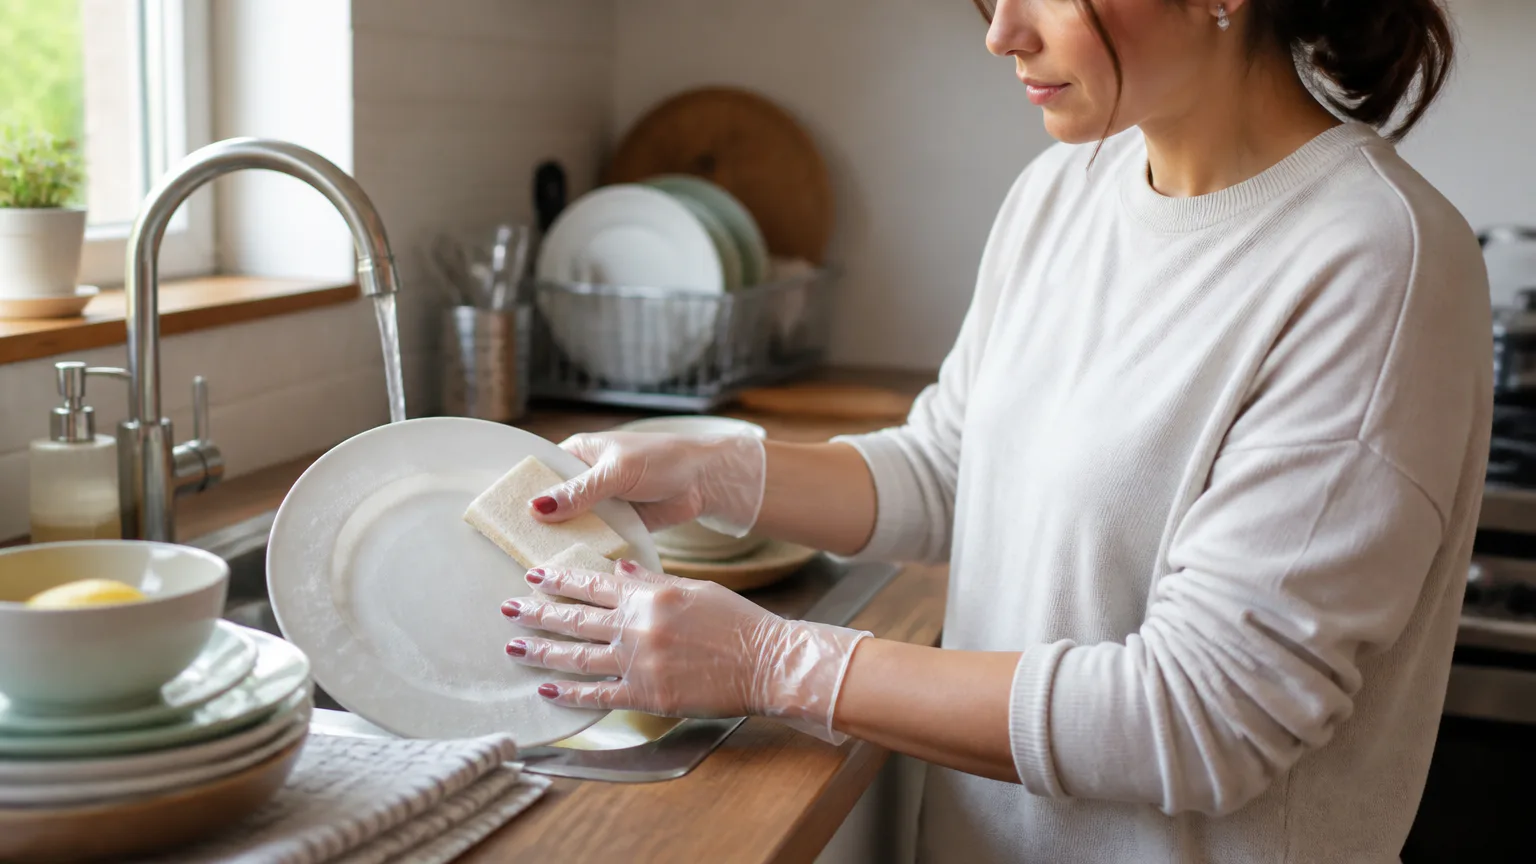
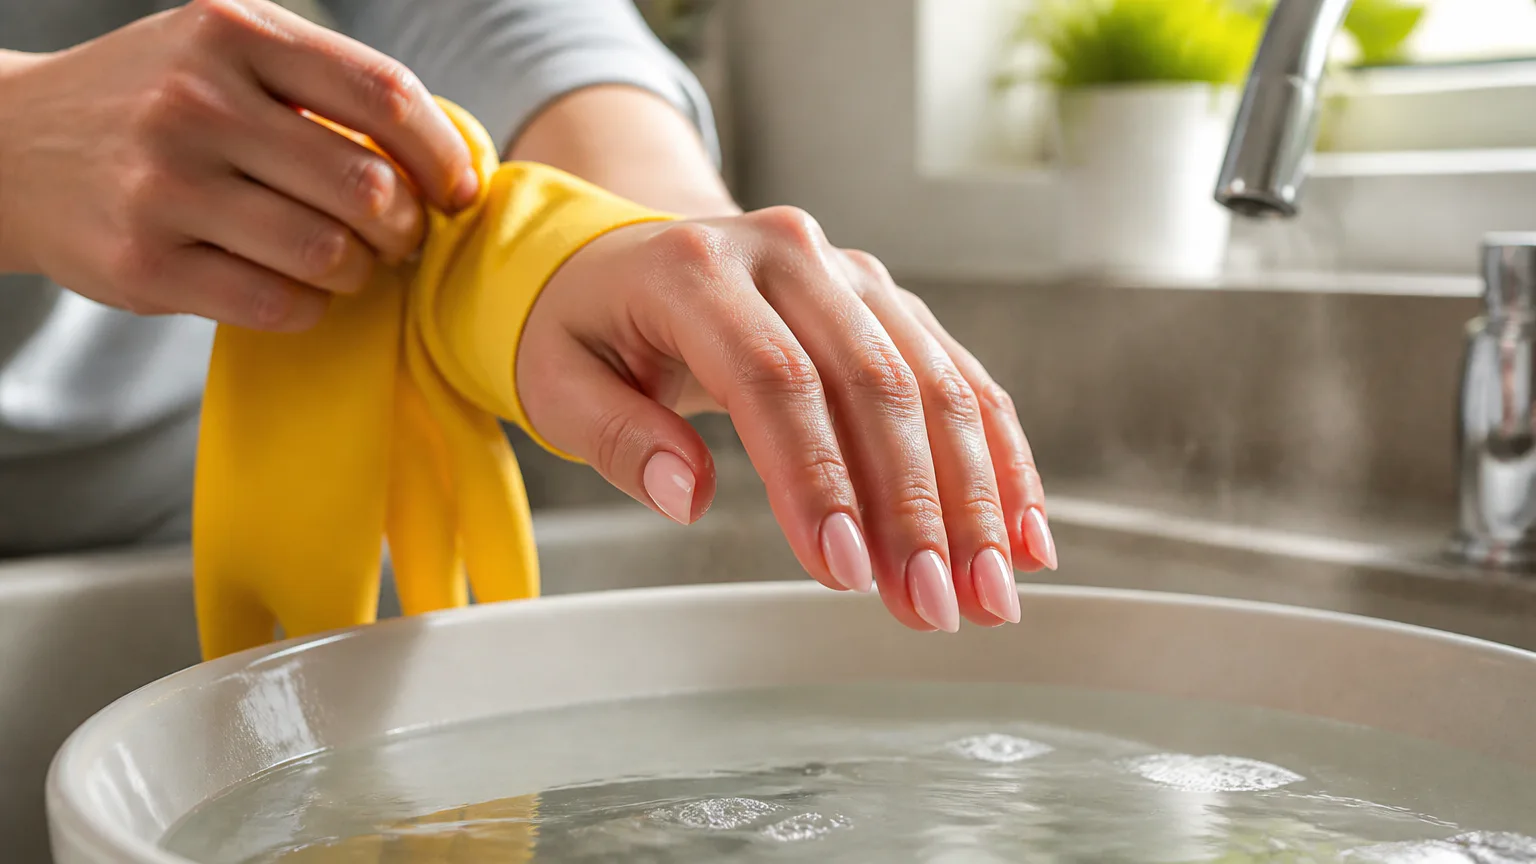
- Wear gloves for dishwashing, household cleaning, gardening and DIY projects.
- Limit prolonged water exposure, especially warm or hot-water submersion.
- Use tools to open cans, peel labels and lift objects instead of using your nails.
- Protect the free edge during crafts, repetitive typing and activities that cause repeated impact.
- Apply cuticle oil daily to hydrate the nail area and surrounding skin.
Daily cuticle oil supports flexible nails and healthy surrounding skin, but do not apply it to the nail immediately before polishing. Use it after the manicure has dried fully or as part of evening care so the surface stays oil-free during application.
Refresh Your Manicure Between Applications
Small maintenance steps can stop minor wear from becoming a large chip. Clean and dry the surface before adding a new protective layer, and never seal a lifted section beneath fresh polish.
- Gently clean the nail surface before applying maintenance product.
- Apply a thin layer of Revlon Quick Dry Top Coat after the color has dried.
- Reapply a compatible top coat every few days when the finish begins to lose its smoothness.
- Repair a small chip by smoothing the damaged edge, adding a little matching color and sealing it with top coat.
- Remove the entire manicure when lifting spreads or several nails have chipped.
Revlon Quick Dry Top Coat air-dries and does not require a UV or LED lamp. Essie Gel Setter Top Coat is another air-drying option that gives regular polish a cushioned, gel-like finish without lamp curing. Do not peel or pick off either type of polish; removing it by force can take layers of the natural nail plate with it.
Choose Regular or Gel Polish
Regular polish is simpler for an at-home manicure because it dries in the air and works with standard base and top coats. Gel polish uses a complete gel system and requires curing after each thin layer. Mixing products from the two systems can lead to poor wear or incomplete curing.
- Regular polish: Air-dries, uses a regular base coat and color, and finishes with an air-drying top coat. Orly Bonder Rubberized Base Coat, Seche Vite Dry Fast Top Coat, Essie Gel Setter Top Coat and Revlon Quick Dry Top Coat do not require a UV or LED lamp.
- Gel polish: Uses gel base, gel color and gel top coat, with every layer cured before the next one is applied. LED curing commonly takes about 30-60 seconds, while UV curing commonly takes about 2 minutes.
For gel application, keep each layer thin and prevent product from flooding the cuticles or surrounding skin before curing. Gel polish can last longer when applied correctly, but removal requires care. Picking or peeling it can damage the nail plate.
Fix Common Chipping Problems
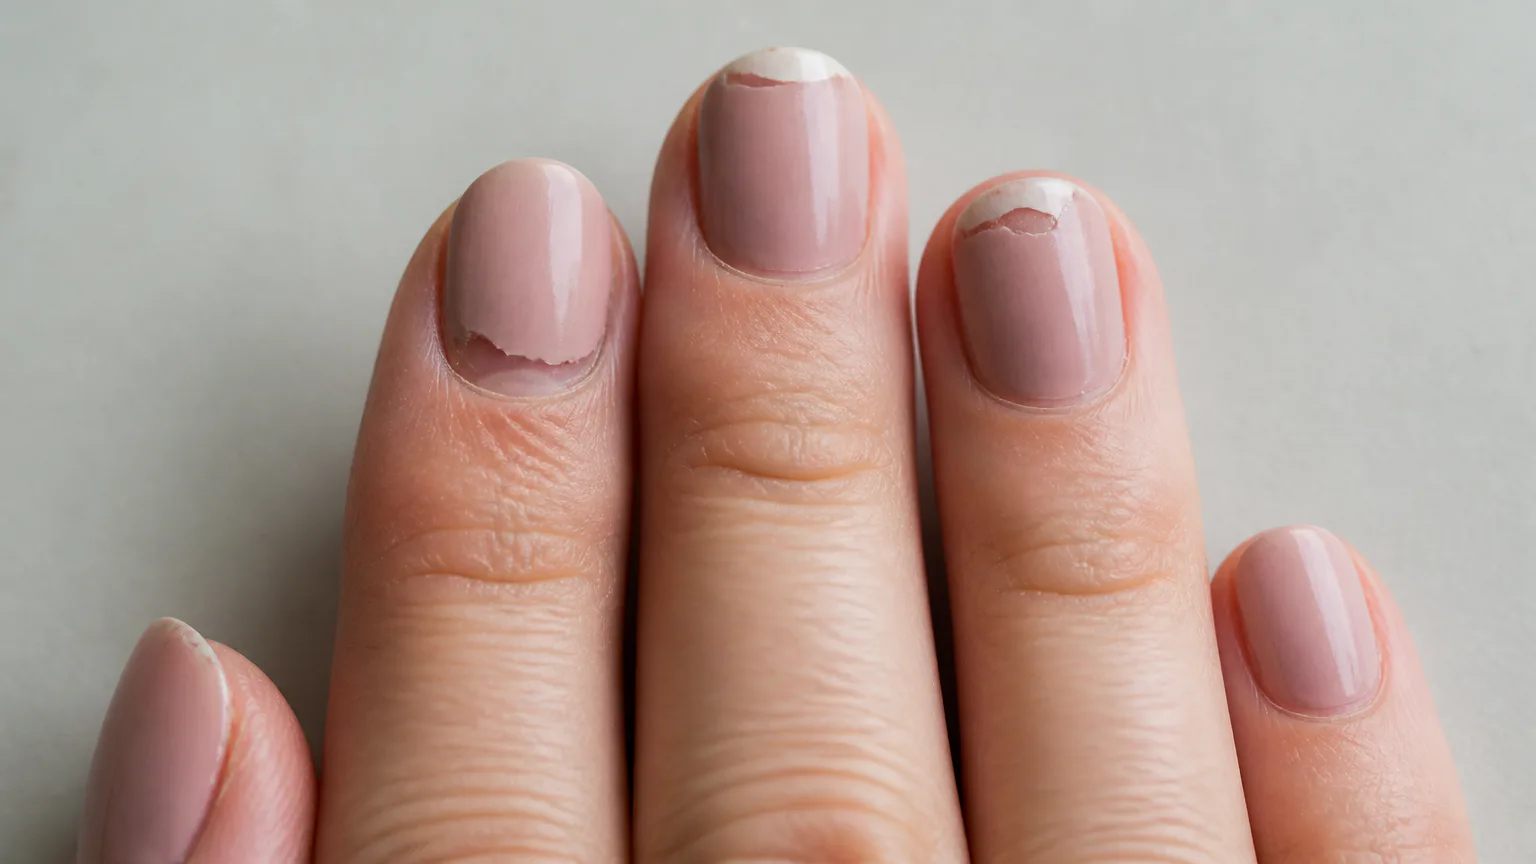
Chipping after one day usually points to a preparation, thickness, drying or impact problem rather than one defective step. Look at where the damage starts and what the nail was exposed to before changing several products at once.
- Chips at the tips: Cap the free edge with base coat, color and top coat, and keep the nail length practical for daily activities.
- Peeling near the cuticle: Keep polish off the skin, remove loose cuticle tissue and avoid flooding the sidewalls.
- Chips after washing: Reduce hot-water exposure and wear gloves for dishes and cleaning.
- Soft or dented polish: Apply thinner coats and allow more drying time between layers and after the final coat.
- Splitting nails: File in one direction, use a gentle 240-grit file and avoid using the nail as a tool.
- Frequent lifting: Remove oils and residue thoroughly, and do not apply lotion or cuticle oil before painting.
A manicure that lasts only a day may improve when you switch from one thick color coat to two thin coats with complete drying between them. Consistent glove use for dishes and cleaning also reduces wear from water and cleaning products.
FAQs
Can I prevent chipping without top coat?
You can improve wear with careful preparation, thin color layers, free-edge sealing and daily protection, but top coat adds a dedicated protective layer. Without it, the color is more exposed to water, friction and impact.
Does hot water make nail polish chip faster?
Yes. Prolonged hot or warm water can expand the porous nail plate and weaken the bond between the nail and polish. Avoid hot water for at least one hour after painting and wear gloves for extended wet work.
Conclusion
For a longer-lasting regular manicure, start with clean, dry nails, apply thin layers, cap every free edge and let the polish dry beyond the touch-dry stage. Protect the finished nails from hot water and tool-like use, then refresh the top coat before visible wear becomes a chip.