How Many Coats of Nail Polish Do You Really Need?
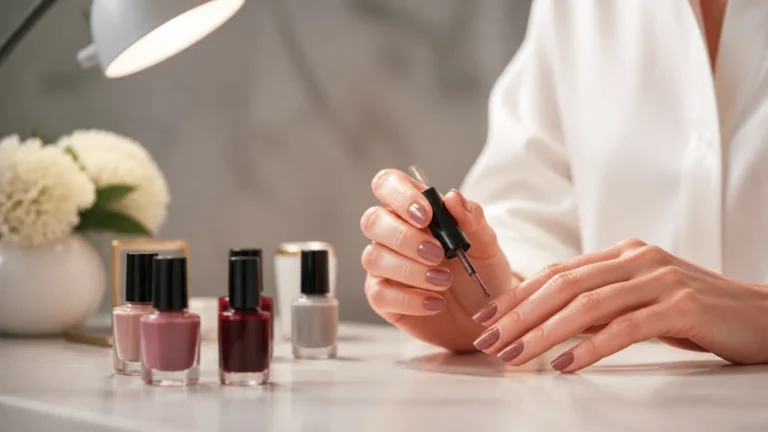
For a smooth regular manicure, plan on four basic layers: one base coat, two thin color coats and one top coat. The exact number depends on the polish formula, shade and finish. Sheer pastels, milky colors and glitter may need extra thin layers, while thick coats take longer to dry and are more likely to dent. See also how to apply nail polish and nail polish finishes explained.
The Standard Nail Polish Coat Count
- Apply one thin base coat to clean, dry nails. It improves adhesion and helps prevent staining.
- Apply the first thin color coat, brushing down the center and then along each side. Keep the polish away from the cuticle.
- Wait about 2 to 5 minutes, then apply the second thin color coat.
- Apply one optional glitter or color topper coat if you want sparkle, shimmer or a different finish.
- Finish with one thin top coat to seal the manicure, add shine and reduce smudges and chips.
For most regular manicures, the basic combination is one base coat, two color coats and one top coat. The glitter or color topper is optional and counts as an additional layer when you use one.
How Many Color Coats You Need
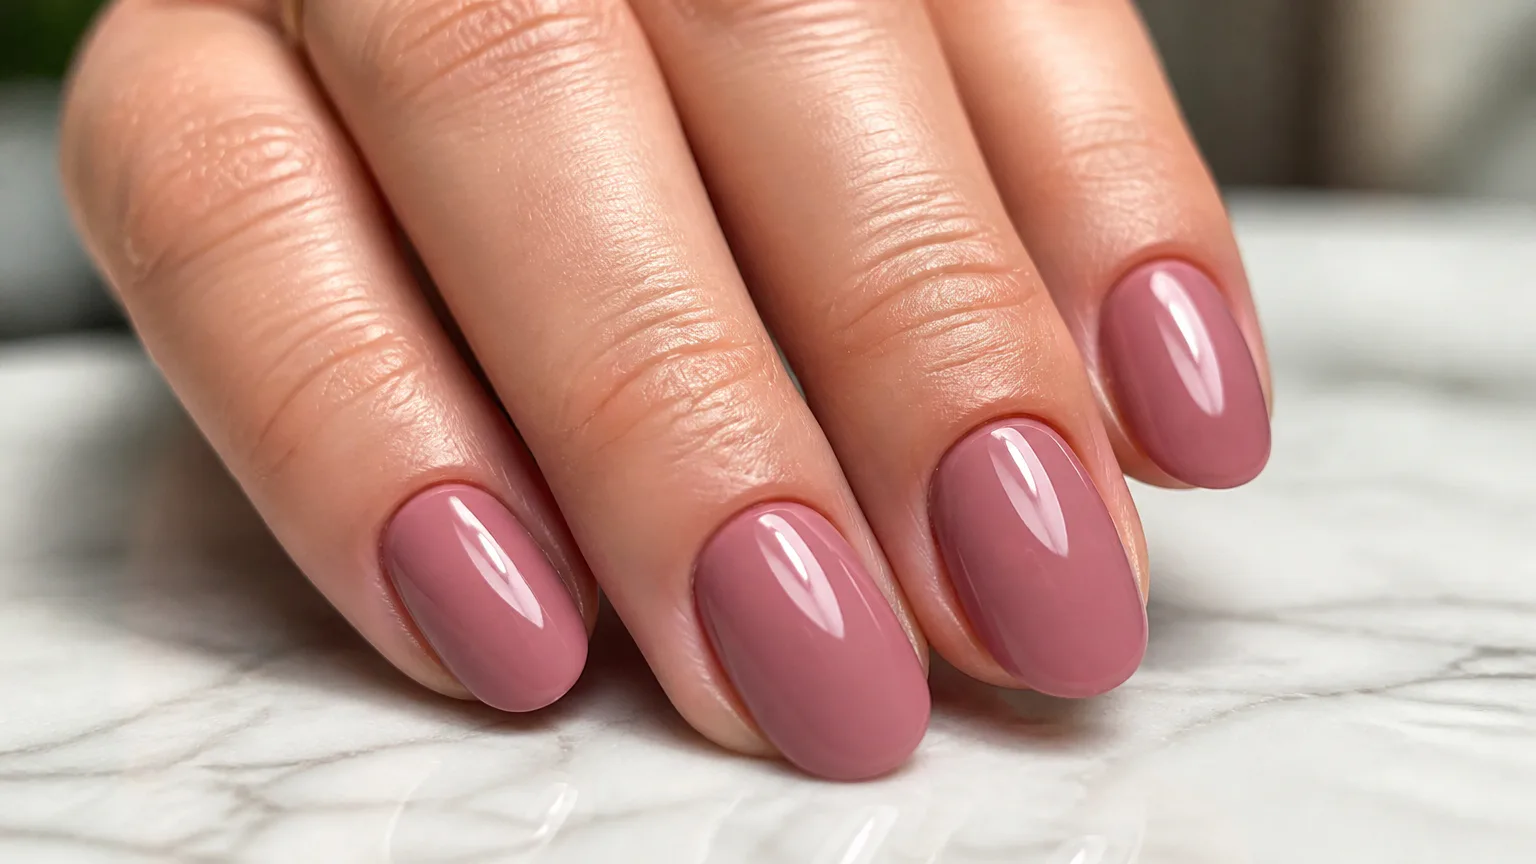
Two thin color coats provide full coverage for most opaque regular polishes. The first coat creates an even base, while the second covers visible streaks and builds the intended color without adding unnecessary thickness.
Use a third coat when the polish still looks sheer, streaky or uneven after two coats. Light pastels, milky shades and some neon colors often need this extra layer. Apply it lightly and let the previous coat settle first. A white undercoat can make neon polish look brighter and improve its coverage.
- Opaque creme: Use two color coats in most cases.
- Pastel or light shade: Add a light third coat if the finish remains streaky.
- Sheer or milky polish: Use two or three thin coats, depending on the transparency you want.
- Neon polish: Use a white undercoat when the color needs more vibrancy.
More than two color coats is not automatically a problem, but every additional layer increases bulk and drying time. If you need four color coats for coverage, the formula may be too sheer for the finish you want, or the earlier layers may be too thick.
How to Apply Regular Nail Polish
Regular polish dries through exposure to air, so clean preparation and thin application matter more than adding extra product. A dry, lightly smoothed nail gives the polish a better surface to grip. Capping the free edge also protects the part of the manicure most likely to chip.
- Remove old polish and wash away any remover residue.
- Shape the nails and gently push back the cuticles.
- Lightly smooth rough areas, then remove dust and oil from the nail plate.
- Apply one thin base coat and wait about 2 to 3 minutes, until it feels tacky and slightly gripping.
- Apply the first color coat in three controlled strokes: center, left side and right side.
- Wait about 2 to 5 minutes, then apply the second color coat.
- Cap the free edge with a small amount of color to reduce edge chipping.
- Apply one thin top coat after the color has settled.
Keep polish off the cuticle and surrounding skin. A quick-dry top coat can shorten surface-drying time, but it does not make a thick manicure fully harden immediately. Thin layers are easier to smooth and less likely to bubble, wrinkle, smudge or peel.
How Gel Polish Differs
Gel polish uses light to cure each layer. The application order is similar to regular polish, but gel requires a UV/LED lamp. Apply gel color in thin coats because a thick layer can remain undercured beneath a hardened surface.
- Prepare the nails and remove dust, oil and moisture from the nail plate.
- Apply a thin gel base coat.
- Cure the base coat under a UV/LED lamp for about 30 to 60 seconds.
- Apply the first thin gel color coat.
- Cure the color for about 60 seconds.
- Apply the second thin gel color coat.
- Cure the second color layer for about 60 seconds.
- Apply a thin gel top coat.
- Cure the top coat for about 60 to 90 seconds.
- Keep gel away from the cuticles and surrounding skin.
- Wipe away any gel that touches the skin before curing.
- Follow the product’s lamp and curing instructions when they differ.
- Do not assume a sticky inhibition layer means the entire gel layer is uncured; some gel systems leave surface residue after curing.
Two thin gel color coats are the usual starting point. Gel does not air-dry between coats, so each layer must be cured before the next one is applied. Uncured product on the skin can cause irritation and sensitization, so careful application matters.
When Glitter Needs Extra Layers
Glitter can change the coat count because its particles may leave a textured surface or create uneven coverage. A glitter topper usually needs one coat over the color. A second coat adds more sparkle and particle density.
- Apply one glitter topper coat for a light sparkle effect.
- Apply a second glitter coat for denser coverage or more visible particles.
- Use a sponge to dab on dense glitter when brushing leaves gaps or removes too much product.
- Add an extra top coat when chunky glitter feels raised or catches on fabric.
- Use a second top coat only after the first has settled and the surface still feels textured.
Keep extra glitter layers thin. Several heavy coats can trap wet polish beneath the particles and leave the manicure soft for hours. A smooth top coat helps prevent rough glitter from snagging, but it cannot fully fix a thick, uneven base.
How Long to Wait Between Coats
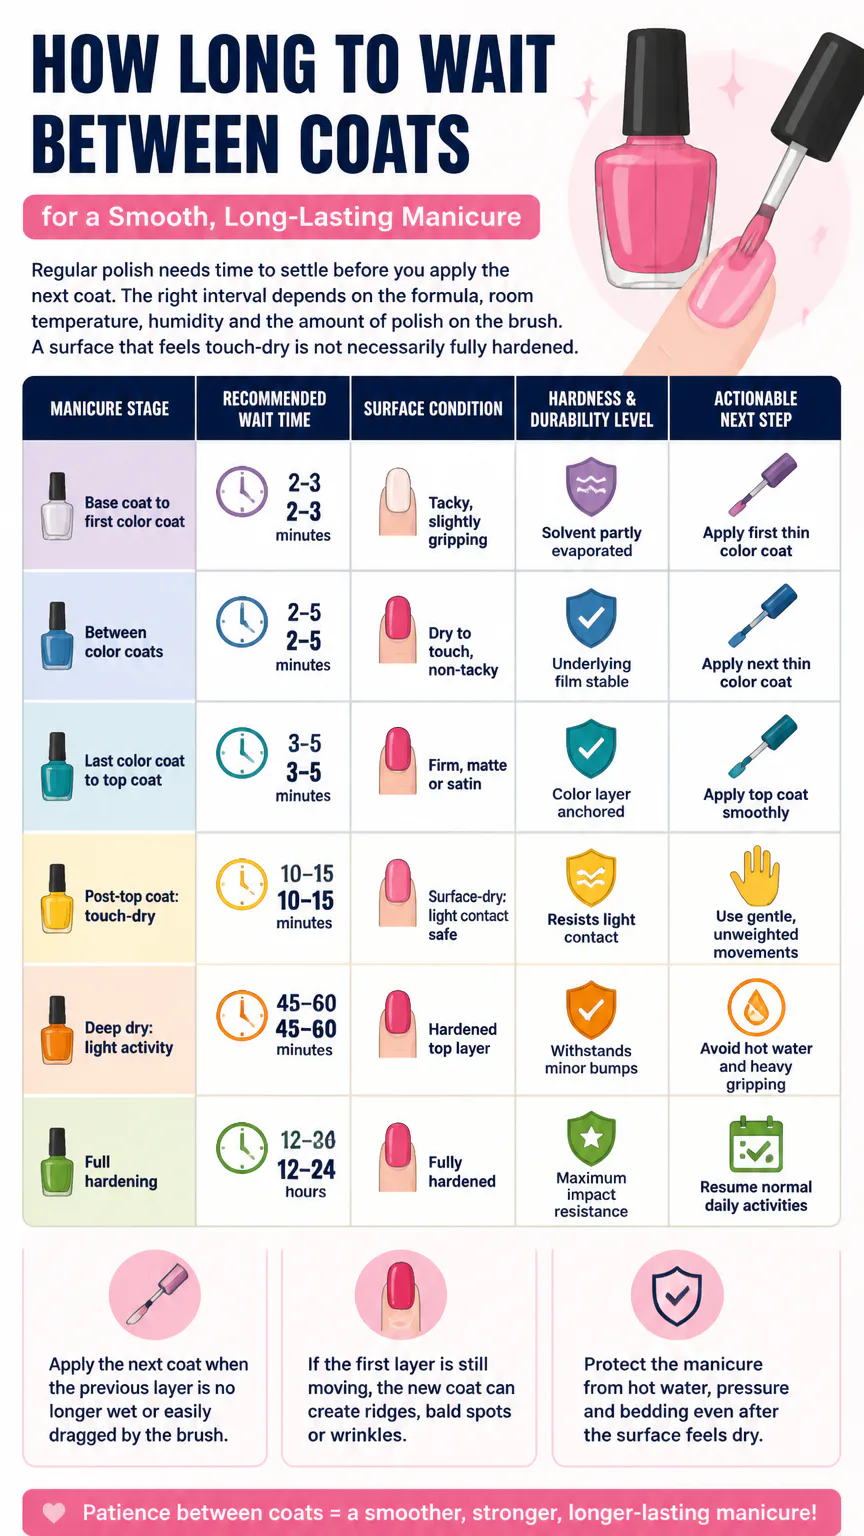
Regular polish needs time to settle before you apply the next coat. The right interval depends on the formula, room temperature, humidity and the amount of polish on the brush. A surface that feels touch-dry is not necessarily fully hardened.
| Manicure Stage | Recommended Wait Time | Surface Condition | Hardness & Durability Level | Actionable Next Step |
|---|---|---|---|---|
| Base coat to first color coat | 2–3 minutes | Tacky, slightly gripping | Solvent partly evaporated | Apply first thin color coat |
| Between color coats | 2–5 minutes | Dry to touch, non-tacky | Underlying film stable | Apply next thin color coat |
| Last color coat to top coat | 3–5 minutes | Firm, matte or satin | Color layer anchored | Apply top coat smoothly |
| Post-top coat: touch-dry | 10–15 minutes | Surface-dry; light contact safe | Resists light contact | Use gentle, unweighted movements |
| Deep dry: light activity | 45–60 minutes | Hardened top layer | Withstands minor bumps | Avoid hot water and heavy gripping |
| Full hardening | 12–24 hours | Fully hardened | Maximum impact resistance | Resume normal daily activities |
Apply the next coat when the previous layer is no longer wet or easily dragged by the brush. If the first layer is still moving, the new coat can create ridges, bald spots or wrinkles. Protect the manicure from hot water, pressure and bedding even after the surface feels dry.
What Happens If You Apply Too Much
Too many layers are usually a thickness problem rather than a fixed numerical rule. A manicure can have three thin color coats and still look attractive, while four heavy coats may stay soft, wrinkle or chip quickly. Even when the surface feels dry, allow 12 to 24 hours for full hardening and maximum impact resistance.
- Gloopy appearance: The polish sits high on the nail and looks rounded at the edges.
- Bubbles: Thick product, vigorous shaking or movement between layers can trap air.
- Wrinkles: The surface dries while polish underneath remains wet.
- Slow drying: Multiple heavy layers take longer to harden.
- Peeling: Excess thickness can reduce flexibility and cause the layers to lift together.
- Premature chipping: A thick edge catches more easily on clothing, hair and hard surfaces.
If the polish is too thick in the bottle, do not try to fix it by applying thinner coats of a lumpy formula. A few drops of polish thinner can restore its consistency when the product instructions permit it. Avoid using remover to thin polish because it can change the formula and drying behavior.
Frequently Asked Questions
How many coats of nail polish go on toes?
Toenails usually need one base coat, two thin color coats and one top coat. Add a third color coat only when the shade remains sheer or streaky, and allow enough drying time before wearing closed shoes.
How many base coats should you use?
Use one thin base coat. A second is usually unnecessary unless the product specifically recommends it or the nail needs targeted smoothing. More than two base coats adds thickness without improving most manicures.
Can you use two top coats?
One top coat is enough for a standard manicure. A second thin layer can smooth chunky glitter or add protection, but it also increases drying time and should not compensate for thick color coats.
Is three coats of nail polish too much?
Three coats is fine when the first two do not provide enough coverage, especially with pastel, sheer or milky shades. Keep each coat thin and let the manicure dry fully before exposing it to pressure or water.
Conclusion
Start with one thin base coat, apply two thin color coats and finish with one top coat. Add a third color layer only when the coverage requires it. Glitter may need extra thin layers, while gel requires thin application and proper UV/LED lamp curing.