16 Stunning Square Christmas Nails Ideas for a Festive Manicure
Square nails make a crisp, polished canvas for Christmas nail art. Their straight edges give French tips, plaid lines, and geometric details a particularly clean look, while the flat surface also leaves room for tiny seasonal accents.
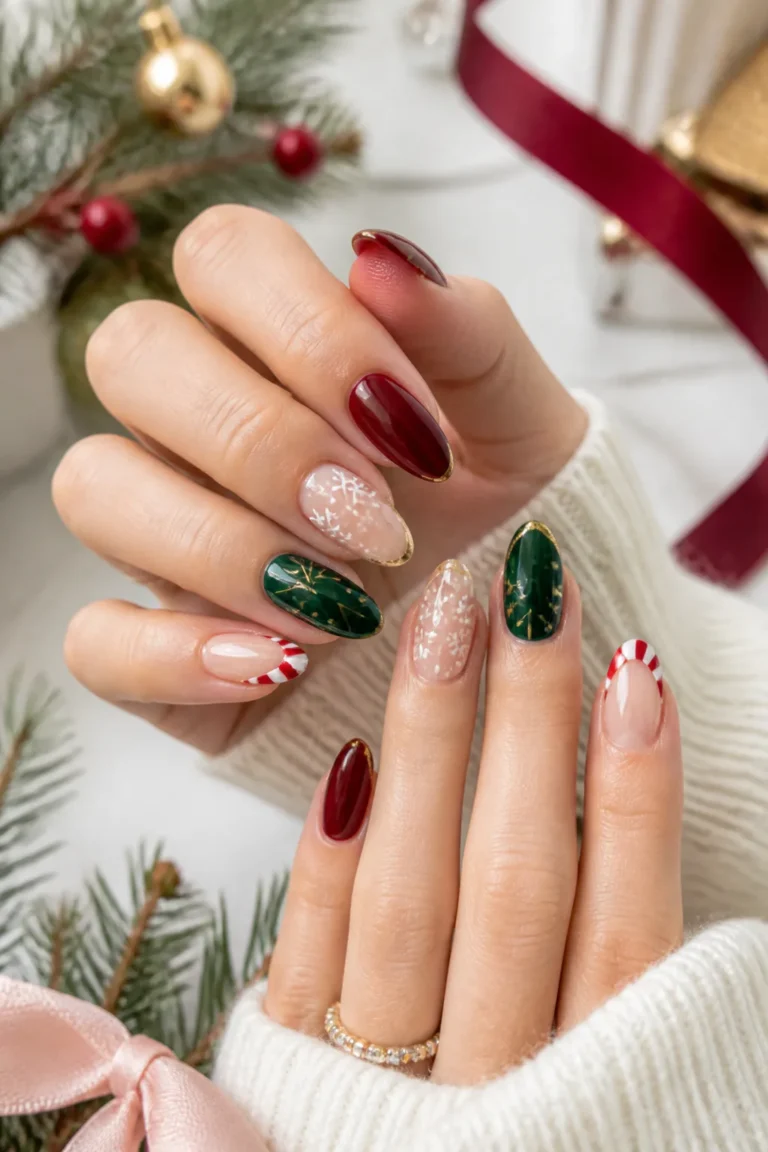
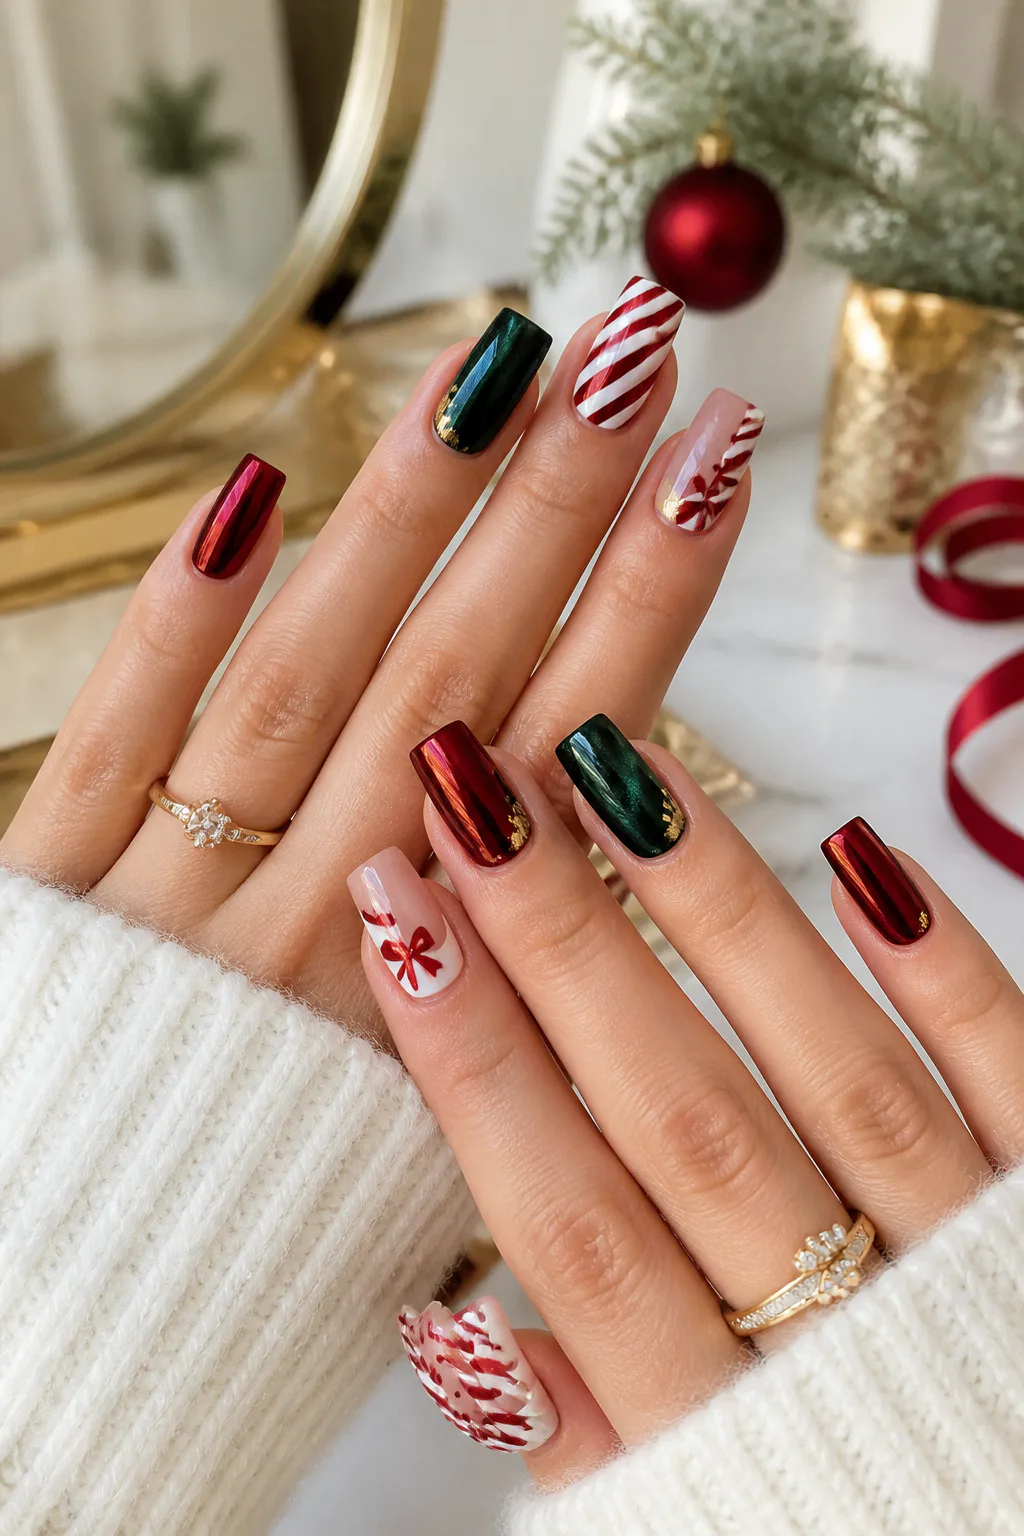
These 16 square Christmas nail ideas range from subtle winter designs to bold, glossy holiday looks. You’ll find options in classic red and green, softer pink and white, and deeper shades that feel festive without relying on traditional colors alone.
Whether you prefer short, practical nails or a longer statement shape, most of these designs can be adapted to your length and finish. Use them as inspiration for a salon appointment, a press-on set, or a careful at-home manicure.
1. Red French Tips with Tiny Bows
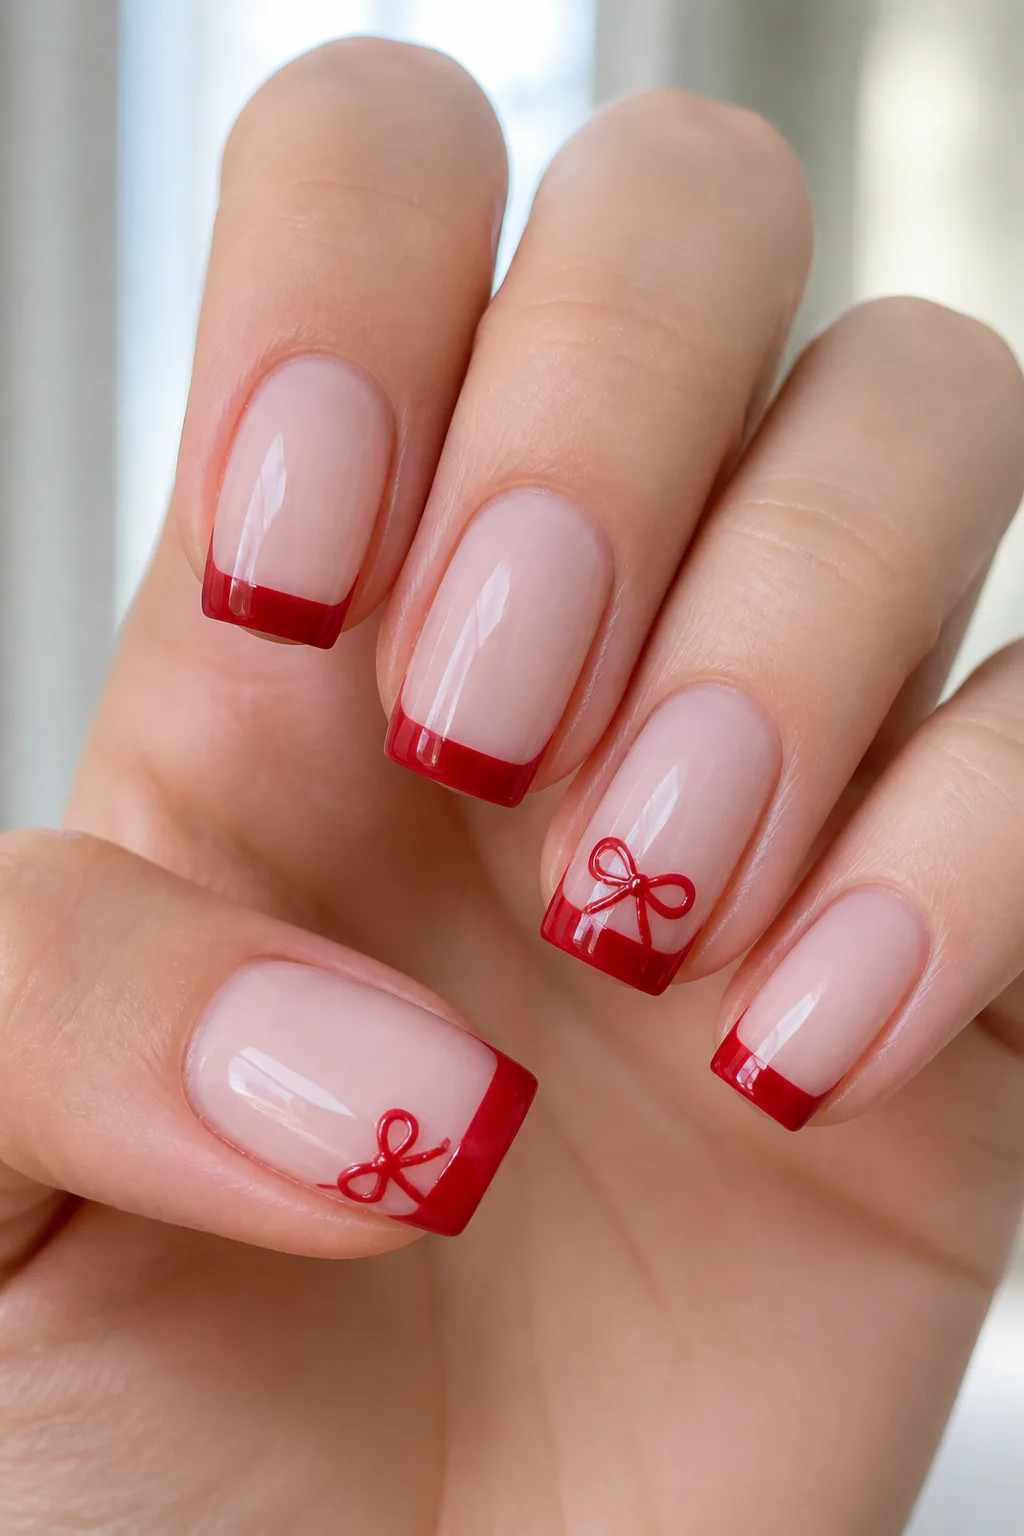
A crisp red French tip brings classic Christmas color to a square manicure without covering the whole nail. Against a milky or nude base, the straight free edge makes the red look sharp and intentional, while the open space keeps the overall effect light.
Add a tiny bow on one or two accent nails for a sweet finishing detail. A hand-painted bow can be delicate and flat, while a small raised embellishment gives the manicure a little more dimension. The ring finger is a natural spot, but a bow near the cuticle can feel more unexpected.
How to pull it off
Keep the tips consistent in width so the design looks balanced across all ten nails. If you’re working with shorter squares, use a slim red line and a very small bow; longer nails can accommodate a wider tip and more detailed ribbon loops.
- Choose a sheer nude or milky base for a soft contrast.
- Use a fine brush to keep the red tip crisp at the corners.
- Limit bows to one or two nails for a neat accent.
2. Candy Cane Stripe Accent Nails
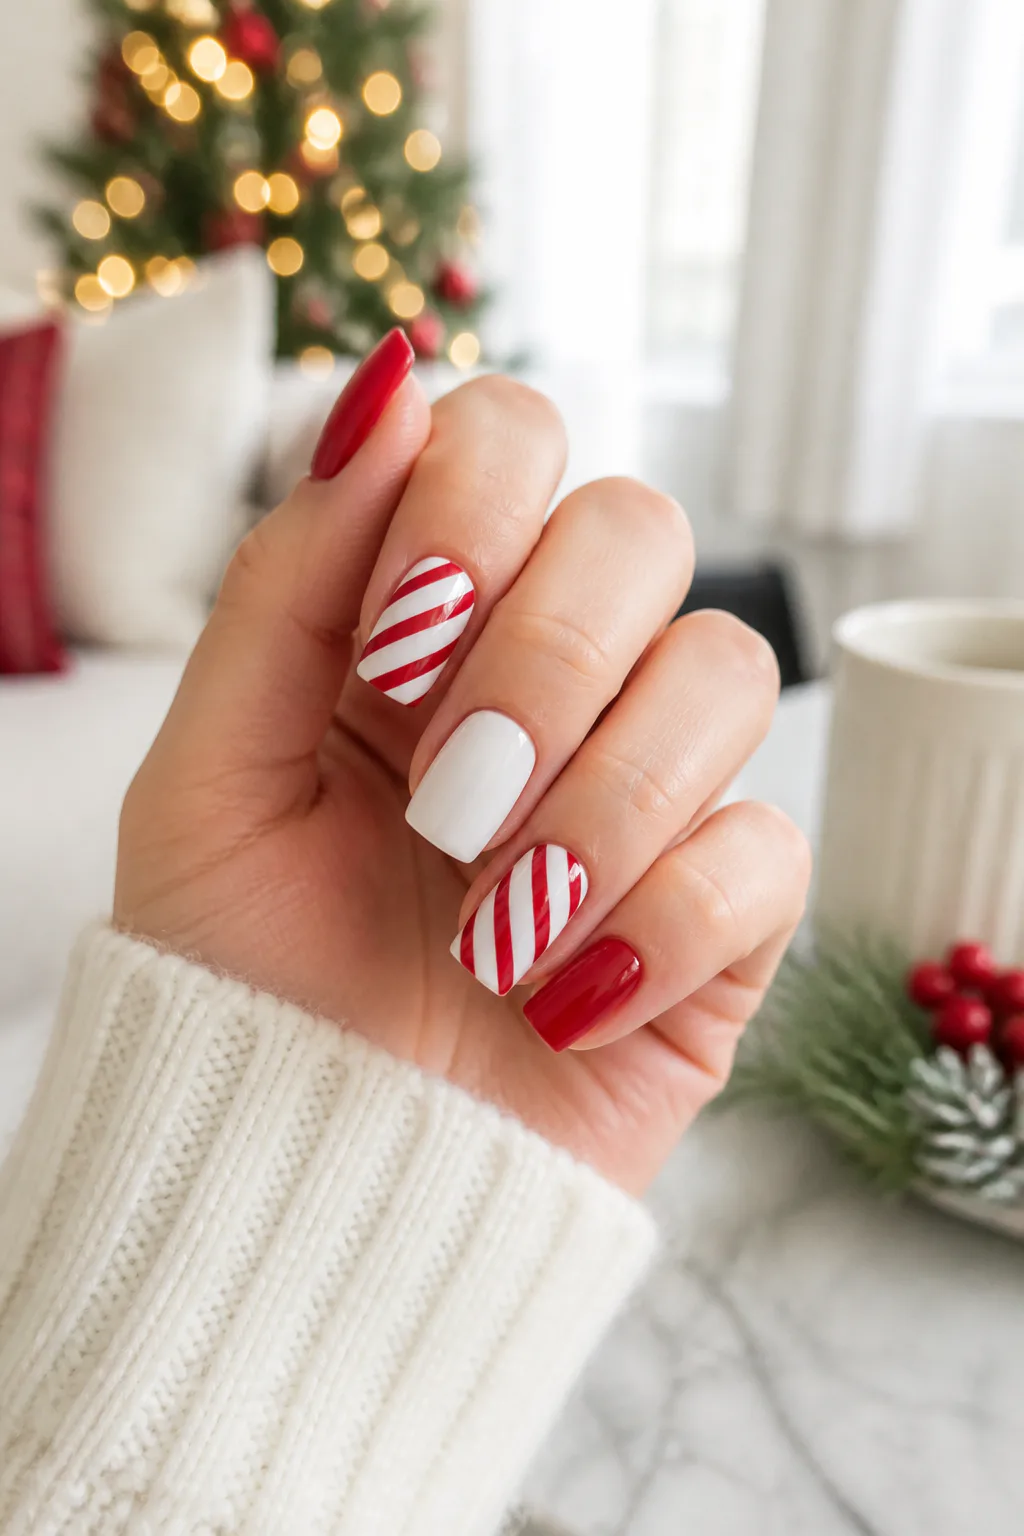
Glossy red and white nails make an easy, recognizable holiday combination, and diagonal candy cane stripes add a playful twist. The contrast reads clearly on square nails, where the straight sidewalls help keep the patterned accent looking tidy.
Rather than putting stripes on every nail, alternate solid red and white with one or two striped features. This gives the pattern room to stand out and keeps the manicure from feeling too busy. It works well for short nails, too, as long as the stripe spacing stays simple.
Design tips
Start with fully opaque color on the solid nails, then make the stripes on a white base using a fine detail brush or striping tape. Slightly angled lines create the candy-cane effect; consistent spacing matters more than making every stripe perfectly narrow.
- Try red on the thumb and little finger, with white between.
- Keep stripe direction consistent on both hands.
- Finish with a glossy top coat to even out the surface.
View this post on Instagram
Video: @suziemoon626 on Instagram. Style shown: red-and-white candy cane swirl tips on square nails.
3. Emerald Green Velvet Cat-Eye

Magnetic emerald polish creates a shifting band of light that gives square nails a rich, velvet-like look. The finish changes as your hands move, so the manicure feels detailed even without extra art or embellishments.
This design suits anyone who wants a festive alternative to bright red. Deep green looks elegant on its own and works especially well on medium or long squares, where there is more room for the light-catching effect to show. On short nails, a saturated shade still makes a strong seasonal statement.
How to get the look
Cat-eye polish needs to be shaped with a magnet before it is cured, so work one nail at a time and follow the product’s instructions. A narrow diagonal glow can feel dramatic, while a centered reflection gives the nails a softer, more even finish.
- Pick a deep emerald shade for a jewel-like effect.
- Hold the magnet steadily to define the reflective band.
- Keep the rest of the design minimal to showcase the finish.
View this post on Instagram
Photo: @brittany_nailart on Instagram. Style shown: emerald green velvet cat-eye finish.
4. Pink Gingerbread Man Nails
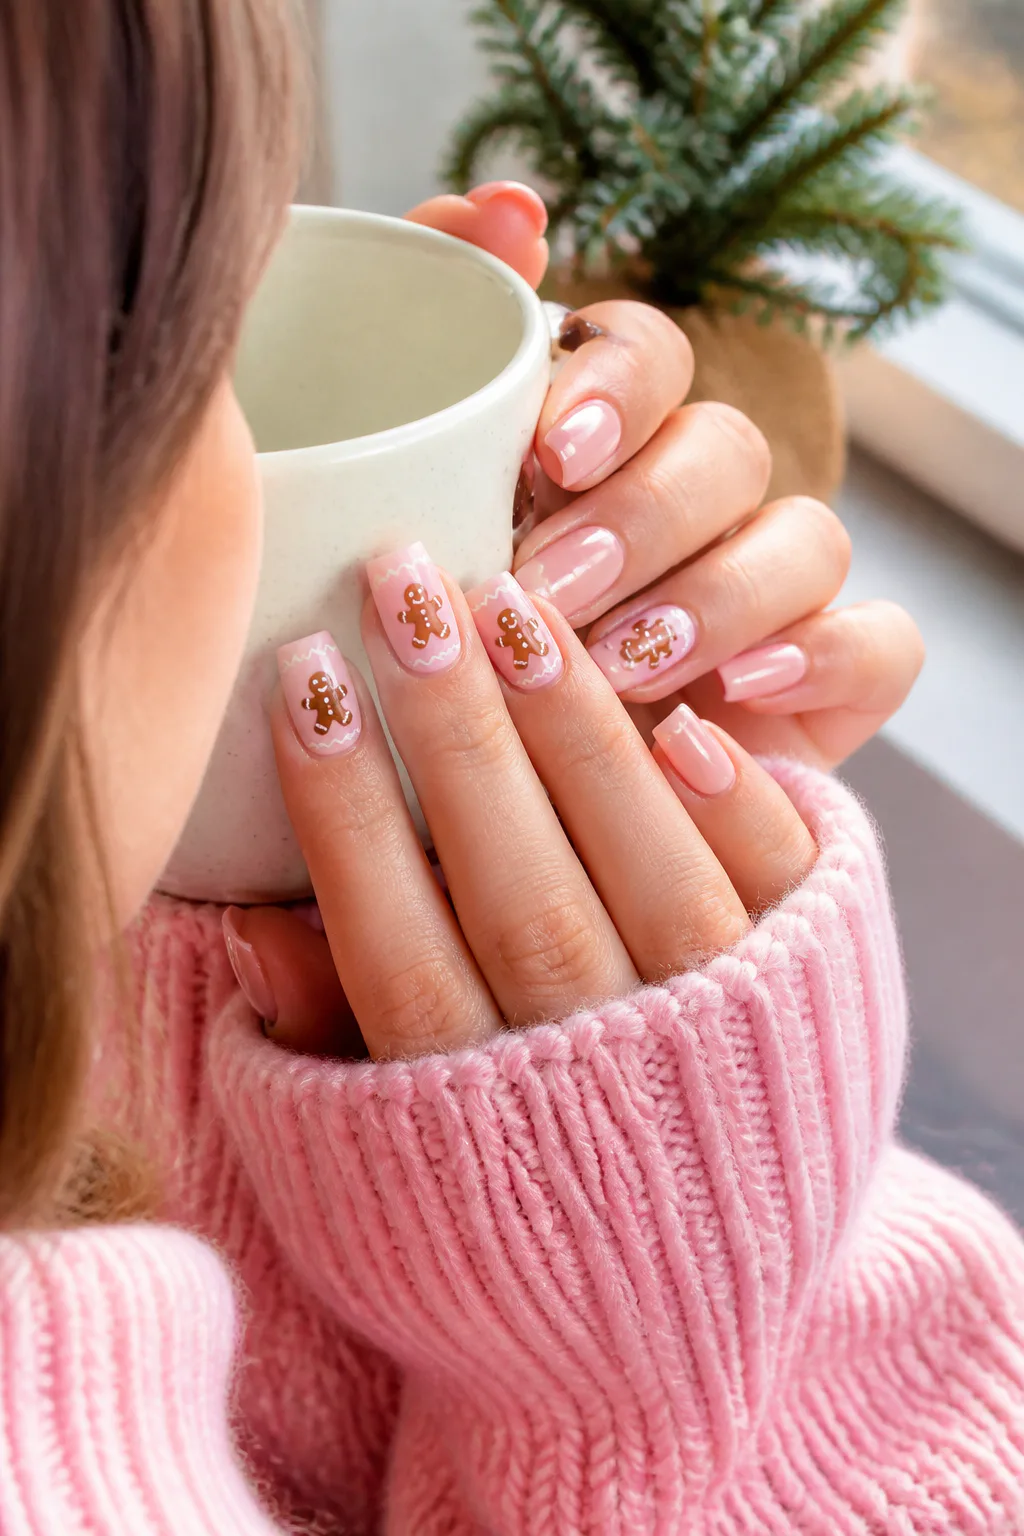
A glossy baby-pink base gives gingerbread nail art a cheerful, unexpected backdrop. Tiny brown gingerbread figures and white icing details create a sweet holiday theme, while the soft color palette keeps the design playful rather than overly traditional.
This idea is especially charming on one or two accent nails, paired with solid pink on the rest. Square tips offer a neat frame for miniature figures, but the artwork should stay simple enough to read at a small scale. A few icing zigzags or buttons can suggest the character without crowding the nail.
Keep the art easy to read
Let the pink base dry or cure fully before adding the figures. Use a fine brush or dotting tool for small details, and leave a little open space around each gingerbread person so the design remains clear.
- Use a warm brown for the figures against cool baby pink.
- Add white icing lines, buttons, or tiny cuffs.
- Place the characters on accent nails rather than every finger.
5. Icy Snowflake Square Nails
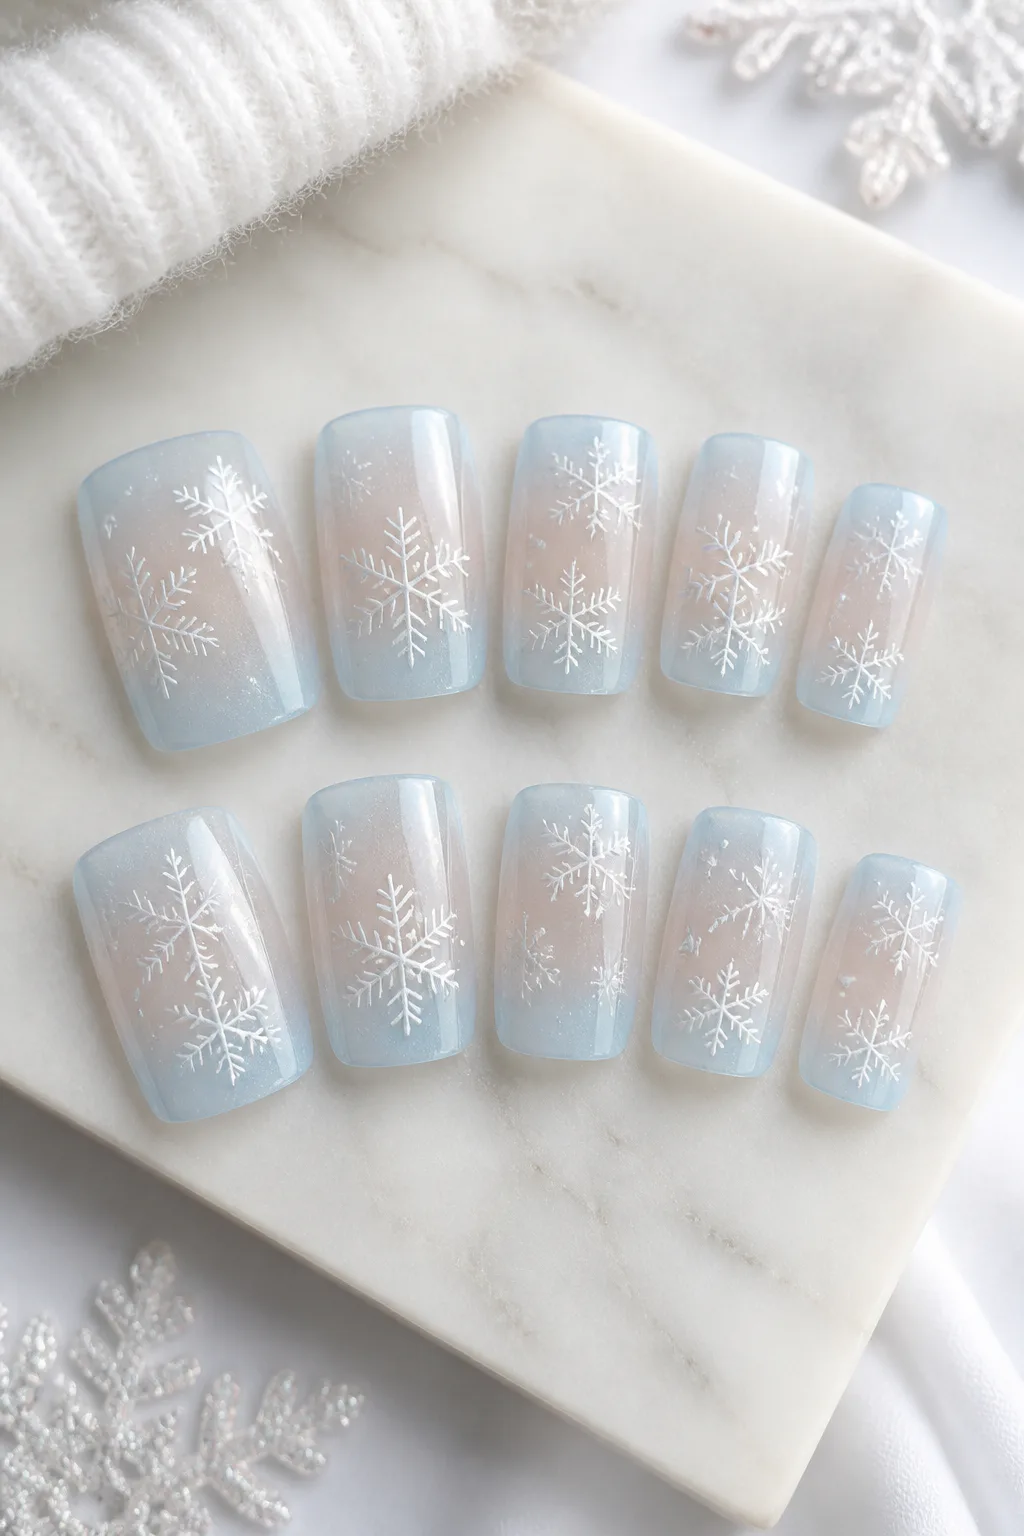
Minimal white snowflakes on a sheer icy-blue or clear base create a delicate winter manicure. The translucent background lets the natural nail show through, while the straight square edges give the fine snowflake shapes a clean, modern setting.
This is a lovely choice if you want seasonal detail without a dense pattern. It works on short nails as well as longer ones, and the cool palette can feel festive throughout winter. A single snowflake per nail looks airy, while a mix of larger and smaller flakes adds gentle variation.
Make the snowflakes stand out
Use a fine liner brush to draw a few simple intersecting lines, then add short branches or dots. Snowflakes do not need to be identical; keeping the white pigment crisp and the background sheer is enough to make the set feel cohesive.
- Choose a barely blue tint for a frosted-glass effect.
- Vary snowflake size to suit each nail’s space.
- Add a glossy top coat for a smooth, icy finish.
6. Festive Buffalo Plaid Accents
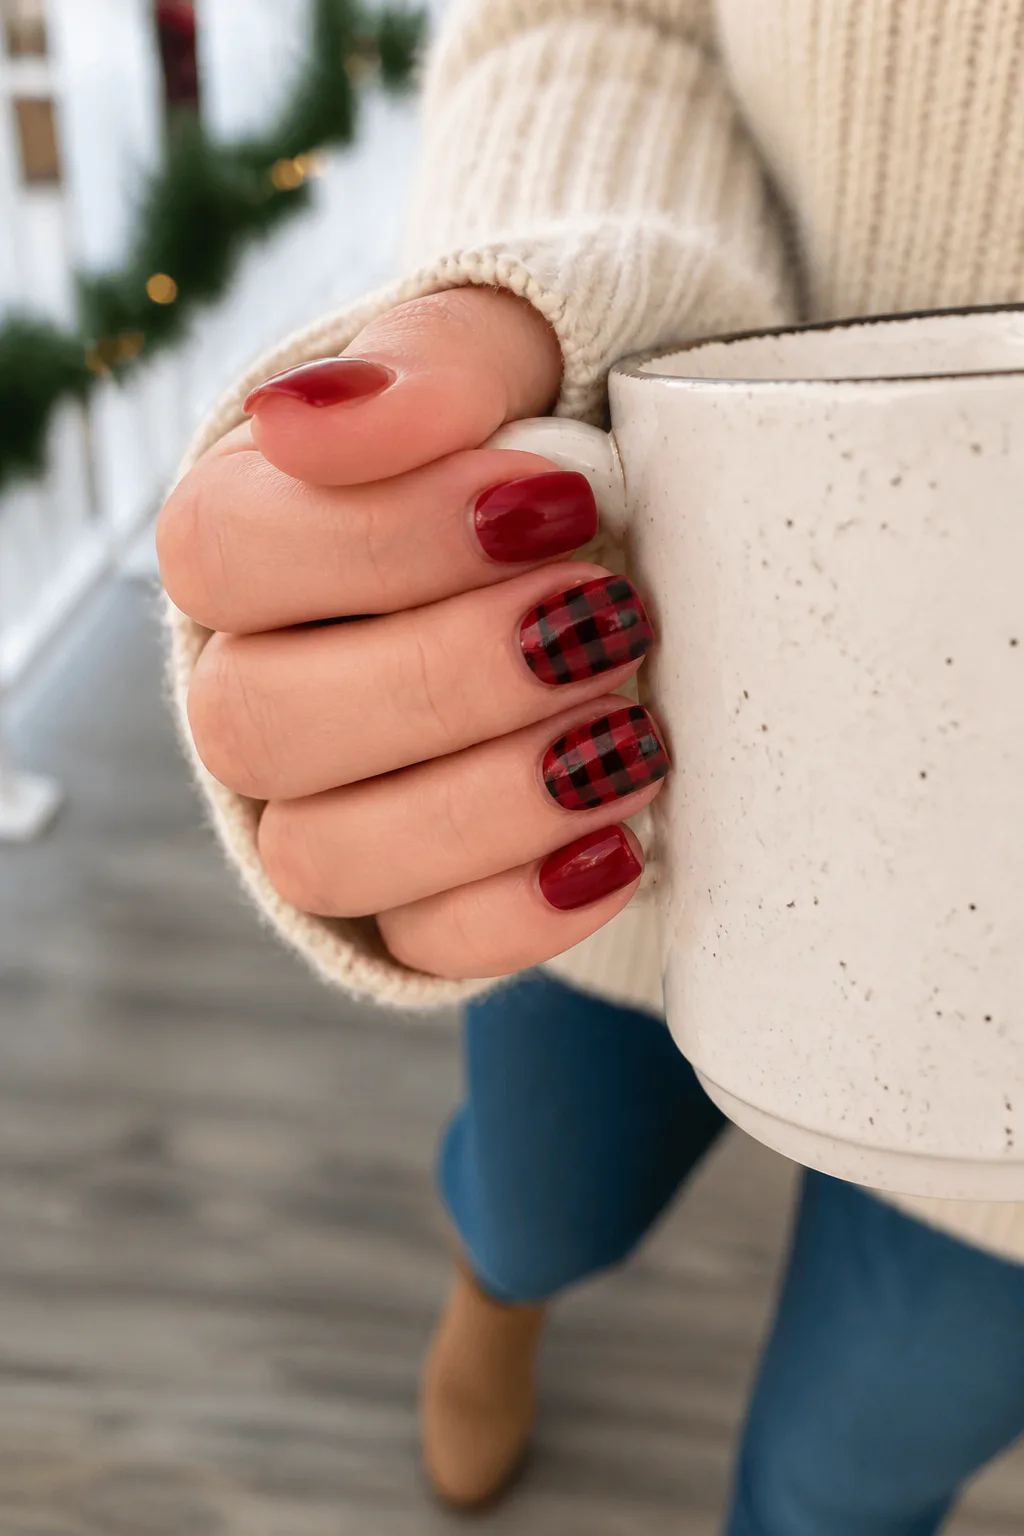
Buffalo plaid brings a cozy, cabin-inspired touch to square Christmas nails. Red and black is a familiar combination, while forest green and navy offer a deeper, less expected alternative. The grid pattern naturally suits square shapes, echoing their straight edges.
Use plaid on a couple of feature nails and keep the remaining nails in solid holiday shades. This balance makes the check pattern a focal point without turning every nail into a detailed canvas. It’s a good option for anyone who likes graphic nail art and richer winter colors.
Build a clean check pattern
Start with a solid base color and add intersecting bands in a contrasting shade. A sheer layer of the darker color can create the characteristic overlapping blocks; on smaller nails, simplify the grid so the lines remain visible.
- Pair red-and-black plaid with solid deep red nails.
- Try green and navy for a moodier palette.
- Keep the plaid to one or two accent nails per hand.
7. Ruby Red Chrome Glazed Nails

Ruby red chrome gives a classic holiday manicure a bright, reflective finish. The rich base color keeps the look grounded in Christmas, while the glazed shine catches the light and makes square nails feel especially polished.
This design can stand alone without extra art, making it a strong choice if you want a bold set with a simple color story. Deep cherry tones feel dramatic, while brighter ruby shades look lively and festive. The square shape adds a crisp outline that contrasts nicely with the smooth, glossy surface.
Get a smooth, reflective finish
Chrome effects depend on the polish and application system, so follow the product directions and ask your nail professional about the right base and top coat. A smooth foundation helps the reflective finish look even rather than emphasizing ridges.
- Choose a deep red base for a jewel-toned result.
- Keep the nails free of extra embellishments for maximum shine.
- Seal the edges carefully to help protect the manicure.
8. Gold Foil Framed Square Nails
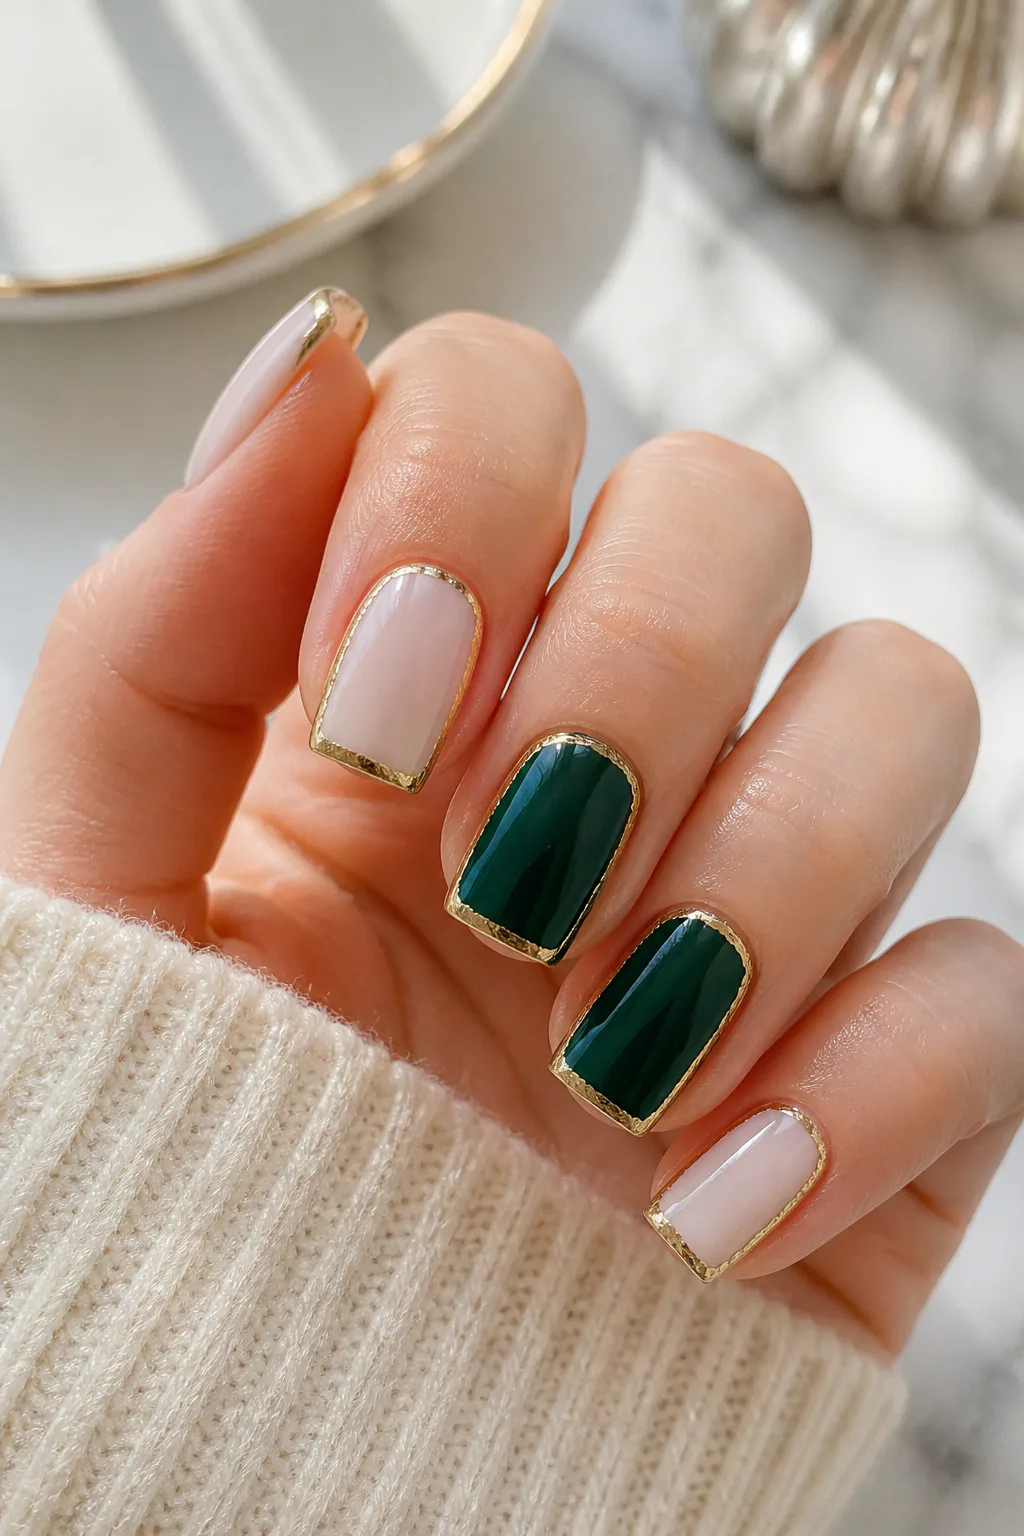
Fine gold foil edges bring a modern, dressed-up feel to square nails. A delicate outline can frame a milky white manicure or add definition to deep forest green, giving the color a refined finish without covering the entire nail in metallic detail.
The geometric effect works particularly well with square tips because the straight sides and corners give the foil a natural path to follow. It’s a subtle option for holiday gatherings, especially if you like a little shine but prefer clean lines over glitter or elaborate motifs.
Keep the framing delicate
Apply foil in narrow sections rather than trying to create a heavy border. A partial frame along one or two edges can look just as intentional as a full outline, and it may be easier to maintain on shorter nails.
- Pair gold with milky white for a light, elegant look.
- Choose forest green for richer holiday contrast.
- Use thin foil accents to preserve the clean shape.
9. Matte Emerald with Gold Stars

Matte forest green and metallic gold make a striking pairing for Christmas nails. The velvety surface absorbs light, while tiny starbursts and dots add a bright contrast that feels like a simple night-sky motif.
Because the color and finish already make an impression, the gold details can stay sparse. Place a few stars on accent nails or scatter a tiny constellation across one feature nail. This design suits square shapes of different lengths, with shorter nails benefiting from just one or two well-spaced details.
Balance matte and metallic
Apply the green evenly before adding a matte top coat, then place the gold art on the finished surface as directed for your polish system. Keep the starbursts fine so they complement the rich color instead of competing with it.
- Use a deep, opaque forest green as the base.
- Add small gold stars and dots in loose clusters.
- Leave some nails plain for a calmer overall effect.
10. Red Peppermint Swirl Nails
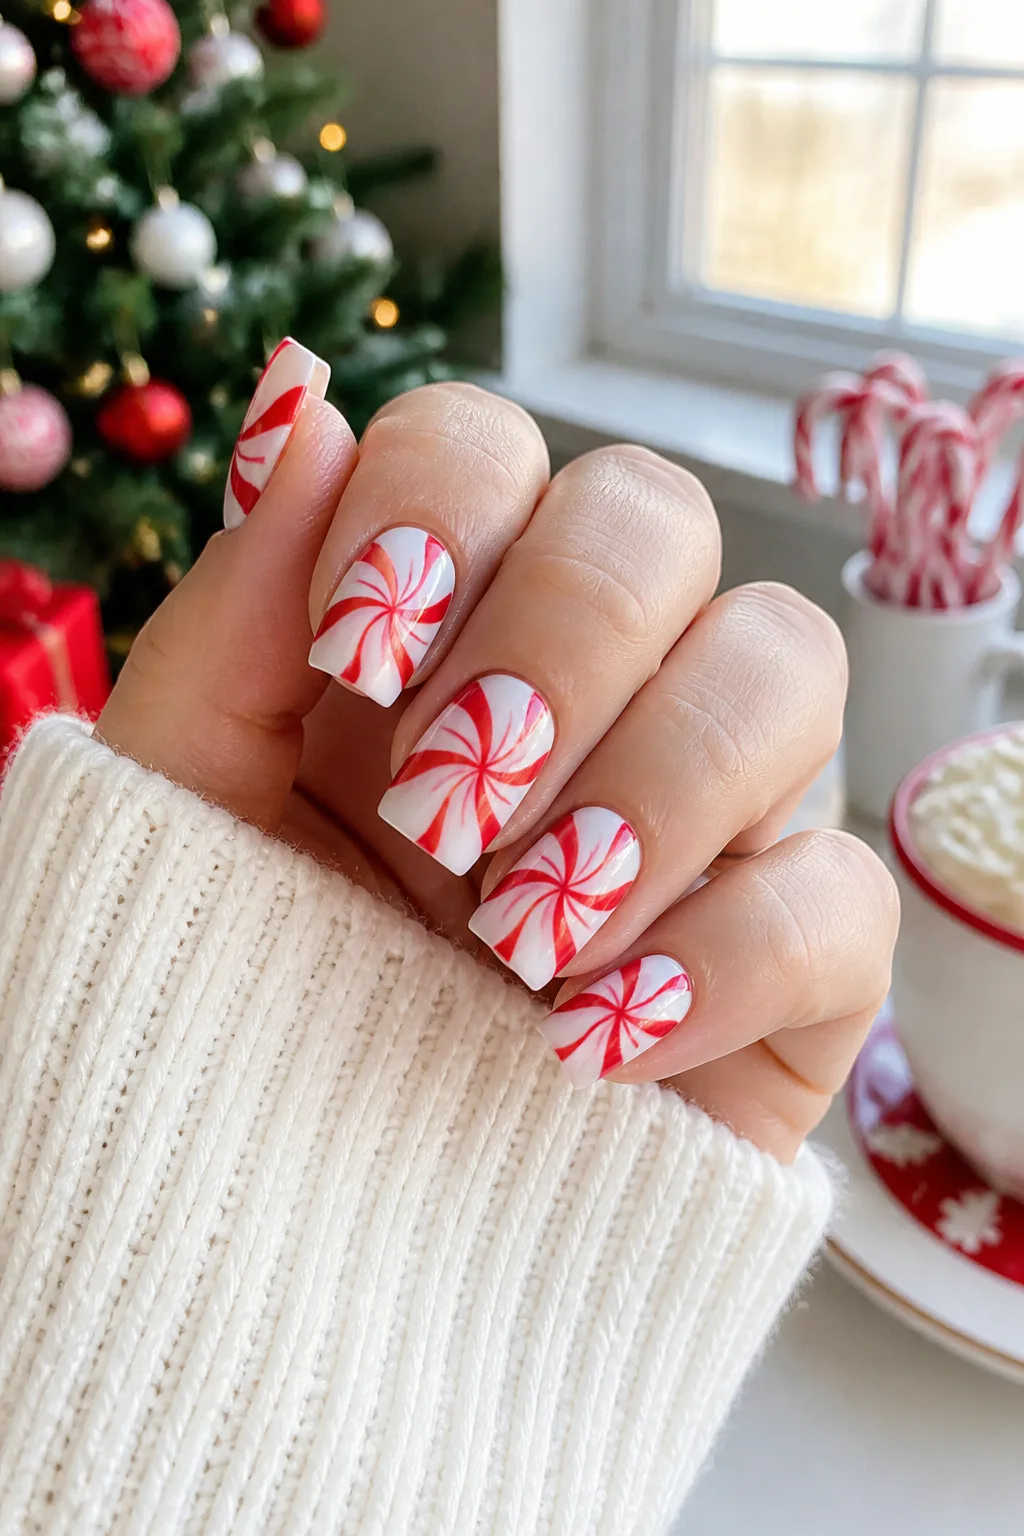
Red swirls over a milky white base bring peppermint-candy energy to a square manicure. The curved lines soften the sharp nail shape, while the red-and-white palette keeps the design unmistakably festive.
Raised gel swirls add a tactile, dimensional finish, but painted lines can create a similar look with a flatter profile. You can repeat the pattern on every nail for a bold candy-inspired set or reserve it for a few accents alongside solid red nails.
Shape the swirls with care
Plan the curve before applying the red so the lines feel fluid rather than crowded. If using a raised product, keep the design comfortable and avoid placing bulky details too close to the free edge, where they may catch more easily.
- Begin with an opaque milky white base.
- Vary the swirl placement so each nail feels considered.
- Use solid red nails to give the pattern breathing room.
11. Blush Pink Snowflake Nails

A soft pink gradient paired with white snow details offers a gentle alternative to classic holiday colors. Concentrating the blush shade near the center of each nail creates a diffused, rosy effect, while the pale edges keep the overall manicure airy.
Small white snowflakes or dots add a winter touch without overpowering the delicate base. This design is a natural fit for short square nails, where a subtle gradient and fine details can look polished rather than crowded. It also pairs easily with neutral outfits and everyday looks.
Create a soft, balanced finish
Blend the pink outward gradually, keeping the strongest color near the middle of the nail. Add the snow details only after the gradient is set, and use a fine brush or dotting tool to keep the white marks small and light.
- Choose a sheer blush pink rather than a heavy opaque shade.
- Place one tiny snowflake or a few dots per nail.
- Keep the tips pale to preserve the soft gradient.
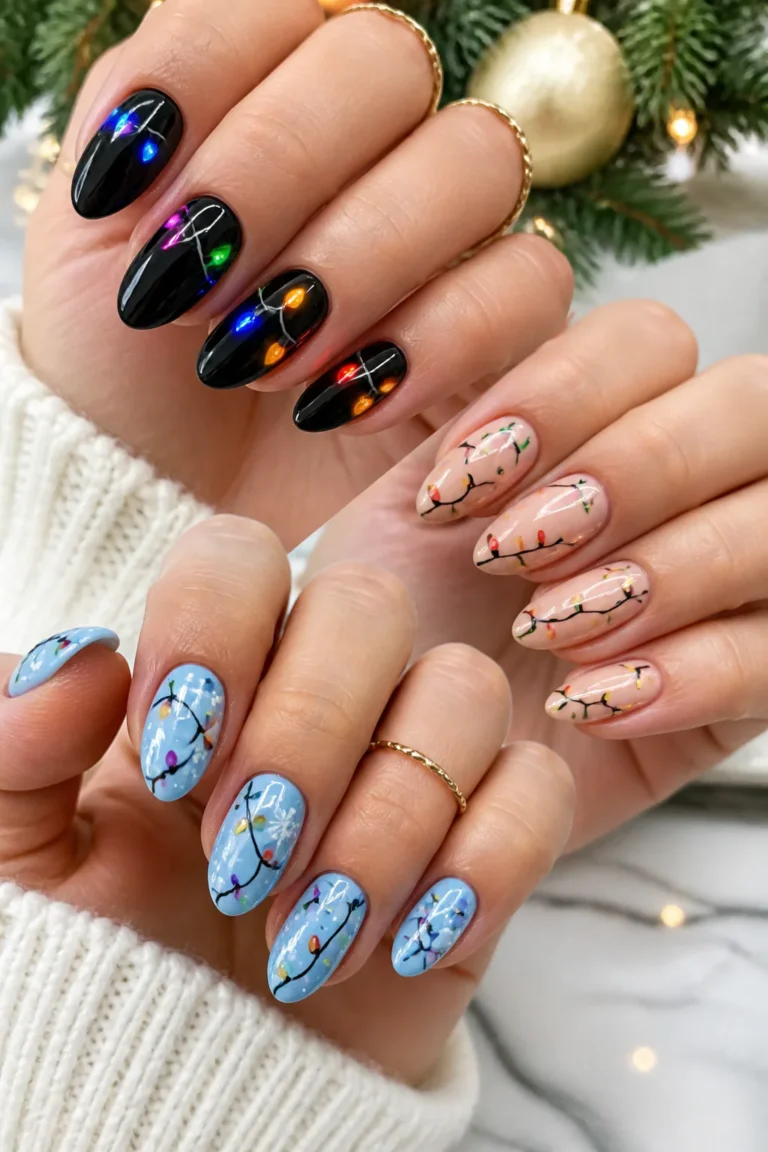
12. Christmas Lights on Nude Nails

A fine black string and colorful light dots turn a nude base into a playful Christmas manicure. The neutral background gives the tiny metallic bulbs room to shine, while the curved line adds a sense of movement across the nails.
This design is cheerful without needing a full-color base, so it’s a good fit if you prefer understated manicures with one unmistakably seasonal detail. On square nails, the line can sweep across the center or sit closer to the cuticle, depending on how much space you want to leave open.
Make the tiny lights pop
Paint the string first with a thin liner brush, then add small colored dots along it. Give the bulbs enough spacing to remain distinct, and vary the colors thoughtfully so the set feels festive rather than random.
- Use a sheer nude or pale beige base.
- Choose a fine black line that curves gently.
- Add small red, green, gold, or silver light dots.
View this post on Instagram
Video: @nailsbyalsn on Instagram. Shade shown: Nude Bb Cream.
13. Plum Nails with Glitter Tips

Deep plum or blackberry polish gives Christmas nails a moody, elegant foundation. A silver or gold glitter fade starting at the square tips brings in a festive sparkle while keeping the darker color visible across most of the nail.
The gradient is especially effective on medium and long squares, where there is room for the glitter to soften gradually into the base. On shorter nails, a lighter dusting at the edge can still add shine without taking over the design.
Blend the glitter gradually
Apply the glitter most densely near the free edge, then reduce the amount as you move toward the center. A sponge or a small detail brush can help diffuse the transition; finish with a smooth top coat so the tips feel even.
- Pair plum with silver for a cool-toned finish.
- Choose gold glitter for a warmer, richer contrast.
- Keep the glitter concentrated at the square tips.
14. White Cable-Knit Accent Nail

A raised cable-knit pattern brings the cozy feel of a winter sweater to a manicure. Matte white polish emphasizes the texture, while solid coordinating nails keep the look clean and make the detailed accent easy to notice.
One knit nail per hand is often enough, particularly on shorter squares where raised art can take up much of the available space. The remaining nails can be opaque white or include a restrained touch of glitter for a little extra holiday brightness.
Choose texture with intention
Ask for the knit pattern to be built in fine, even lines so it looks like woven cables rather than a bulky raised patch. A matte finish helps the design read clearly, and placing it on a central accent nail creates a balanced set.
- Use a matte white base for a soft sweater-like look.
- Keep the raised pattern to one or two nails.
- Pair it with solid white or subtle glitter accents.
15. Santa Hat French Tips
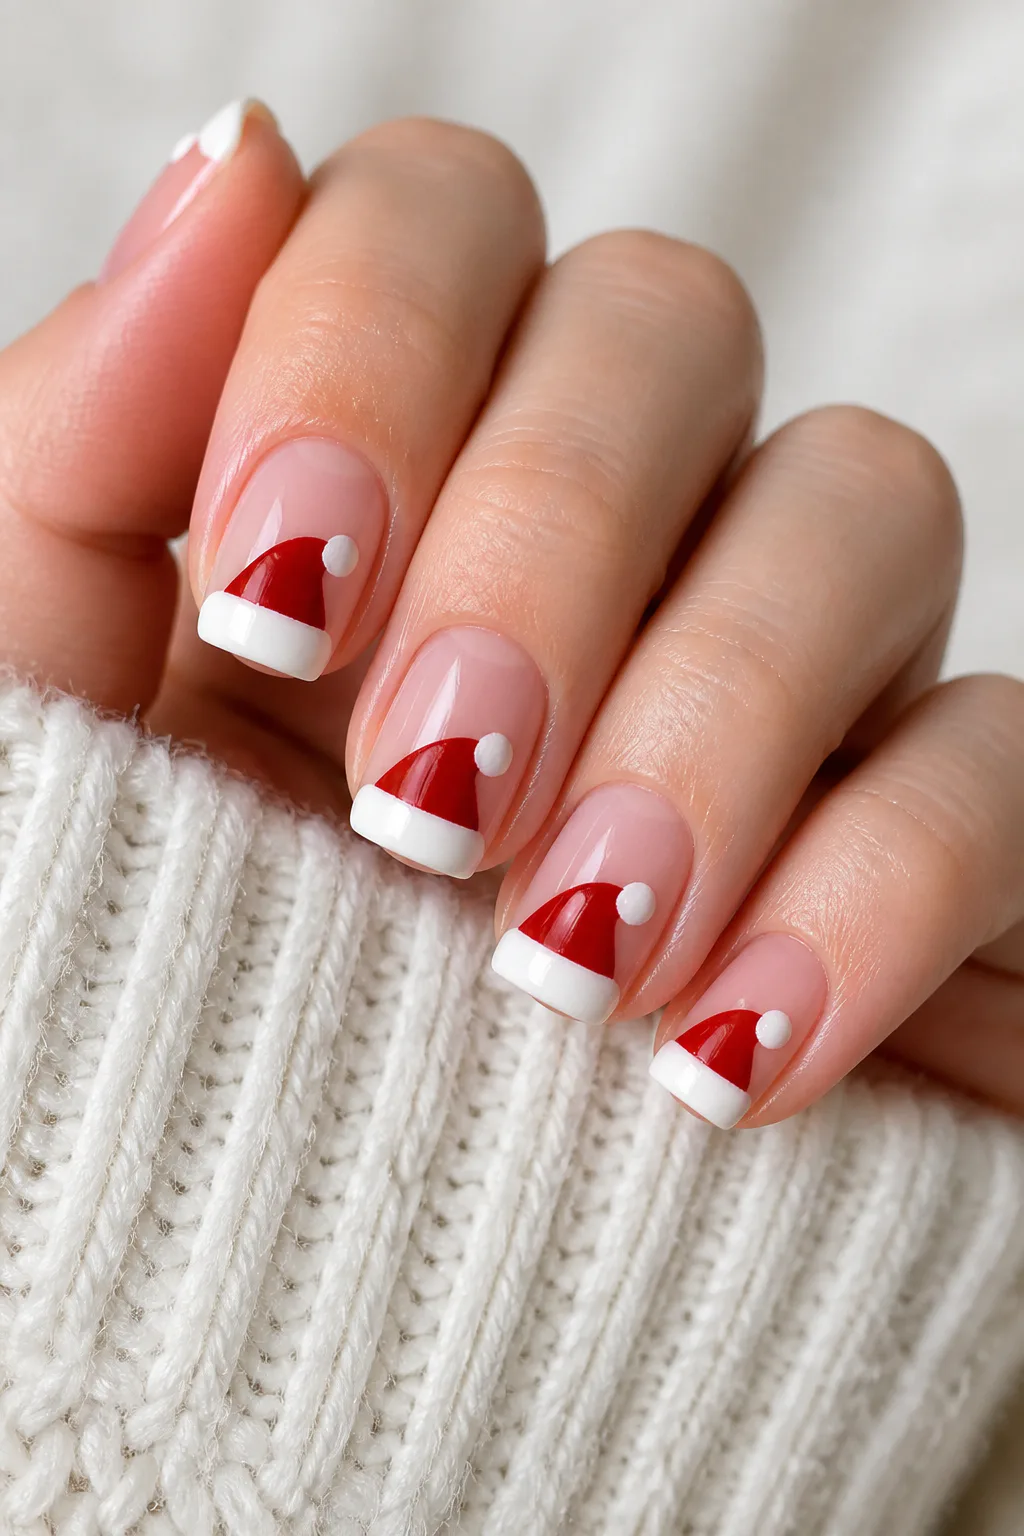
Santa hat French tips turn a familiar manicure into a small holiday illustration. The white tip is reshaped into a tilted hat, with a tiny pom-pom detail completing the look. Square edges help the white design stay graphic and easy to see.
This playful idea works best when the hat details are kept simple. You can put a hat on every nail for a coordinated set or make just the ring fingers the feature, pairing them with classic red or nude nails elsewhere. A sheer base helps the small artwork stand out.
Keep the hat silhouette crisp
Use red to form the slanted hat shape and white for the brim and pom-pom. Keep each detail in proportion to the nail, especially on short squares, where a tiny accent can quickly become crowded.
- Start with a sheer nude or milky base.
- Angle the red hat slightly for a playful finish.
- Use a fine brush for the white brim and pom-pom.
View this post on Instagram
Photo: @fanniesnailspa on Instagram. Style shown: red French tips with white Santa-hat trim.
16. Midnight Blue Starry Nails

Dark navy polish creates a night-sky backdrop for silver micro-glitter, tiny crescent moons, and delicate snowflakes. The deep color feels wintery and dramatic, while the scattered details give each square nail a little sparkle and movement.
This design offers a festive option for anyone who wants to step away from red and green. It can be kept understated with a few small accents or made more luminous by adding fine glitter across the base. The square shape gives the celestial details a neat, structured frame.
Arrange a balanced night sky
Apply the navy evenly, then add the smallest details with a fine brush or dotting tool. Vary the placement from nail to nail so the stars and moons feel scattered naturally, but keep the scale consistent across the set.
- Choose a deep navy base for strong contrast.
- Use silver micro-glitter for a subtle shimmer.
- Space moons and snowflakes so each detail stays visible.
View this post on Instagram
Photo: @ilnp on Instagram. Shade shown: Midnight Kiss + Party Popper.
Final Thoughts
Square Christmas nails can feel classic, playful, cozy, or glam depending on the colors and details you choose. Crisp French tips and plaid bring a traditional holiday mood, while blush gradients, chrome finishes, and starry navy designs offer a more personal spin.
Use the ideas as a starting point and adjust the pattern to suit your nail length, routine, and preferred finish. A single accent nail can be just as festive as a full set of detailed art, so choose the look you’ll enjoy wearing throughout the season.