How to Apply Nail Polish: A Six-step Guide to a Neat Manicure
Neat nail polish at home starts with a clean, dry surface, thin layers and controlled brush movement. Oil, thick coats, poor drying conditions and rushing between layers cause most streaks, smudges, bubbles and chips. The polish type also changes the routine: regular lacquer air-dries, while gel polish needs UV or LED curing. Related guides: how many coats, make polish last longer, and safe removal.
Apply Nail Polish in Six Steps
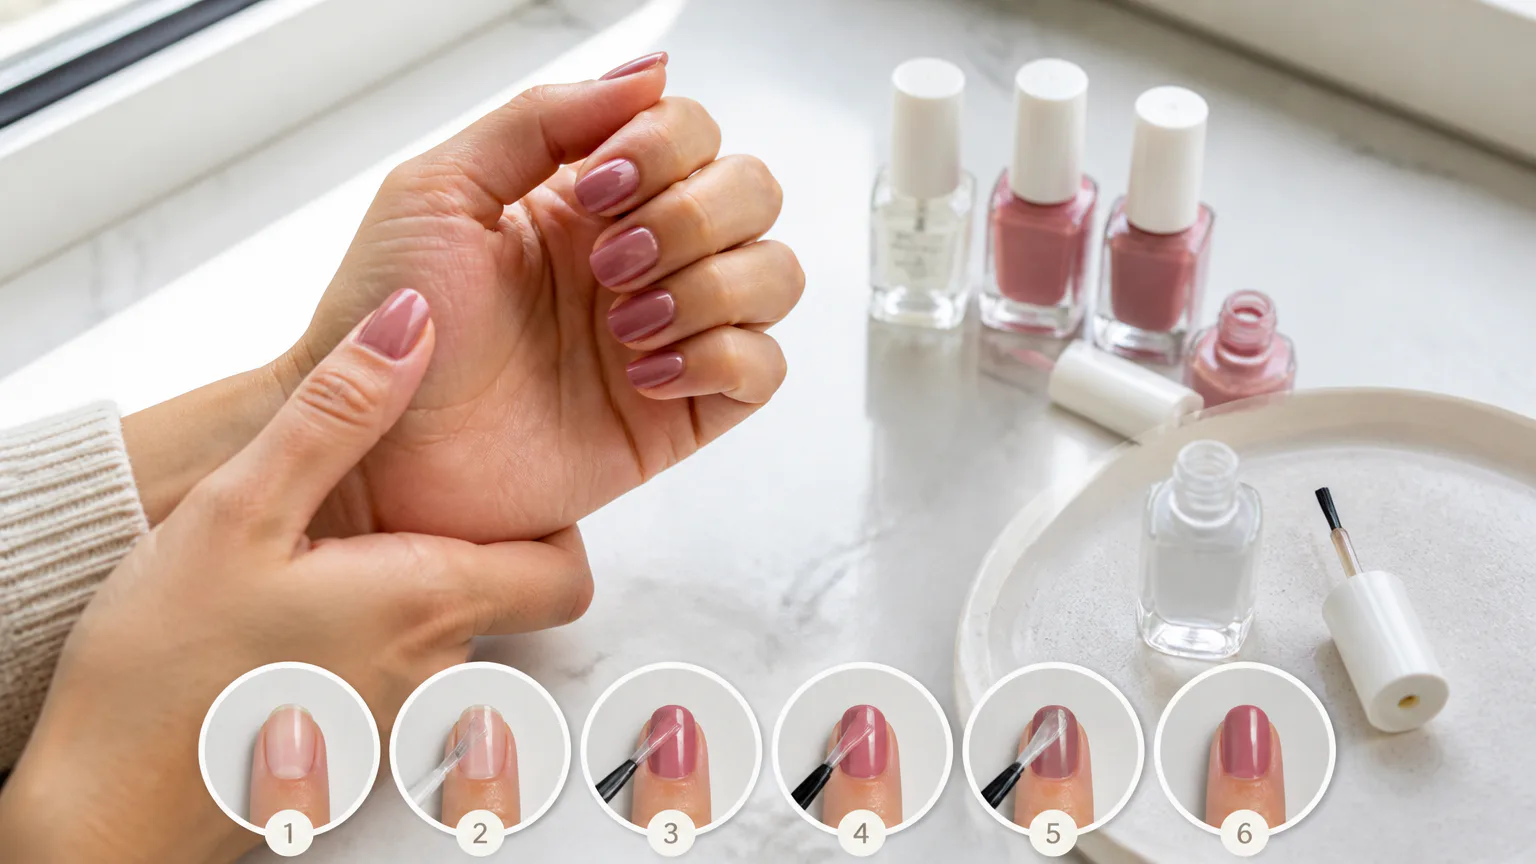
- Prepare each nail by removing old color, shaping the free edge and leaving the surface clean and dry.
- Apply one thin base coat and let it set for approximately 1-2 minutes.
- Paint one thin color coat, leaving a narrow gap around the cuticle and sidewalls.
- Apply a second thin color coat after approximately 2-3 minutes, or once the first coat is no longer wet.
- Seal the color with one thin top coat, lightly brushing across the free edge.
- Dry the manicure without disturbing it for 10-15 minutes before light use. Allow up to 30 minutes for full air-dry curing.
| Polish type | Application method | Equipment | Drying or curing | Removal |
|---|---|---|---|---|
| Regular nail polish | Apply thin base, color and top-coat layers | Brush; no special lamp | Air-dries between coats and cures fully in up to 30 minutes | Dissolve with nail polish remover |
| Gel polish | Apply thin gel base, color and finishing layers | Compatible UV/LED lamp | Cure each layer under the lamp, generally for about 30–60 seconds | Soak to soften, then lift gently without peeling |
Gather Your Nail Polish Tools
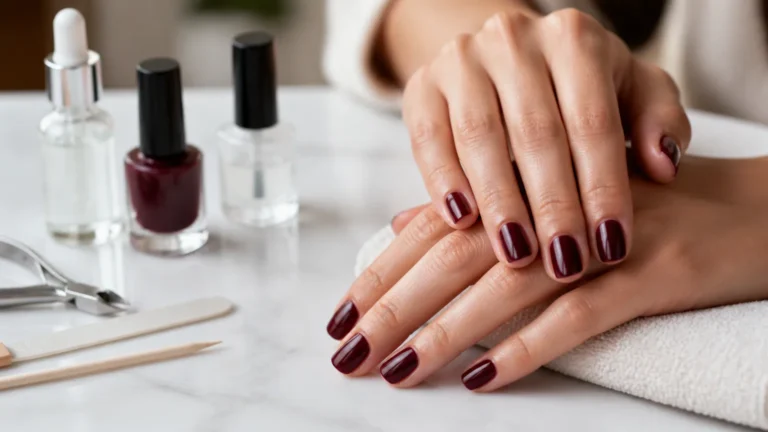
Set everything out before opening the bottle so you are not searching through drawers with wet nails. You need your chosen regular nail polish or gel polish, a nail file, a clean work surface and good lighting. Work in a well-ventilated room kept around 68-72°F, away from fans or open windows that could blow dust onto the finish.
Base coat creates a protective, adhesive layer that improves wear and helps reduce staining. Top coat seals the color, adds shine or a matte effect and helps reduce chipping. Keep nail polish remover nearby for removing oil and correcting mistakes. A Nail Polish Corrector Pen can help clean up the skin around the nail.
Keep cotton swabs or a small cleanup brush nearby, but do not saturate the skin with solvent. If you use gel polish, add a compatible UV/LED lamp and lint-free wipes.
You don’t need expensive products to get started. A well-shaped brush, a smooth formula and a reliable top coat matter more than the price. Many drugstore nail polish formulas offer a good balance of coverage, drying time and finish, making them useful for practicing without overspending.
Prepare and Clean Your Nails
Preparation affects both the finish and how well the polish adheres. Start with bare, dry nails. Hand cream, cuticle oil, soap residue and natural oil can cause early lifting. Avoid aggressive cuticle cutting; gently push back loose cuticle tissue only when needed.
- Remove old polish completely. Use acetone for difficult formulas such as glitter, or acetone-free remover for sensitive, dry or brittle nails.
- Shape the free edge with a file, moving from the outer edge toward the center in one direction.
- Clean the nail plate with a small amount of remover to remove surface oil.
- Inspect each nail for dust, fibers or moisture before applying the first layer.
Do not soak your nails immediately before painting. Water can temporarily swell the nail plate and affect how the polish fits as it dries. After the manicure is removed, use cuticle oil or hand cream to restore moisture instead of applying those products before polishing.
Use the Three-Stroke Technique
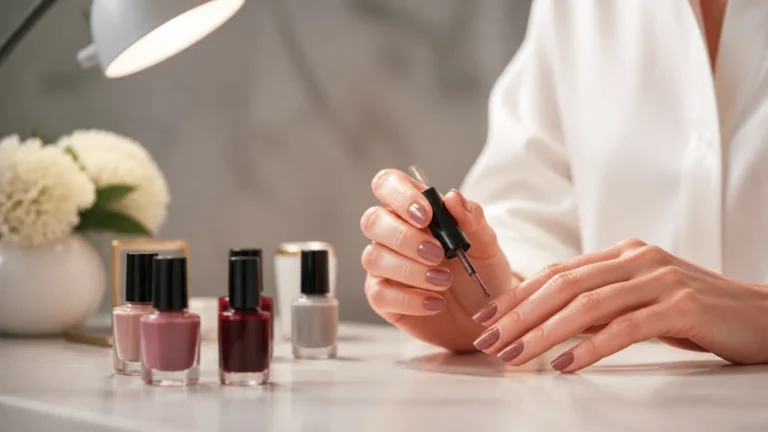
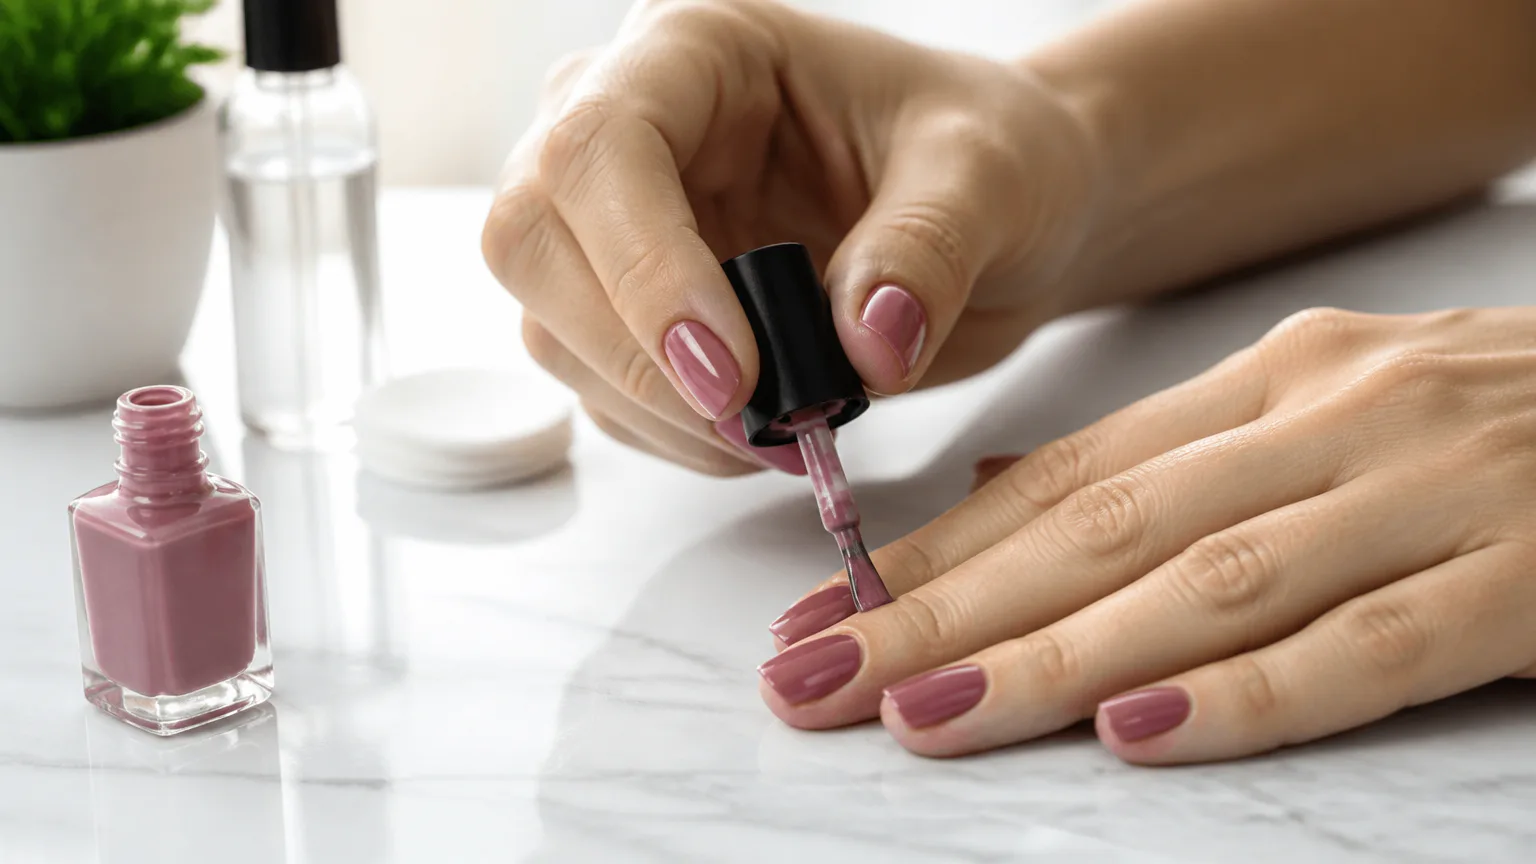
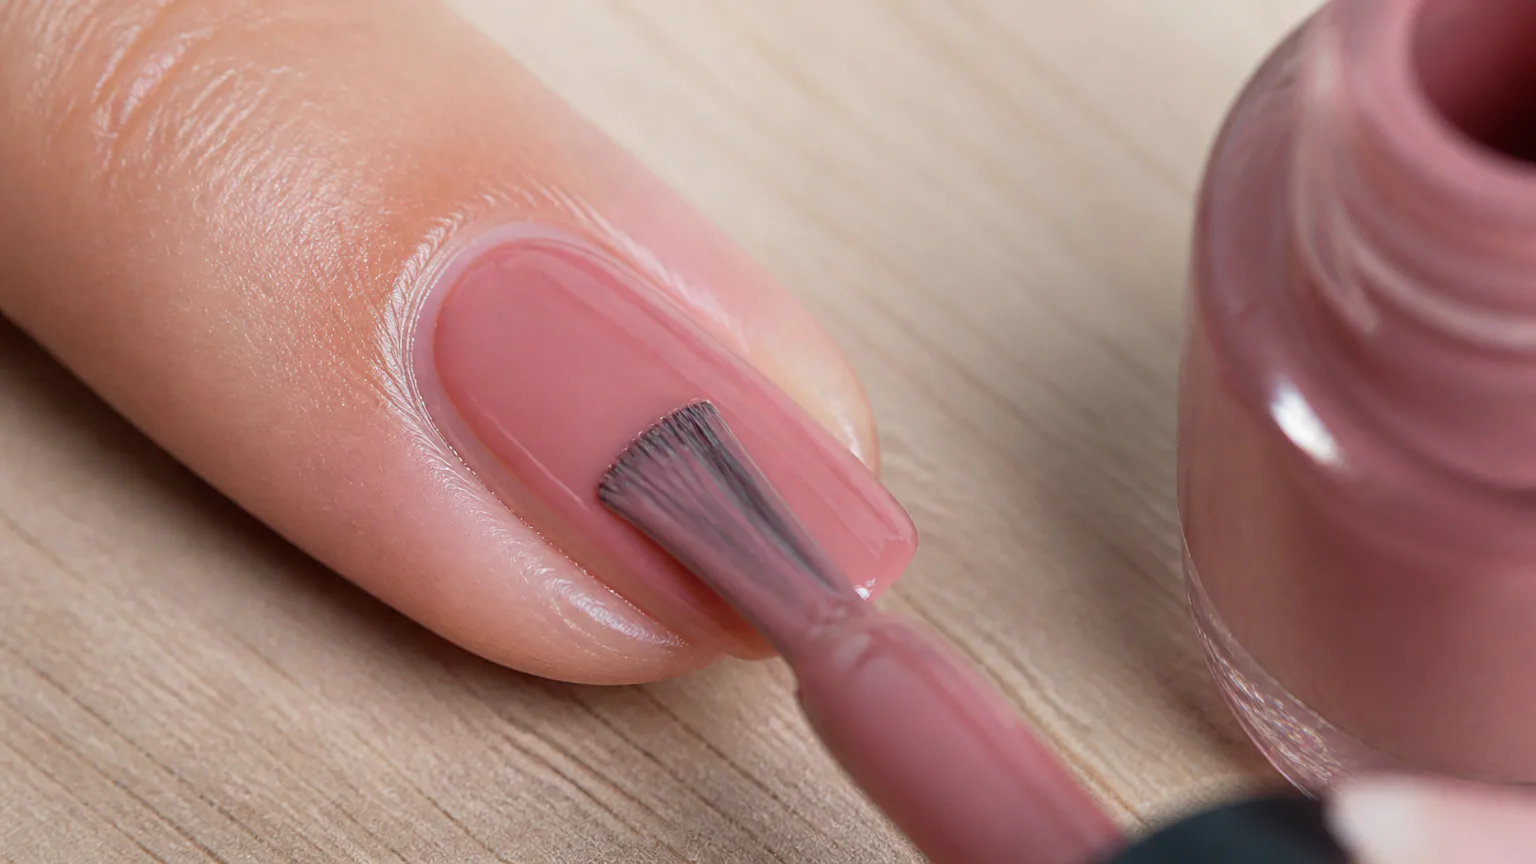
A controlled amount of polish prevents flooding and thick, slow-drying coats. Wipe excess polish from one side of the brush against the bottle neck. Leave enough product on the other side to cover the nail without dripping.
- Place the brush slightly below the cuticle, leaving a slim, even margin around the skin.
- Pull one smooth stroke from the center toward the tip.
- Paint one stroke along the left side and another along the right side.
- Cap the free edge with a light horizontal stroke across the nail tip.
- Wait approximately 2-3 minutes before adding another thin coat.
Do not keep brushing an area once the polish starts to set. Reworking semi-dry polish creates ridges and bald spots. Thin coats reduce brush marks, bubbles, wrinkling, smudging and slow drying, even when the first coat looks slightly transparent.
If you have short nail beds, there is less room to fix uneven edges. Keep each coat thin and stop just before the cuticle and sidewalls. A wider brush and a well-balanced shade can also give the manicure a cleaner look, especially when choosing polish for short nails.
Choose Regular or Gel Polish
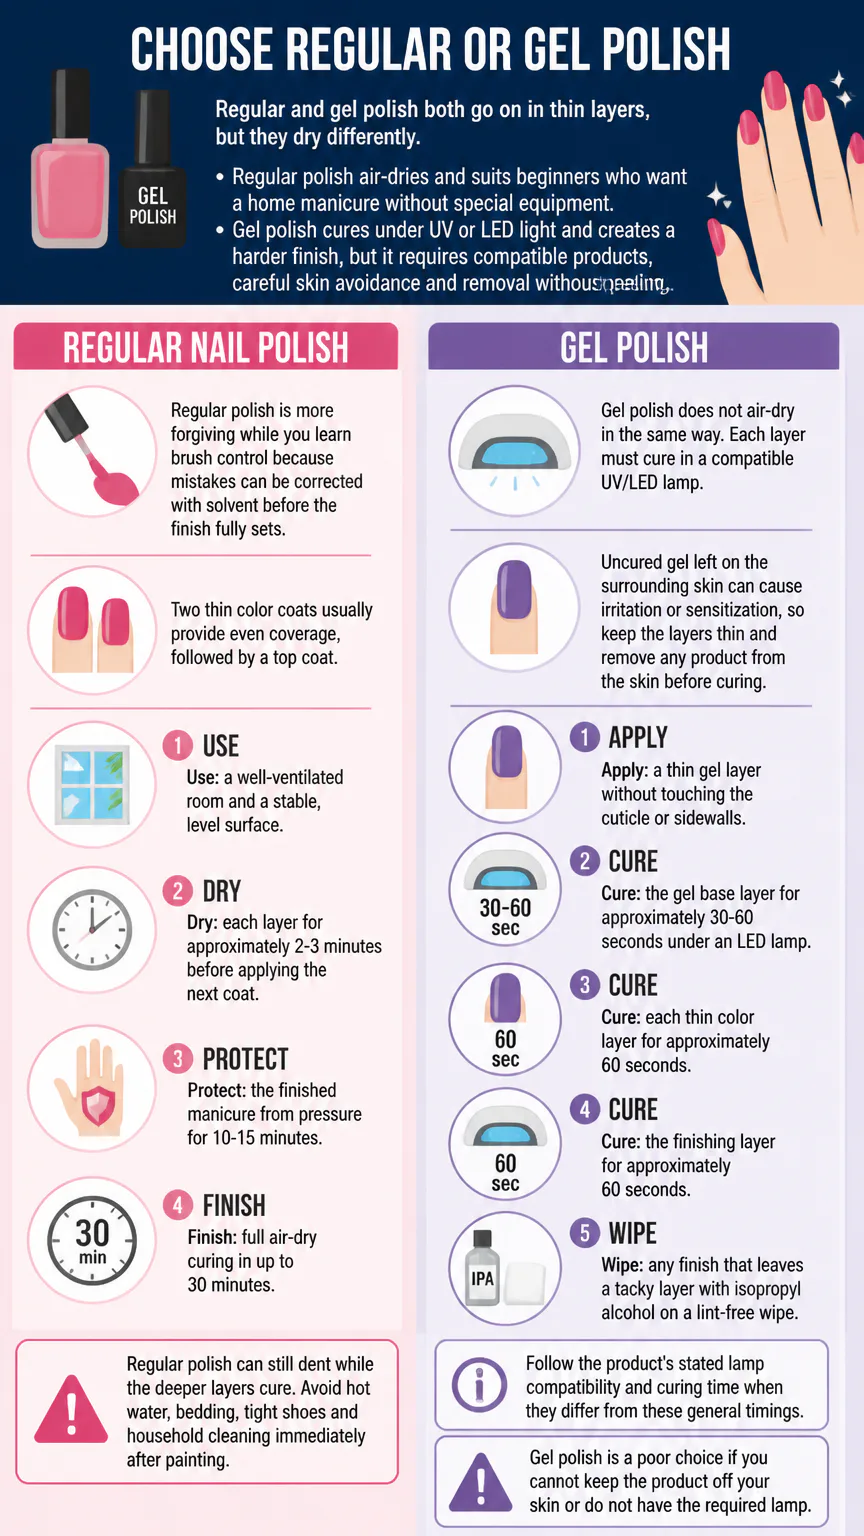
Regular and gel polish both go on in thin layers, but they dry differently. Regular polish air-dries and suits beginners who want a home manicure without special equipment. Gel polish cures under UV or LED light and creates a harder finish, but it requires compatible products, careful skin avoidance and removal without peeling.
Regular nail polish
Regular polish is more forgiving while you learn brush control because mistakes can be corrected with solvent before the finish fully sets. Two thin color coats usually provide even coverage, followed by a top coat.
- Use: a well-ventilated room and a stable, level surface.
- Dry: each layer for approximately 2-3 minutes before applying the next coat.
- Protect: the finished manicure from pressure for 10-15 minutes.
- Finish: full air-dry curing in up to 30 minutes.
Regular polish can still dent while the deeper layers cure. Avoid hot water, bedding, tight shoes and household cleaning immediately after painting.
Gel polish
Gel polish does not air-dry in the same way. Each layer must cure in a compatible UV/LED lamp. Uncured gel left on the surrounding skin can cause irritation or sensitization, so keep the layers thin and remove any product from the skin before curing.
- Apply: a thin gel layer without touching the cuticle or sidewalls.
- Cure: the gel base layer for approximately 30-60 seconds under an LED lamp.
- Cure: each thin color layer for approximately 60 seconds.
- Cure: the finishing layer for approximately 60 seconds.
- Wipe: any finish that leaves a tacky layer with isopropyl alcohol on a lint-free wipe.
Follow the product’s stated lamp compatibility and curing time when they differ from these general timings. Gel polish is a poor choice if you cannot keep the product off your skin or do not have the required lamp.
Fix Smudges, Streaks, and Bubbles
Most application problems come from excess polish, an unstable surface or insufficient drying time. Fix the cause instead of covering the defect with another thick coat.
- Correct streaks: let the first thin coat settle, then apply a second coat using the three-stroke pattern.
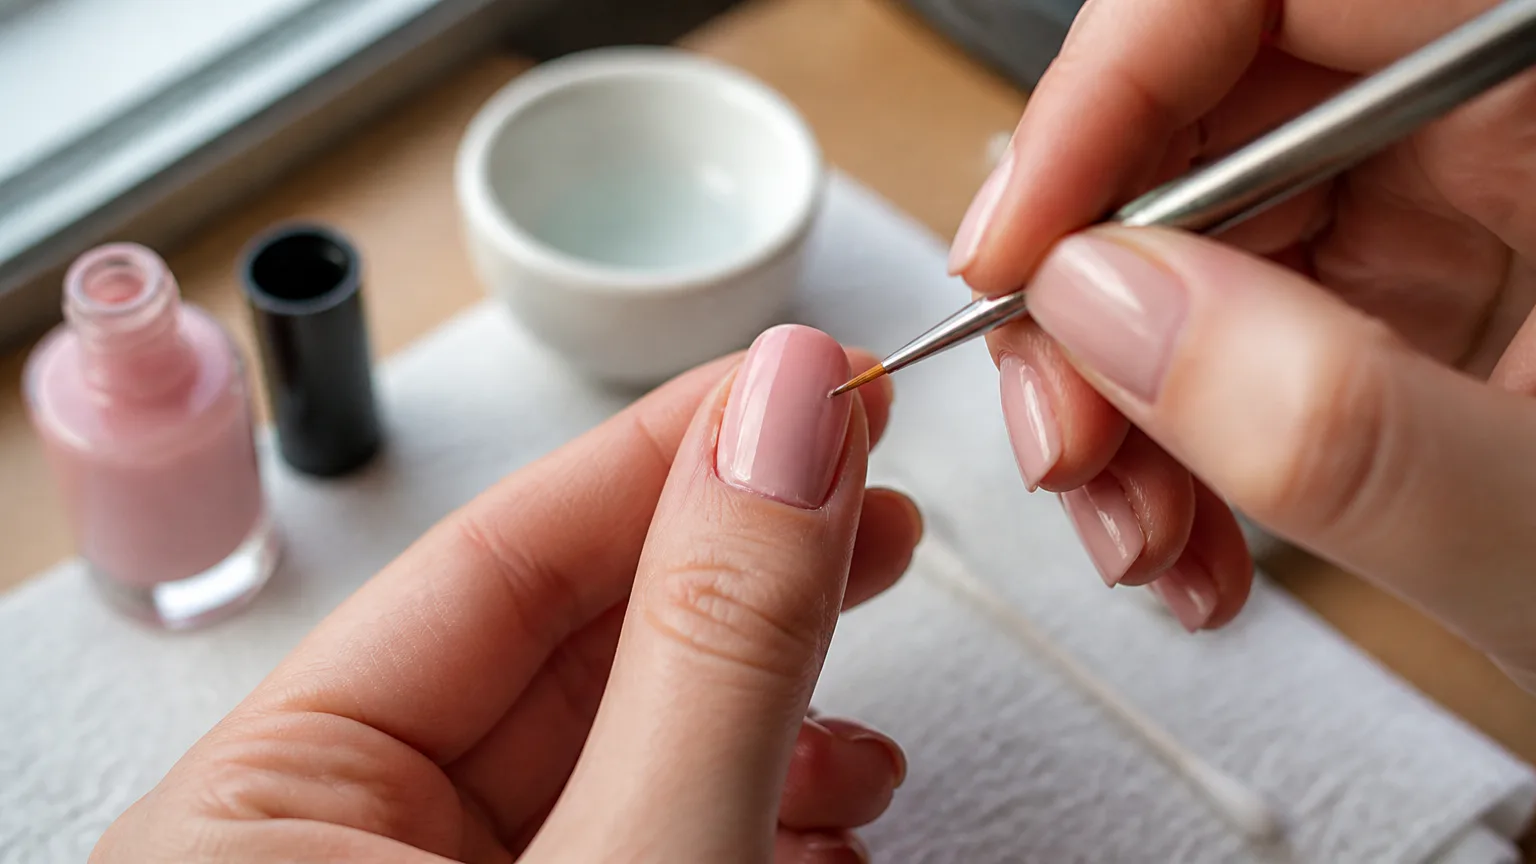
- Repair a smudge: smooth the affected area with a lightly moistened precision tool, then repaint only that section if the surrounding layer is still workable.
- Prevent bubbles: roll the closed bottle gently between your palms instead of shaking it, and avoid thick layers.
- Stop flooding: load less polish and leave a narrow margin around the cuticle.
- Reduce chips: cap the free edge and keep water and friction away while the layers cure.
- Remove skin overflow: clean the edge lightly after the polish has settled with a corrector pen or a small brush moistened with remover.
Do not use a thick coat to hide uneven color. It takes longer to dry and is more likely to wrinkle, dent or peel from the natural nail.
Dry and Maintain Your Manicure
Air-dry polish can feel dry on the surface while the layers underneath are still curing. Treat the manicure as vulnerable for at least 10-15 minutes and allow up to 30 minutes before demanding tasks. Keep your hands relaxed, avoid touching the nails to test them and use cool rather than hot water during the early drying period.
Wear gloves for cleaning, gardening and prolonged dishwashing. Apply cuticle oil after the polish has fully set to keep the surrounding skin comfortable. Refresh the top coat only when the original surface is clean and intact, and avoid using your nails as tools because pressure on the free edge encourages chipping.
A thin top coat seals in the color, but the polish formula also affects how long your manicure stays smooth and chip-free. If lasting wear matters, compare the finish, drying time and wear performance before choosing a long-lasting nail polish.
Remove Polish Without Damage
Removal should dissolve the product rather than force it off the natural nail. Acetone works faster on resistant formulas such as glitter, while acetone-free remover is milder for sensitive, dry or brittle nails. Both can dry the surrounding skin, so moisturize after removal.
- Soak a cotton pad with the appropriate solvent.
- Press the pad against the nail for several seconds to loosen the color.
- Wipe from the base toward the tip, using a fresh section of the pad as needed.
- Clean remaining color from the edges with a small, lightly moistened tool.
- Wash your hands after the solvent has removed the polish.
- Moisturize the nails and surrounding skin with cuticle oil or hand cream.
Never pick, peel or scrape polish from the natural nail. Gel removal requires additional soaking and gentle lifting after the product has softened. Forceful peeling can remove layers of the nail plate.
FAQs
What is the red nail rule?
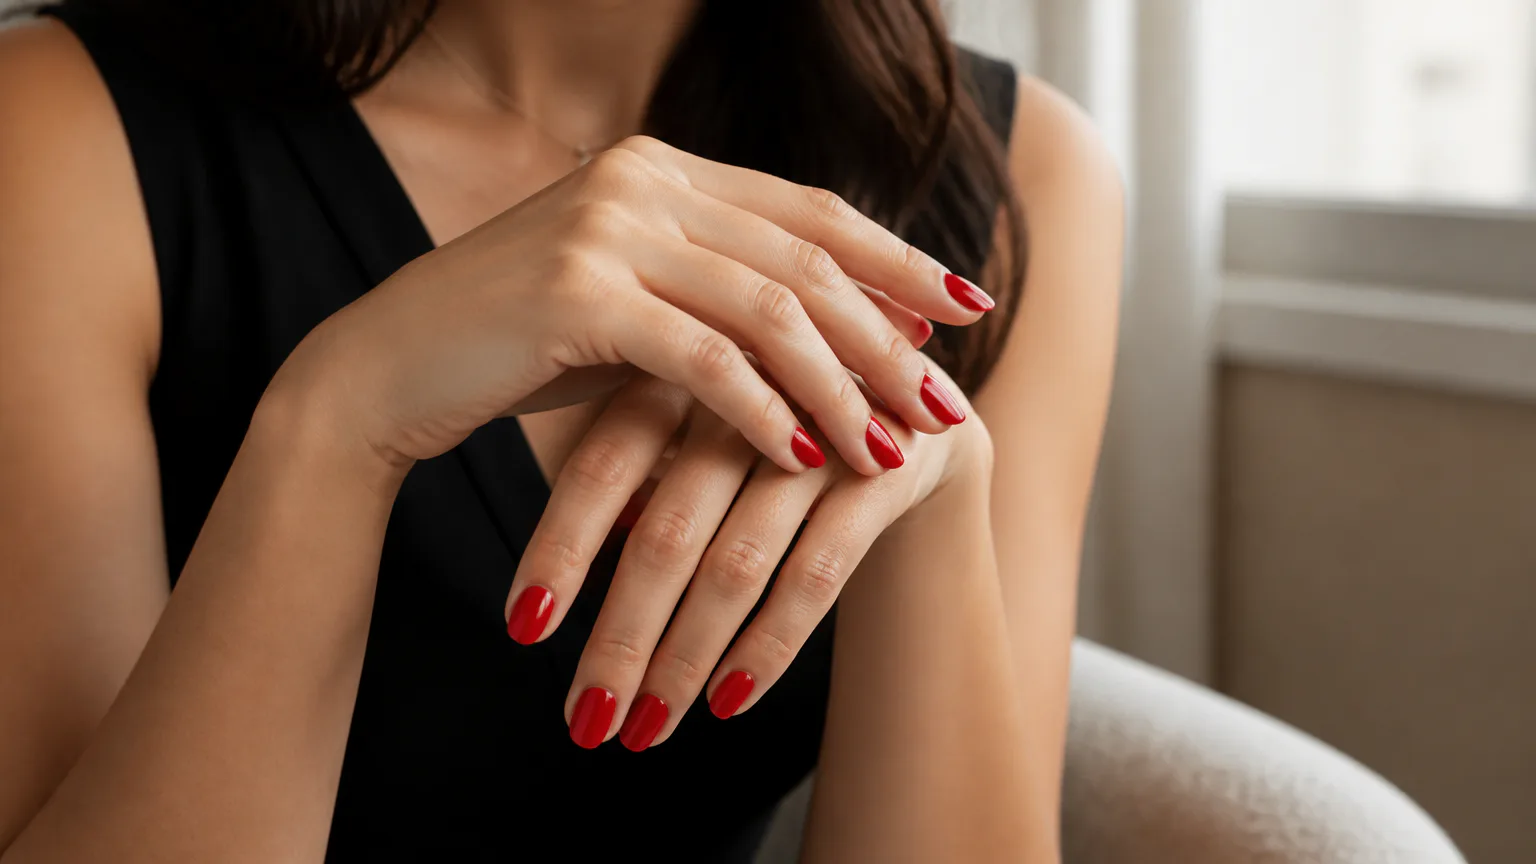
The red nail rule is a beauty guideline that treats red polish as a versatile, attention-drawing choice that can suit many nail lengths and skin tones. It is a styling idea, not a technical rule for applying or wearing polish.
How do you apply nail polish to toes?
Prepare and dry the toenails, separate the toes and use the same thin center-and-side strokes as on fingernails. Leave extra time for drying because socks and closed shoes can dent fresh polish.
Can you apply nail polish over oily nails?
Polish adheres poorly to oil, lotion and cuticle products. Remove residue with a small amount of nail polish remover, let the nail dry completely and apply moisturizing products after the manicure sets.
Why does nail polish peel after one day?
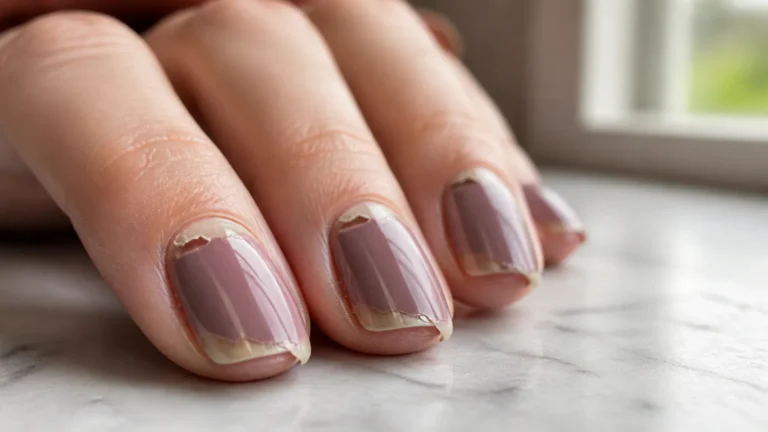
Peeling commonly follows oily preparation, polish on the surrounding skin, thick coats or an uncapped free edge. Clean and dry the nail, apply thin layers, seal the tip and let the manicure cure fully before exposing it to water or friction.
Conclusion
For a neat home manicure, start with a clean, dry nail and use several thin layers instead of rushing. Regular polish is useful while you learn brush control. Choose gel only when you have compatible curing equipment and can remove it without picking or peeling.