11 Stunning Floral Nail Ideas for Every Style
Floral nails can feel delicate, bold, romantic, or playful depending on the colors and the way the blooms are placed. From tiny daisies on a sheer base to vivid blossoms over French tips, these ideas offer plenty of ways to wear a garden-inspired manicure without making every design look the same.
Some looks are simple enough to try with a dotting tool or decals, while others call for the steady hand of a nail artist. You can also adapt many of them to short or long nails by changing the scale of the flowers and choosing just one or two accent nails.
Use these ideas as inspiration for your next salon appointment or at-home manicure. Think about your usual style, preferred nail shape, and how much detail you want before choosing a design; a small change in color or placement can make the finished set feel like your own.
1. Scatter Daisies Across Milky White Accent Nails

A sheer milky-white or soft nude base gives tiny daisies a fresh, clean backdrop. Add miniature yellow-centered blooms to one or two accent nails on each hand, leaving the rest of the manicure simple. The contrast keeps the flowers easy to notice without crowding the overall look.
This design suits short natural nails as well as longer shapes, since the daisies can be scaled to fit the available space. It feels at home with everyday outfits, spring looks, and soft bridal styling, but the understated base makes it wearable in any season.
How to pull it off
For a salon visit, bring a reference showing the size and placement you like. At home, a dotting tool or the rounded end of a fine brush can help form petals; work with small dots around a yellow center and let each flower dry before sealing.
- Choose a sheer nude or milky white base for a soft finish.
- Keep daisies to one or two nails per hand for an airy effect.
- Use white petals and sunny yellow centers for a classic palette.
- Ask for smaller flowers if you have short nail beds.
The simple color story makes this an easy starting point for floral nail art.
2. Paint Hibiscus Blossoms Over French Tips
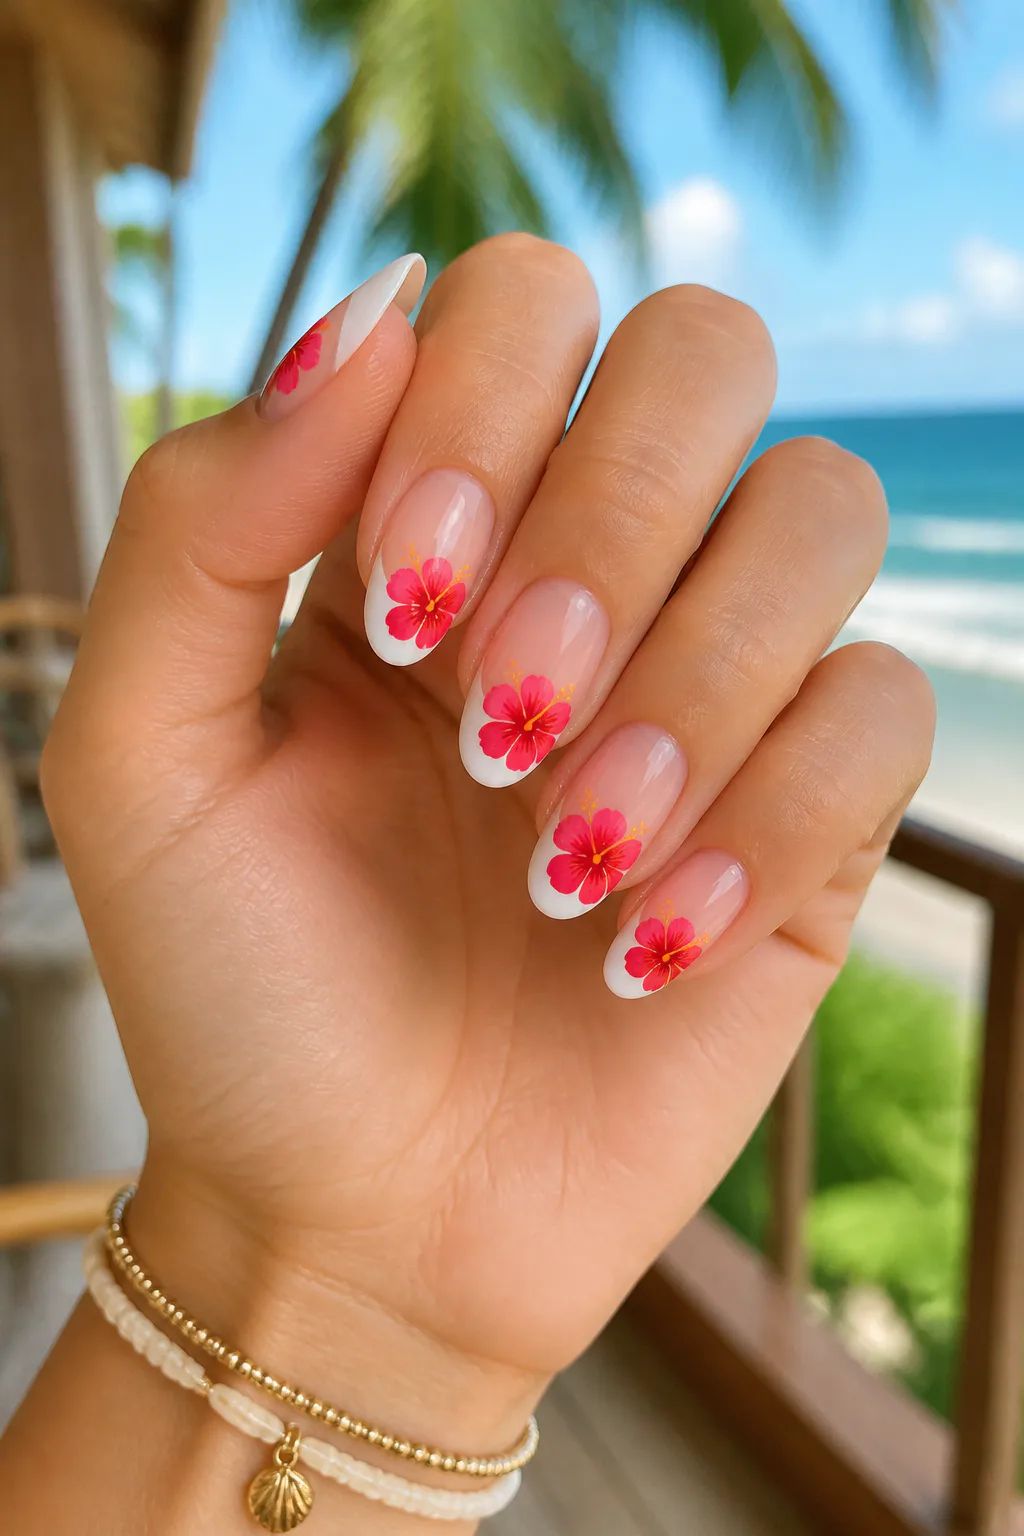
Hibiscus flowers bring a tropical note to a French manicure, especially when a vivid bloom sits across the tip. Start with a classic white or colored French edge, then place a red, hot-pink, or sunset-orange flower where the tip meets the nail bed. The flower can overlap the border or sit just to one side.
The strong shape and bright color make this design feel more expressive than a traditional French set. It works particularly well on medium or longer nails, where there is room to show both the curved tip and the flower’s open petals. On shorter nails, a smaller blossom can preserve the same mood.
Design tips
Keep the base relatively neutral if you want the hibiscus to stand out. For a more playful finish, use a colored French tip that picks up one shade from the flower rather than introducing several competing colors.
- Pair red blooms with a clean white or pale pink tip.
- Try orange flowers with a warm-toned French edge.
- Place the bloom off-center to leave part of the tip visible.
- Use a fine brush for the petals and a contrasting flower center.
This is a lively choice when you want a familiar manicure shape with a vacation-ready twist.
3. Add Raised 5D Wildflowers to Your Nails
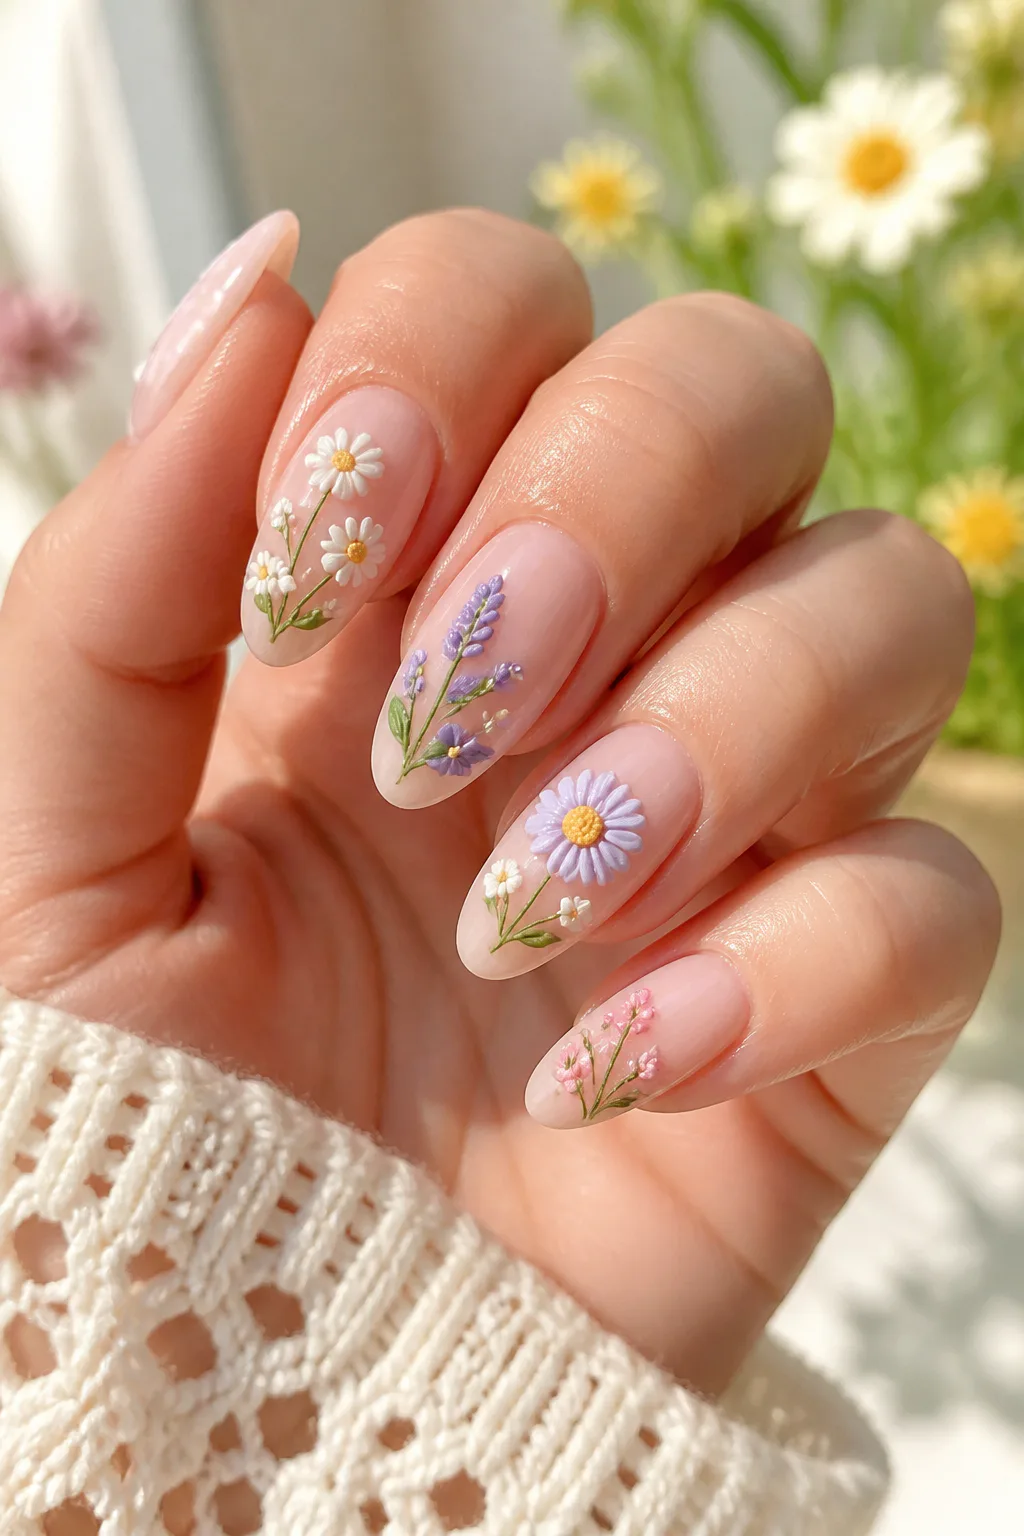
Raised wildflowers add a tactile, sculptural detail that makes a manicure feel special. The petals can be formed from sculpted gel or created with embossed floral decals, while the rest of the nail stays simple enough to let the texture take focus. Even a few raised blooms can change the character of a set.
Because dimensional art catches the eye, it often works best on one or two accent nails rather than every finger. A sheer, pale, or softly colored base keeps the design feeling delicate; brighter backgrounds can make the raised flowers look more playful. Consider how the added texture will feel in your everyday routine.
Ways to wear the texture
A nail artist can sculpt the flowers directly, while decals offer a more approachable option for a home manicure. Apply decals to a smooth, dry surface and follow their instructions for sealing; avoid covering raised details with so much top coat that their shape disappears.
- Use raised blooms as accents for a balanced set.
- Choose a soft base to keep the texture from feeling busy.
- Mix small and medium flowers for a natural, varied look.
- Keep embellishments clear of the nail edges where possible.
The dimensional finish is ideal when you want floral art that looks as interesting to touch as it does to see.
4. Encapsulate Real Petals in Jelly Pink Gel

Tiny dried petals set inside clear or jelly-pink builder gel create a botanical look with genuine natural variation. Each petal becomes part of the manicure, giving the nails a delicate pressed-flower effect rather than a painted illustration. Small flakes of gold leaf can add a subtle glint among the petals.
This design is especially suited to a salon appointment, since the flowers need to be positioned and sealed within layers of gel. A translucent finish helps the details remain visible, while a soft pink tint adds warmth without hiding the petals. It can look lovely on a few accent nails or across a full set.
What to consider
Ask your nail tech how they plan to arrange and encapsulate the dried pieces, and bring reference images for the density and color you prefer. The goal is to keep the petals flat and visible beneath a smooth finished surface, not to create a bulky layer.
- Choose tiny, flat dried petals that fit the nail surface.
- Use clear gel for a crisp botanical effect or jelly pink for warmth.
- Add gold leaf sparingly so it complements rather than crowds the flowers.
- Keep some nails simple if you want the details to stand out.
The result feels like a miniature floral keepsake, with every nail arrangement slightly different.
5. Create Chunky Y2K Daisy Nail Art

Chunky daisies bring a playful retro energy to floral nails. Instead of tiny, delicate petals, use bold shapes in shades like neon green, orange, or cobalt, each with a contrasting center. The flowers can sit on a pale base for extra pop or on a bright background for a more maximalist look.
This design is a good fit for anyone who wants their manicure to feel fun and expressive rather than subtle. It can be painted on every nail for a statement set or used on alternating fingers to leave room for solid color. Larger petals are also easier to read from a distance than intricate fine-line blooms.
Build a bold color mix
Choose two or three shades and repeat them across the set so the different nails feel connected. If you are painting at home, make simple rounded petals with a dotting tool or small brush, then add the center dot once the flower color is dry.
- Try orange petals with a pink or yellow center.
- Use cobalt or neon green for a high-contrast retro feel.
- Vary flower placement while keeping the palette consistent.
- Alternate floral nails with solid colors to give the eye a break.
Big, graphic blooms make this a cheerful option for anyone drawn to nostalgic nail art.
6. Paint Minimal Stems on Bare Glossy Nails
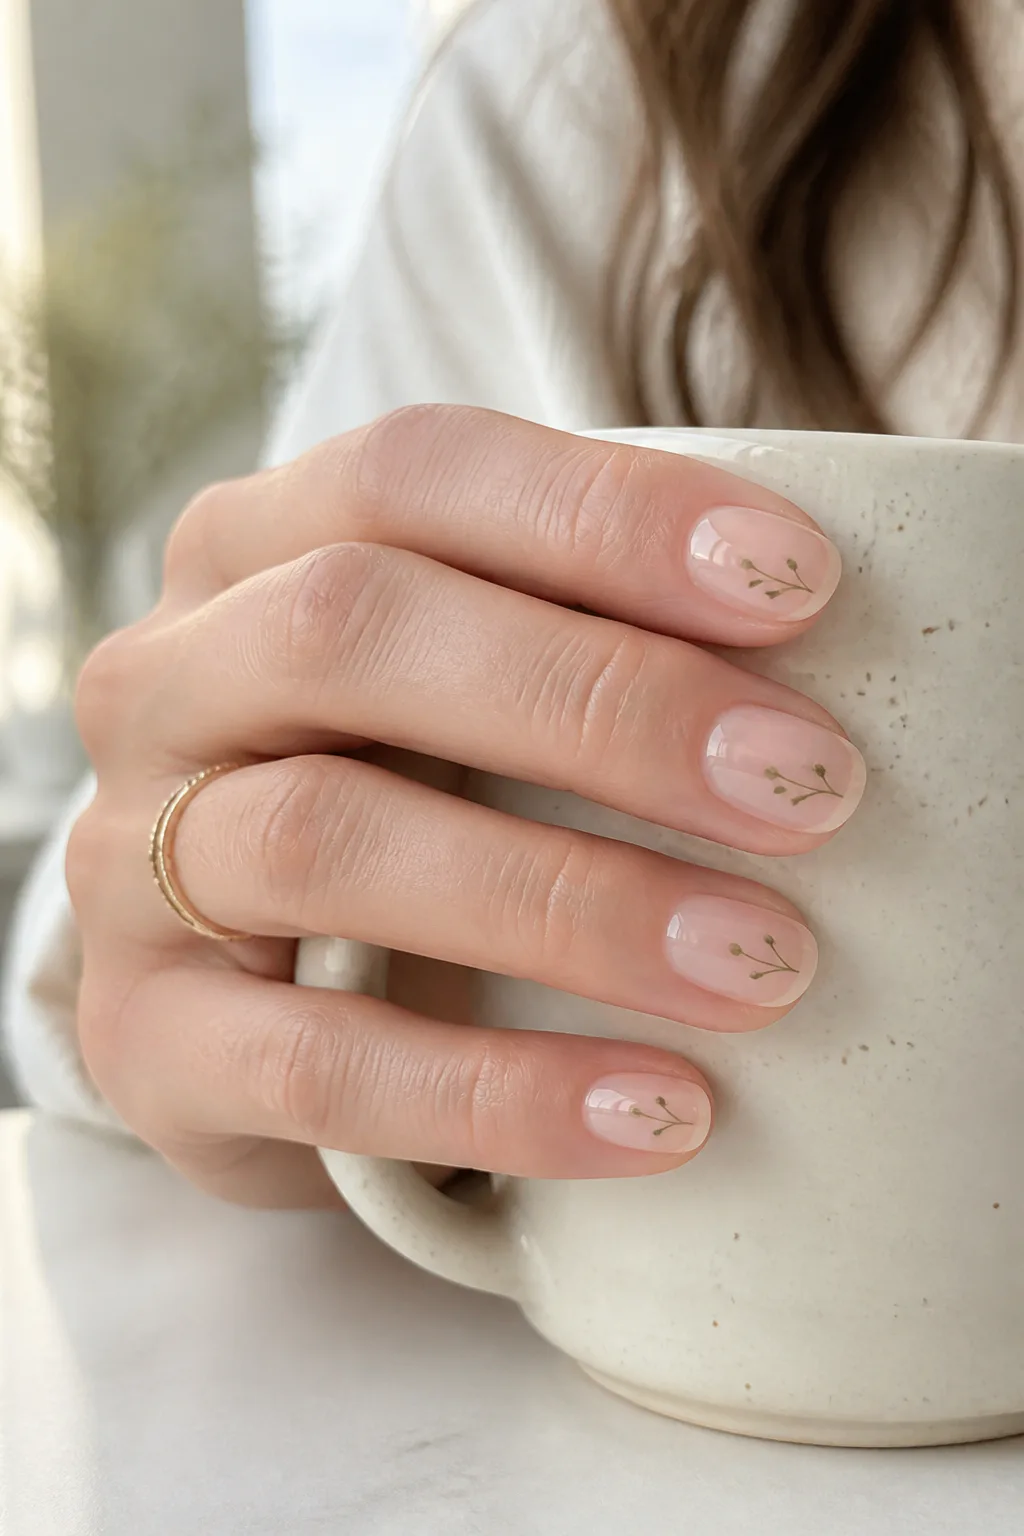
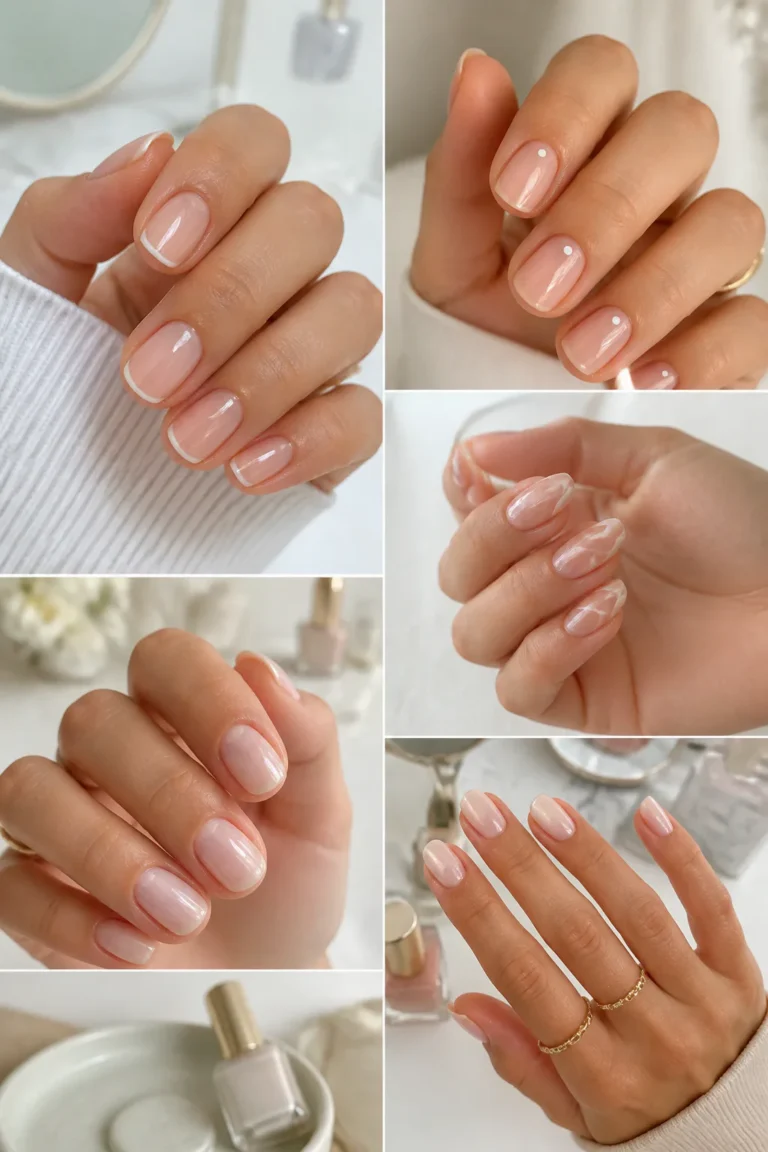
Fine green stems and tiny abstract buds offer a quieter way to wear floral nail art. On a bare-looking or softly nude base, a few slender lines create a botanical impression without covering much of the nail. The finished look feels light, polished, and close to the natural shape of the nail.
This minimalist style works well for short nails, understated outfits, and occasions where a bold design might feel out of place. It can also be adapted to a sheer pink base or clear gloss. A single stem on each nail looks refined, while limiting the detail to a few fingers creates an even more subtle accent.
Keep the lines delicate
Use a fine liner brush and a small amount of polish so the stems stay narrow. Let the clear or sheer base dry fully first, then add simple curves and tiny buds rather than trying to paint detailed leaves. A glossy top coat helps the finished manicure look smooth and intentional.
- Choose a natural, sheer, or clear base.
- Keep stems thin and use a restrained green shade.
- Add only a few buds to preserve the negative space.
- Try one or two decorated nails if you prefer an extra-minimal set.
The result is a subtle nod to flowers that still lets the natural nail show through.
7. Pair Pastel Checkerboards with Daisies
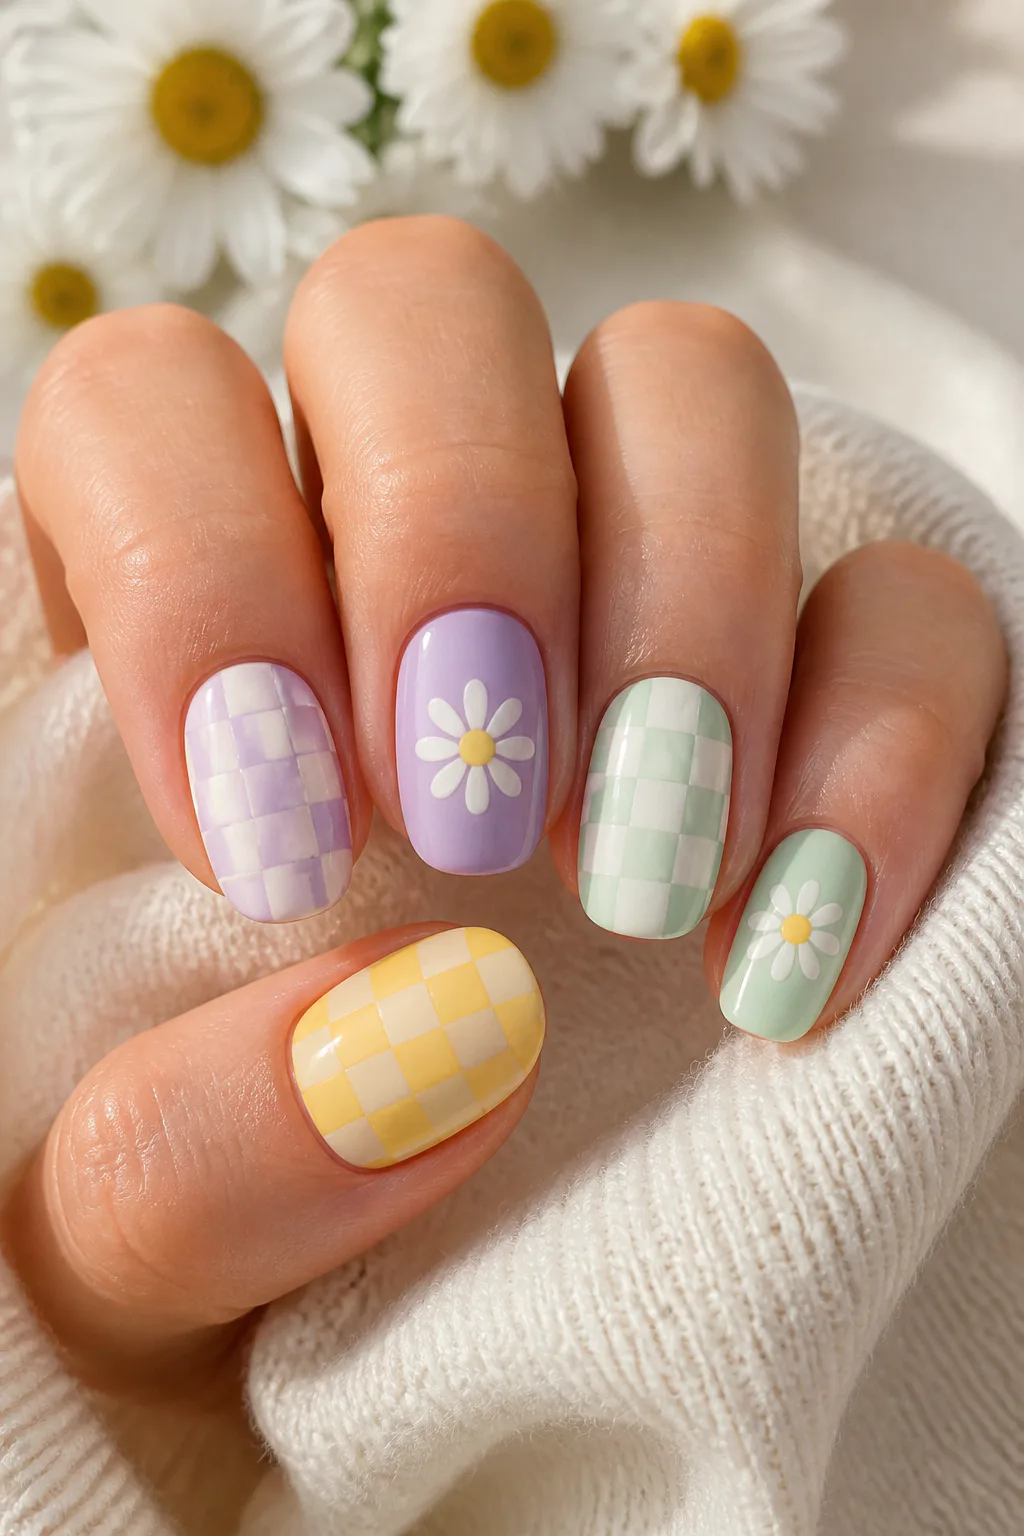
Pastel checkerboards and delicate daisies make a playful combination of graphic pattern and soft floral detail. Alternate the two designs across neighboring nails: one can carry a mint, lilac, or butter-yellow checkerboard, while the next features a small daisy on a complementary base. The mix feels coordinated without repeating the same motif everywhere.
This look suits short and medium nails, though the checkerboard squares may need to be larger on a shorter nail to remain clear. Keeping the colors within one gentle palette helps the contrasting designs feel harmonious. It is an easy way to combine two popular nail-art ideas in a single manicure.
Make the pattern feel balanced
Ask for or paint a consistent set of pastel shades across both designs. Checkerboards look crispest when their lines are neat, while the daisies can stay loose and hand-drawn. Repeating one color in the flower center or petals helps connect the patterned nails to the floral ones.
- Alternate checkerboard and daisy nails rather than stacking both designs everywhere.
- Choose two or three pastels that sit comfortably together.
- Use larger checks if your nails are short or narrow.
- Repeat a shade from the checkerboard in the flower details.
The contrast between tidy squares and soft petals gives the manicure its cheerful character.
8. Style Burgundy French Tips with Gold Flowers

Burgundy French tips bring a rich, moody base to tiny gold floral details. The deep-maroon edge can be paired with a sheer or nude nail bed, then accented with small gilded flower shapes and a few pearl details. The combination feels polished and romantic without relying on a bright color palette.
This design works beautifully for evening plans or cooler-season styling, but the French-tip layout keeps it from feeling too heavy. It is especially effective on medium or longer nails, where the burgundy edge has space to curve and the gold accents remain visible. On shorter nails, a narrow tip and very small embellishments can keep the proportions balanced.
Keep the accents refined
Choose either a delicate flower or a few scattered gold elements as the focal point rather than filling every nail with decoration. Pearls add another texture, so use them sparingly and place them where they will not interfere with the nail’s outline.
- Pair burgundy tips with a sheer nude or pink base.
- Use small gold flowers for a subtle, jewelry-like effect.
- Add pearl accents selectively rather than on every finger.
- Keep the tip narrow if you have shorter nails.
The result balances deep color with delicate detail for a look that feels both dramatic and graceful.
9. Paint a Tiny Wildflower Meadow on Each Nail

A miniature meadow turns each nail into a small floral scene. Fine stems, scattered blossoms, and varied colors can fill the length of an almond or coffin-shaped nail, creating the impression of a field in bloom. The art can be detailed and picturesque, or simplified into a few tiny flowers rising from the base.
This idea is best for someone who enjoys intricate nail art and wants the flowers to be the main feature. Longer nails provide more room for the miniature landscape, but a nail artist can simplify the composition for shorter shapes. A pale background helps the stems and blossoms remain easy to see.
Plan the miniature composition
Vary the height and placement of the flowers so every nail does not look like a duplicate. A limited color palette helps the tiny details read as one cohesive set. For a balanced manicure, you can keep a few nails more open while concentrating the meadow effect on the others.
- Choose almond or coffin shapes if you want more space for detail.
- Use a light base to give fine stems and petals contrast.
- Mix flower heights and colors for a natural, meadow-like feel.
- Ask for a simplified version if your nails are short.
Each nail becomes its own little scene, making this a striking choice for a custom set.
10. Wear Hand-Painted Floral French Tip Press-Ons

Hand-painted floral French tip press-ons offer a ready-to-wear way to enjoy detailed nail art. Mixed flowers can trace the tips of the nails, leaving the center mostly open and giving the familiar French shape a more colorful finish. Reusable gel press-ons are an option for people who want a detailed look without sitting through a full salon appointment.
Look for a set with a shape, length, and curve that suit your nails, since a comfortable fit helps the manicure look more natural. Floral placement can vary from one press-on to another, so choose a design that feels balanced as a full set. Custom options may let you request particular colors or flower styles.
Choose and apply thoughtfully
Check the sizing and application instructions before you begin, and prepare your natural nails as directed. If you plan to reuse the set, remove the press-ons gently and follow the maker’s care guidance rather than pulling them off. A little attention to fit and application helps the finished look feel polished.
- Compare nail sizes with your natural nails before applying.
- Choose a length and shape that fit your daily routine.
- Look for mixed flowers along the tips if you want a French-inspired design.
- Follow the application and removal directions for the set.
Press-ons make intricate floral tips an easy option when you want flexibility and a quick change of style.
11. Combine Chrome Polish with Watercolor Blossoms

An iridescent silver or pink chrome base gives watercolor-style blossoms a luminous backdrop. Translucent white cherry blossom petals can sit lightly over the shine, so the metallic effect remains visible through the design. The result pairs a sleek finish with soft, delicate floral art.
This manicure works well when you want something modern but still romantic. Silver chrome creates a cooler, mirror-like impression, while pink chrome brings a warmer, glazed look. The blossoms can be placed on every nail for a coordinated set or limited to a few accents for a more restrained finish.
Balance shine with softness
Ask your nail tech to keep the petals sheer rather than opaque if you want the chrome to show through. At home, use a light touch with the floral detail and let each layer dry as directed. A smooth finish helps the reflective base and watercolor effect feel like parts of the same design.
- Choose silver chrome for a cool, luminous base.
- Try pink chrome for a softer, warmer version.
- Keep blossom petals translucent to preserve the shine underneath.
- Use floral accents on selected nails if you prefer a simpler set.
The interplay of reflective polish and faint petals makes this a graceful choice with a contemporary edge.
Final Thoughts
Floral nails can be as subtle as a few fine stems or as vivid as oversized retro daisies. Choosing a base color, flower scale, and placement that suit your nail length is a simple way to make any of these ideas feel wearable and personal.
Save the designs that catch your eye and bring them to your nail artist, or adapt the simpler looks for an at-home manicure. Whether you prefer delicate petals, glossy chrome, or a tiny painted meadow, there is a floral style here to make your next set feel fresh.