13 Stunning 3D Nail Ideas for a Textured, Eye-Catching Manicure
Three-dimensional nail art turns a manicure into a tiny canvas, adding raised details that catch the light and invite a closer look. From delicate pearls to bold chrome drips, these designs can feel romantic, playful, futuristic, or wonderfully unexpected.
The key to wearing 3D nails comfortably is choosing details that suit your routine. A single accent nail can make a statement without covering every fingertip, while lower-profile embellishments may be easier to live with day to day.
Whether you’re planning a salon appointment or gathering inspiration for a DIY set, these ideas offer plenty of ways to play with texture, shine, and color. Pick a favorite motif, then adjust the scale and placement to suit your nail length and personal style.
1. Add Sculpted Bows to Accent Nails
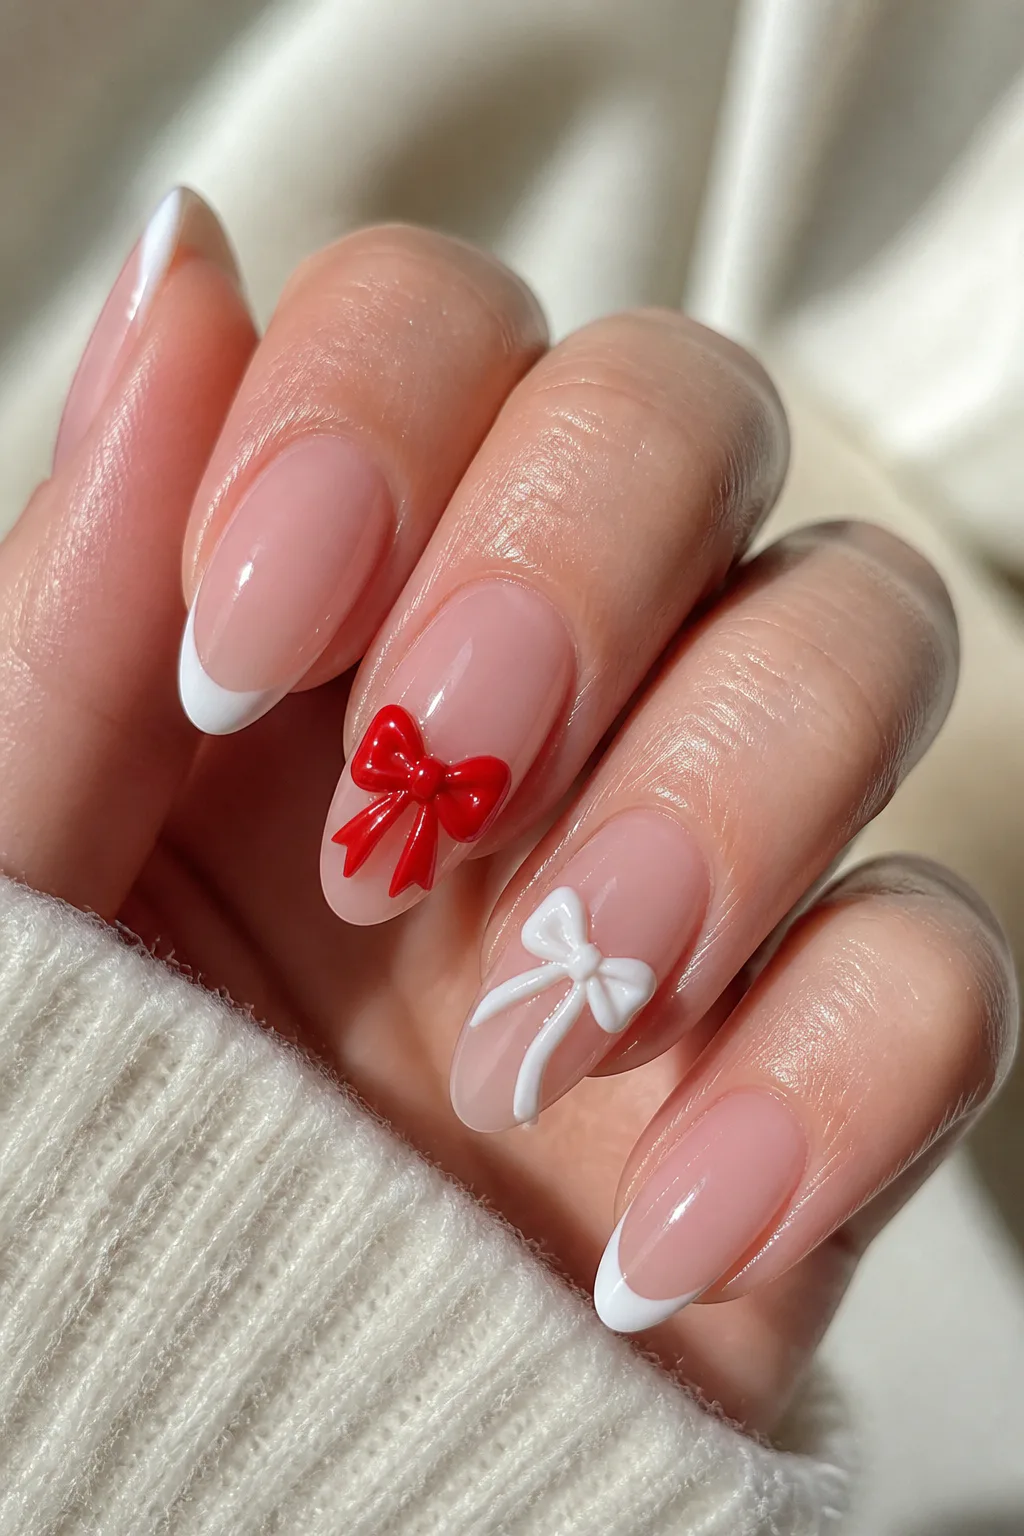
Raised bows bring a sweet, dressed-up touch to a manicure, especially when they appear on just one or two accent nails. A bold red bow feels graphic and playful, while a white sculpted ribbon gives a softer coquette look against a sheer pink or milky base.
Because bows have noticeable height, placement matters. Center one near the cuticle for a jewelry-like effect, or set it slightly off-center to keep the design from feeling too formal. A small bow can also finish a French manicure without competing with the tips.
How to pull it off
Ask for a low-profile bow if you use your hands often, and keep the rest of the manicure simple so the sculpted detail stays in focus. Matching the bow to the base creates a subtle, tonal look; contrasting colors make the shape stand out.
- Try a red bow over a sheer nude or pink base.
- Choose white bows for a delicate, romantic finish.
- Place the raised detail on an accent nail for easier wear.
A little ribbon-shaped detail can make even a minimal set feel considered and special.
2. Cluster Pearls Over a Milky Base
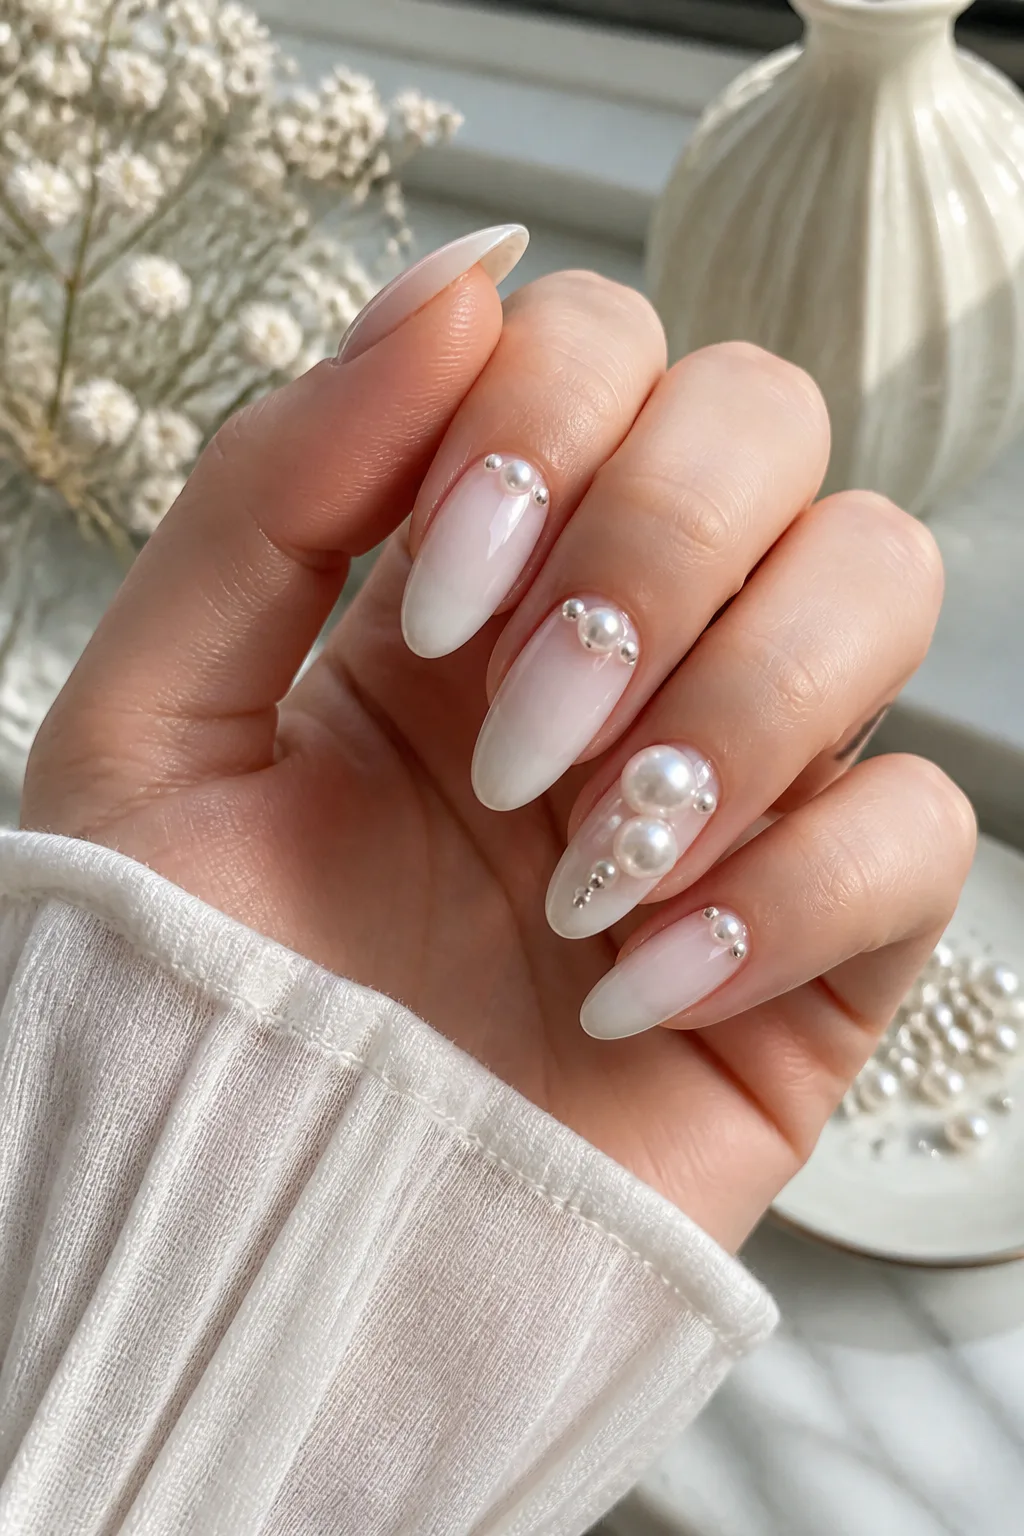
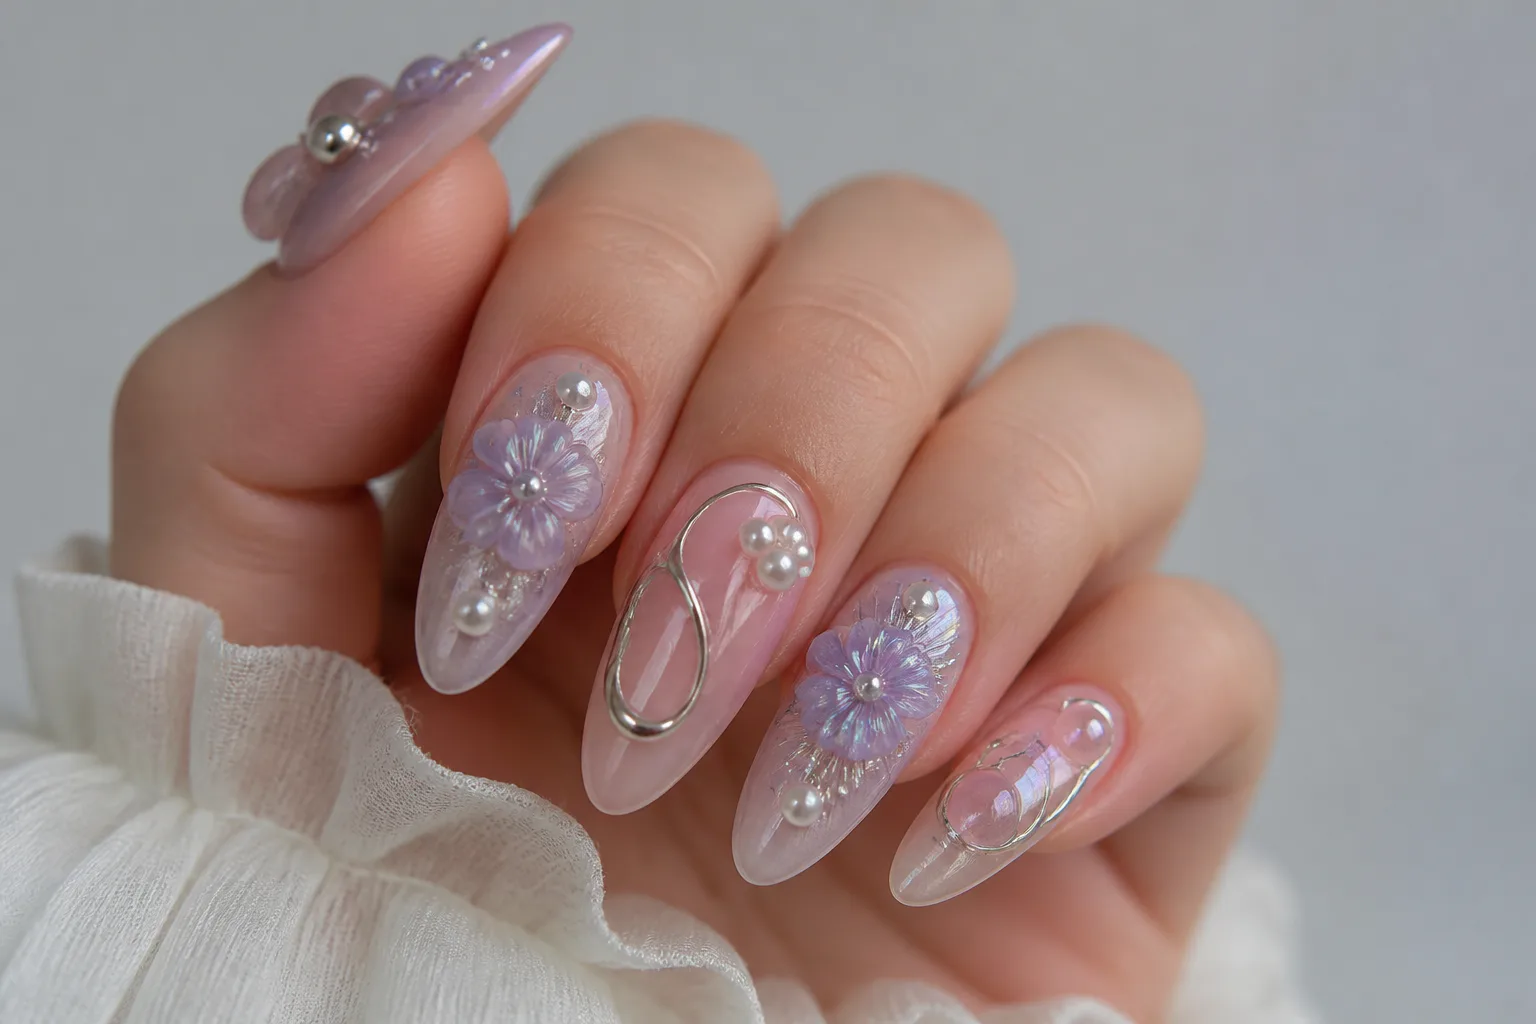
Pearls add dimension without relying on bright color, so they’re an elegant choice if you want 3D nail art with a softer finish. A milky base lets the embellishments feel dreamy and delicate, while a silver background makes them look cooler and more modern.
One oversized pearl creates a clean focal point, while a small cluster has the feel of a tiny piece of jewelry. Place embellishments near the cuticle or along one side of the nail, leaving enough open space for the manicure to feel balanced rather than crowded.
Design tips
Think about how much texture you want before choosing the arrangement. A single raised pearl is often easier to wear than a dense cluster, and keeping most nails smooth helps the decorated ones stand out.
- Pair pearls with sheer pink, cream, or milky polish.
- Use silver accents for a cooler, more polished palette.
- Try one statement pearl on a short or minimal set.
- Cluster smaller pearls on one accent nail for extra detail.
This look works beautifully when you want a manicure that feels embellished but still understated.
3. Create Raised Flower Petals with Rhinestone Centers
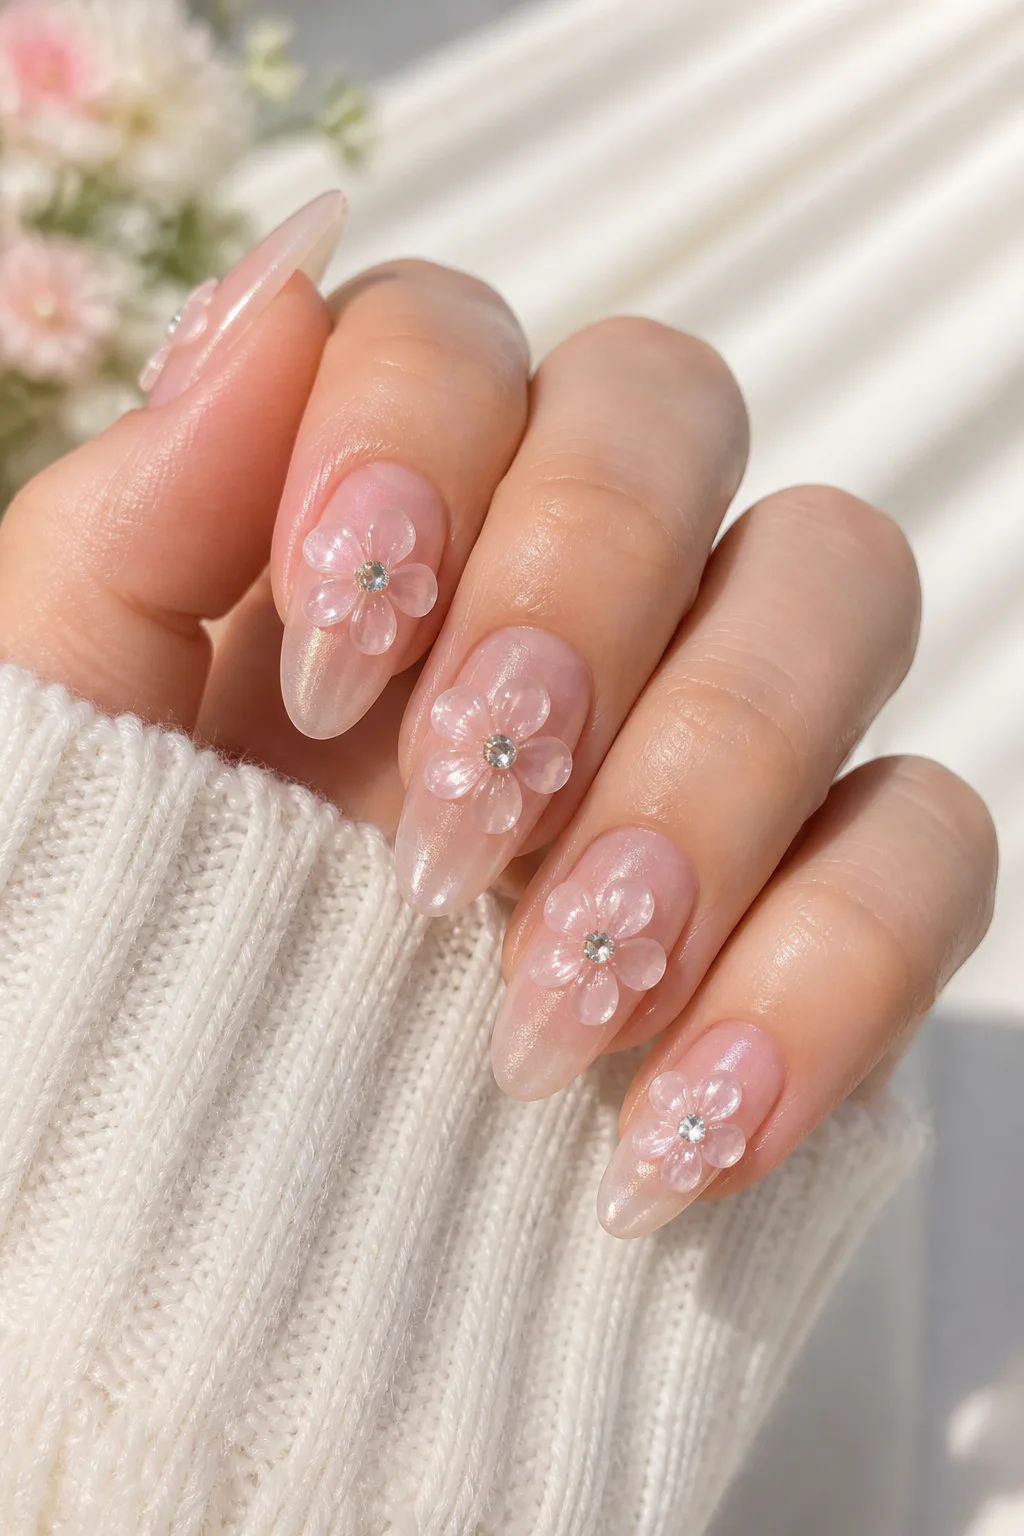
Three-dimensional flowers bring a garden-inspired texture to your nails. Sculpted petals can look delicate and airy on a sheer base or bold and graphic when made in a bright color. A tiny rhinestone center adds a pinpoint of sparkle and helps define the flower’s shape.
Raised blooms work especially well as accent details, leaving room for the rest of the manicure to stay simple. A single flower near the cuticle can feel refined, while a few smaller blooms scattered over the nails create a more playful, floral look.
How to style the blooms
Petals can be built with acrylic or blooming gel, so the finish may range from sharply sculpted to soft and fluid. Keep the size in proportion to the nail: a compact bloom suits shorter nails, while longer nails offer more space for layered petals.
- Choose pale petals over a sheer base for a subtle effect.
- Use a rhinestone center to add a small flash of light.
- Place one larger bloom on an accent nail to avoid visual clutter.
- Try brighter petals when you want a cheerful statement manicure.
The result is a tactile floral detail that feels charming without needing a busy pattern.
4. Add Futuristic Chrome Bubbles
Chrome bubbles give a manicure a liquid, almost otherworldly quality. Sculpted drops or warped bubble shapes catch light from different angles, creating dimension that feels sleek rather than sweet. Silver chrome is a crisp choice, while other metallic finishes can shift the mood toward warmer or more playful.
Try the effect on a few nails against a neutral base, or use a collection of bubbles as the main feature of the set. Their rounded forms look striking on a dark polish, but a pale base can make the metallic shapes feel lighter and more sculptural.
Design tips
Varying the size of the raised accents helps the design feel organic. A few small bubbles around one larger shape can suggest movement, while evenly spaced drops give the manicure a more deliberate, graphic rhythm.
- Use a neutral base to let the chrome texture take focus.
- Choose a dark background for stronger metallic contrast.
- Mix a few bubble sizes for a fluid, irregular finish.
- Keep some nails smooth to balance the raised details.
This is a strong option when you want dimensional shine with a modern, futuristic edge.
5. Sculpt Pearlescent Seashell Ridges
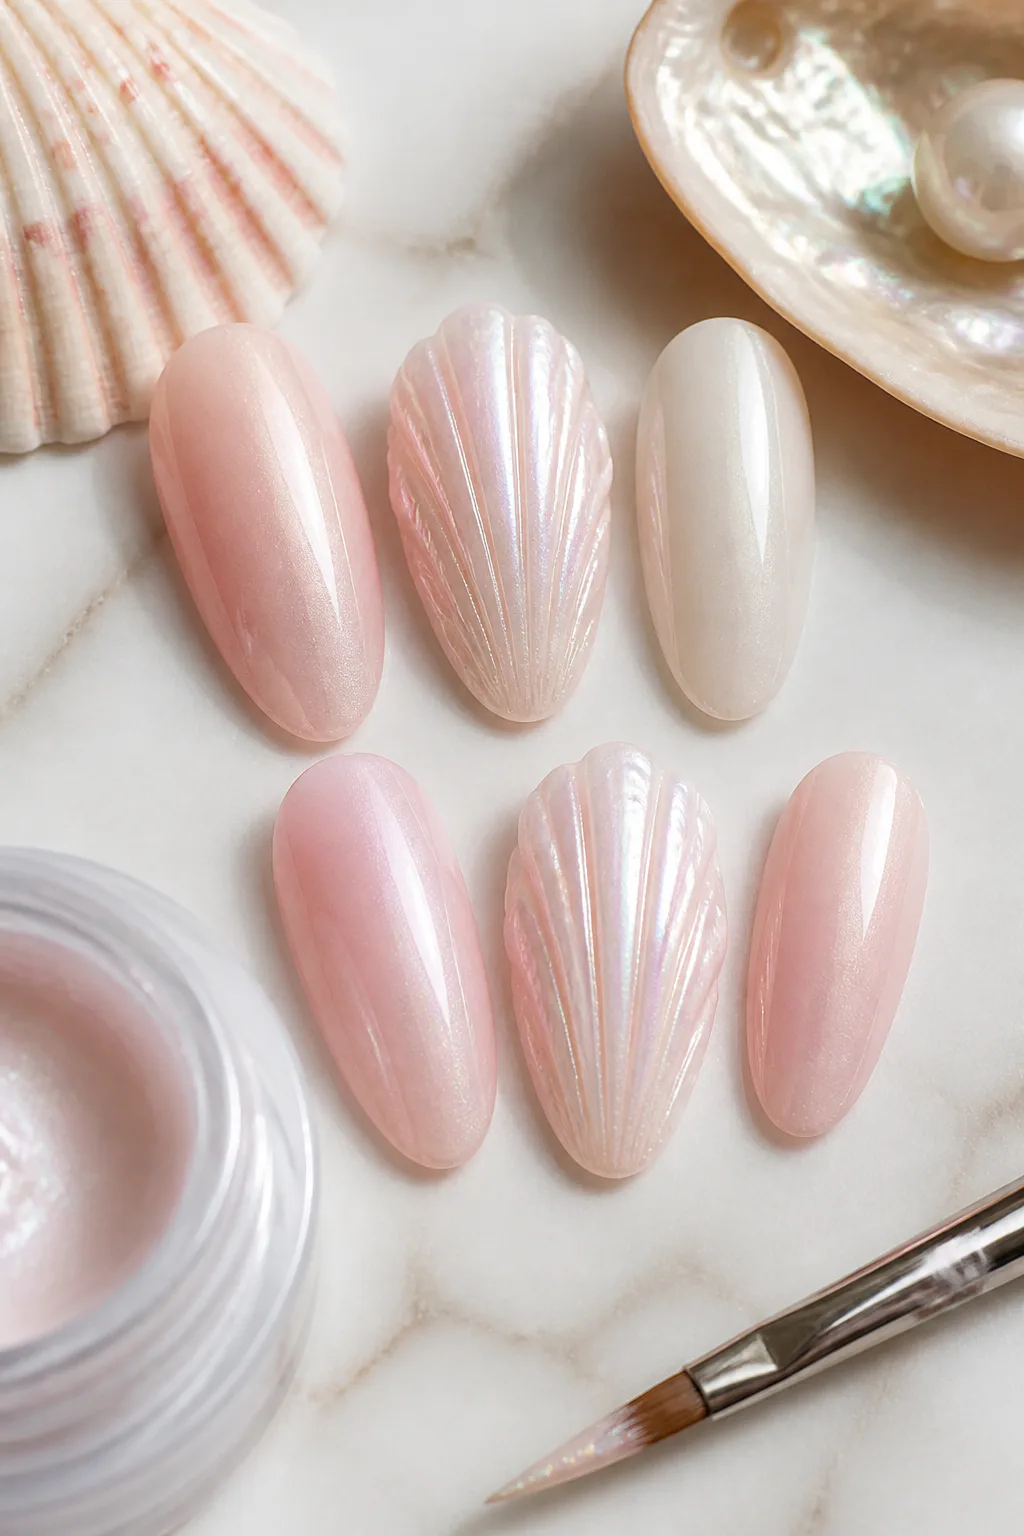
Ribbed seashell designs bring an under-the-sea feeling to a manicure through raised lines and a pearlescent finish. The ridges create tactile detail, while the shifting sheen suggests the soft glow of a shell. Pale pink, cream, and other light shades help the texture read clearly.
A shell motif can cover an entire accent nail or appear as a small sculpted detail on a simpler set. It pairs naturally with beachy colors, but it can also look polished with a neutral base and just a hint of shimmer.
How to create the look
Ask for the ridges to follow the shape of a shell, spreading outward in gentle lines rather than forming a dense, raised pattern. A pearlescent finish brings the texture to life, so the base color can stay soft and restrained.
- Choose a pearly polish to emphasize the shell-like glow.
- Keep the ridges spaced enough to show their shape.
- Use one shell accent nail for a quieter take.
- Pair the design with creamy or pale pink shades.
The finished manicure feels beach-inspired without needing a full set of ocean-themed decorations.
6. Wrap Raised Vines Around Nail Tips
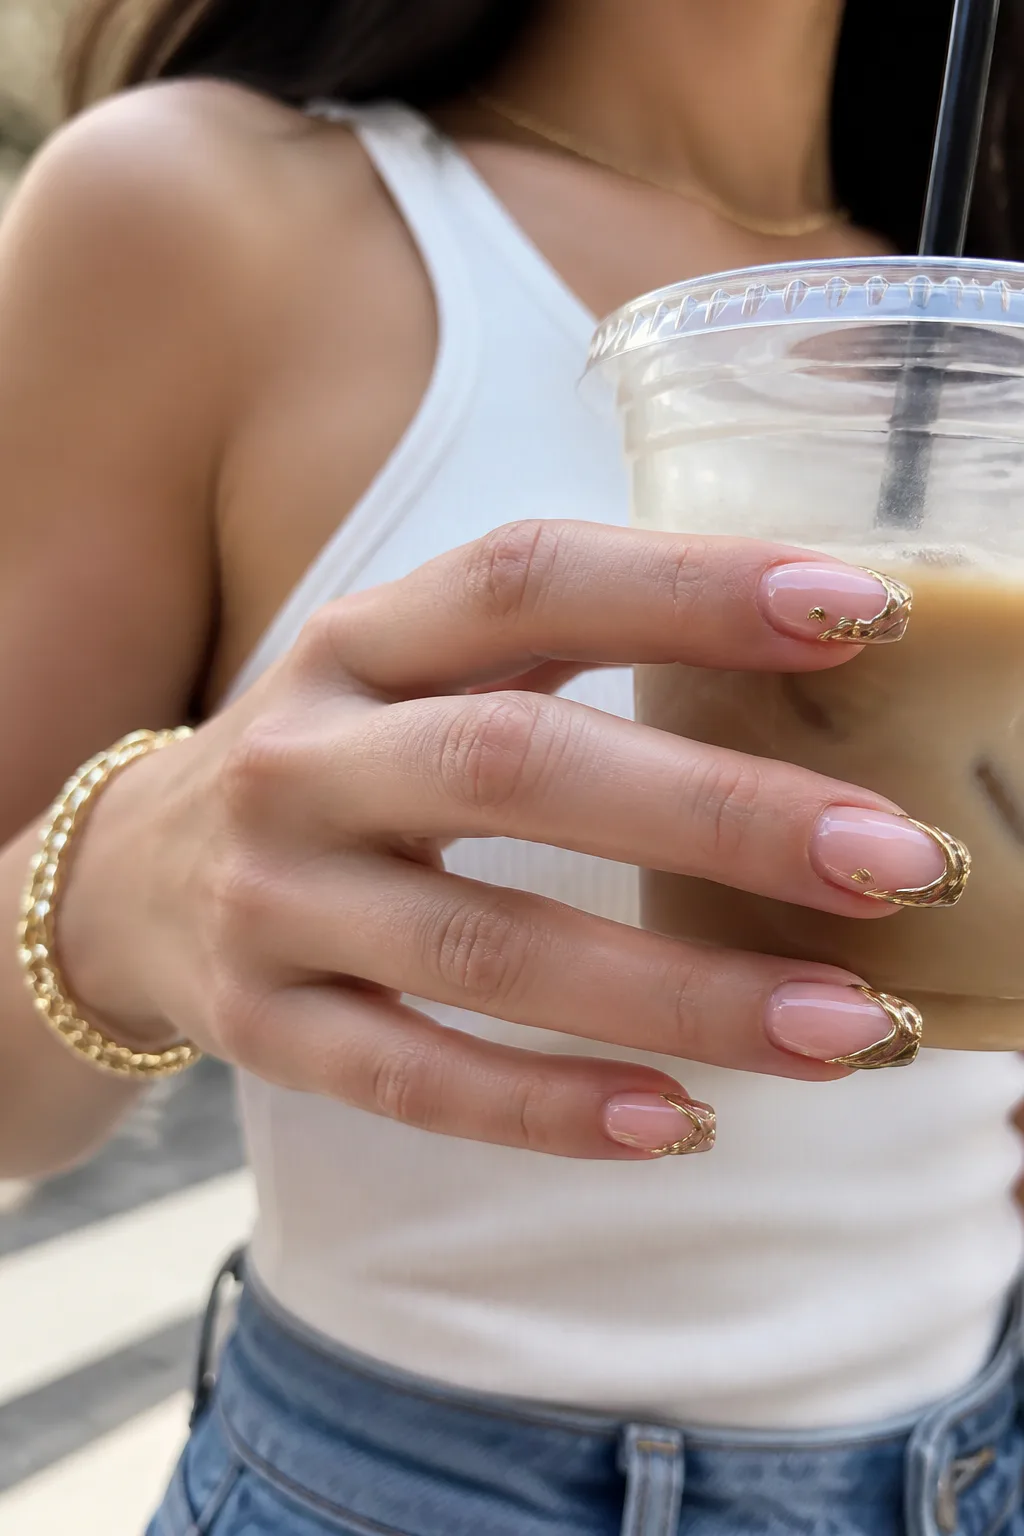
A raised vine or cuff that curves over the nail tip makes dimension part of the manicure’s silhouette. Instead of sitting flat on the surface, the detail appears to wrap around the edge, creating a surprising finish when you look at the nails from different angles.
This design can feel delicate when the vine is thin and minimal, or more statement-making with a bolder raised line. It works well on a clean base because the curved detail has room to stand out, and a metallic finish can make the wrap look like a fine piece of jewelry.
Things to consider
Since the design crosses the free edge, it’s worth keeping the shape smooth and comfortable. Ask your nail artist to consider how the wrap will feel in everyday use, especially if you prefer shorter nails or work with your hands often.
- Try a thin vine for a subtle, delicate effect.
- Use a metallic shade to create a jewelry-like cuff.
- Keep the base simple so the curved line stays visible.
- Choose a comfortable, low-profile shape at the nail edge.
It’s a clever way to make a manicure feel dimensional from more than just a top-down view.
7. Build a 3D Holiday Ornament Manicure
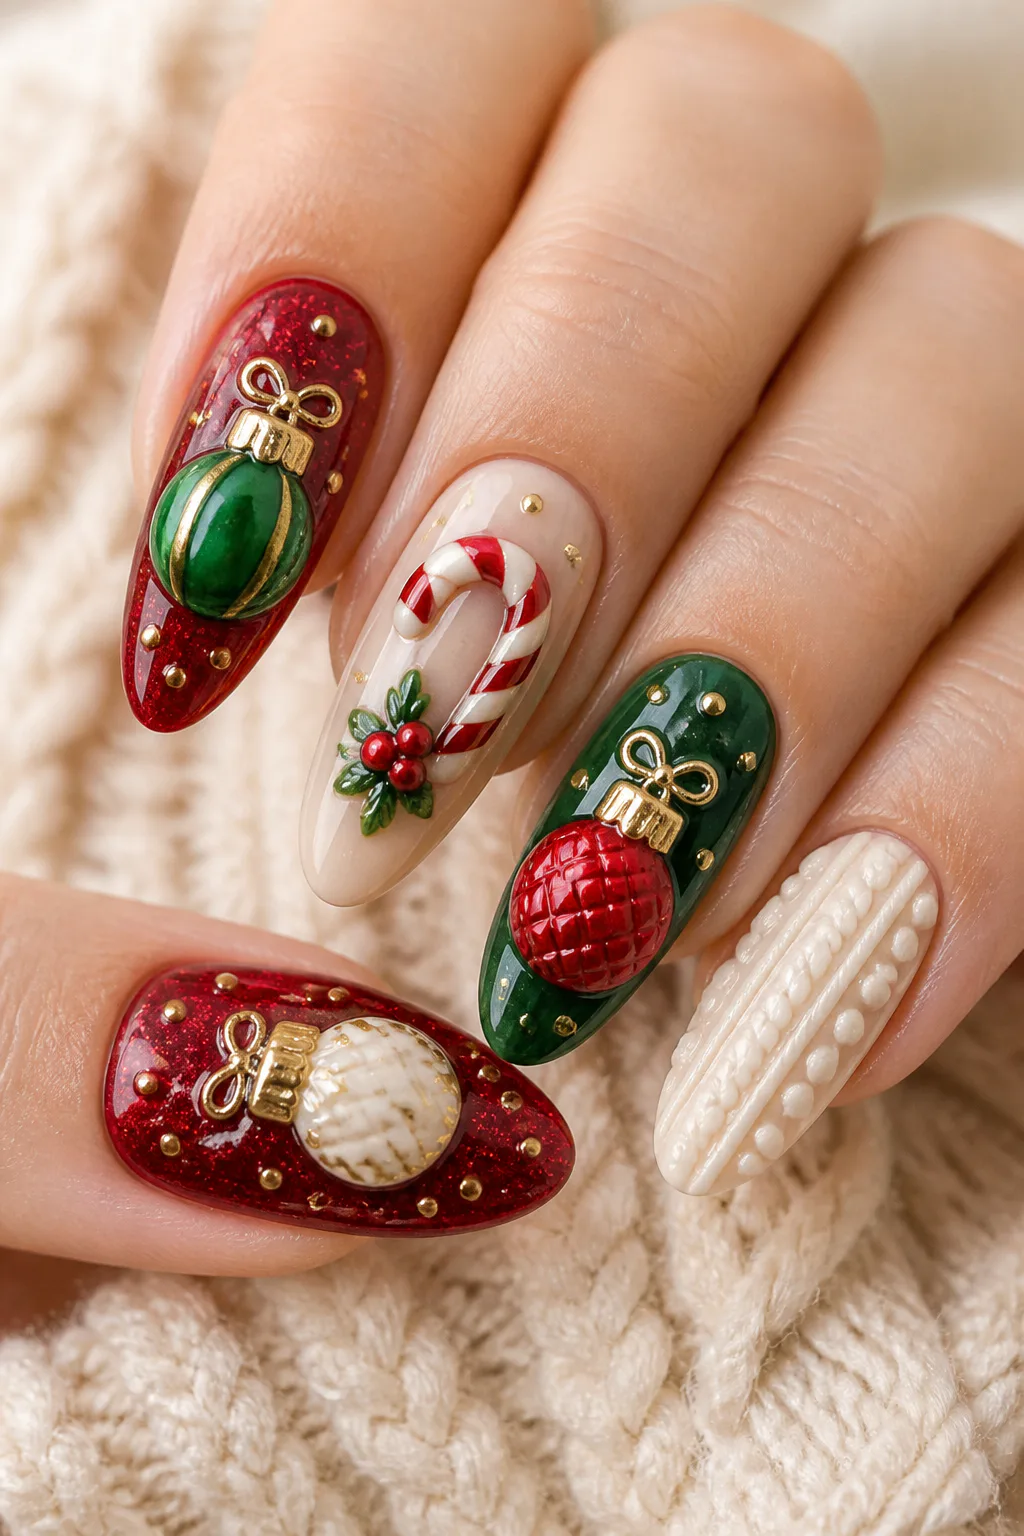
Raised holiday details turn a seasonal manicure into a tiny celebration. Miniature ornaments add glossy color and a decorative feel, while small candy canes bring a playful twist. For a cozier mood, textured winter-knit details create the impression of a warm sweater on the nails.
You can keep the set festive without placing a motif on every finger. A few raised ornaments against a simple red, green, or neutral base can feel cheerful without becoming busy. Alternatively, combine one or two holiday shapes with a knit-textured accent for contrast.
Make the details wearable
Think about whether you want a polished holiday look or a more whimsical one. Repeating a color across the set helps different textures feel connected, even when the motifs vary from nail to nail.
- Use raised ornaments as focal points on accent nails.
- Add a miniature candy cane for a playful seasonal touch.
- Try winter-knit texture for a softer, cozy look.
- Repeat one or two colors to keep the set coordinated.
These designs are especially fun when you want your manicure to join in with the season’s decorations.
8. Top Juicy Fruit Charms with Clear Gel
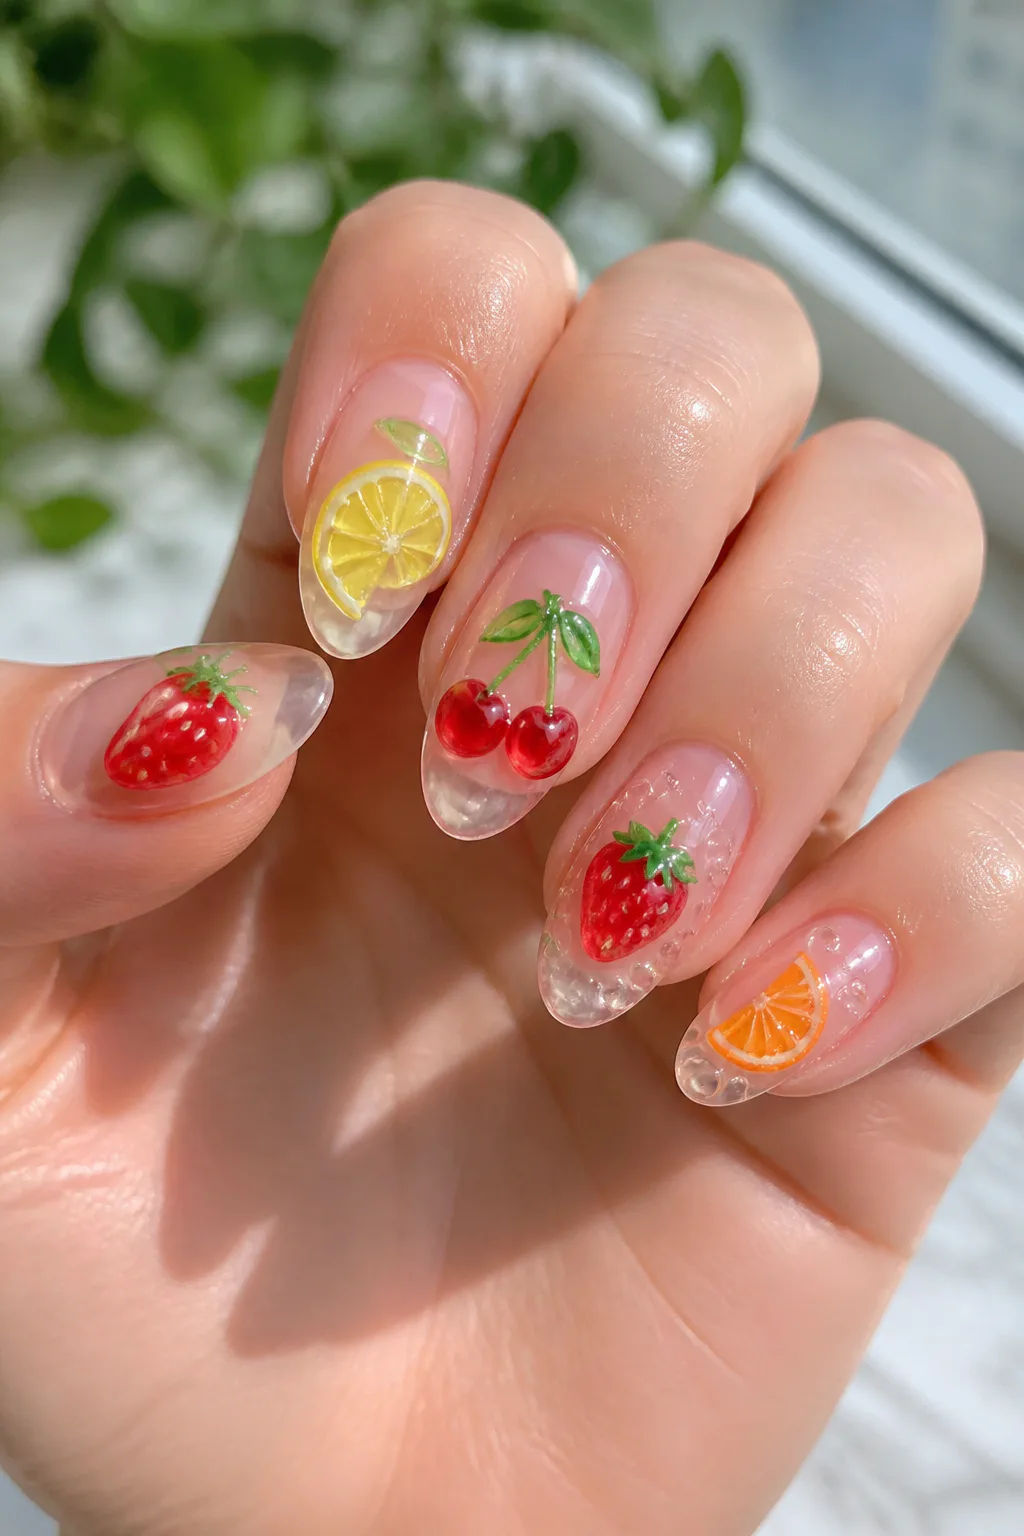
Tiny fruit details bring a bright, summery mood to 3D nails. Citrus slices, cherries, and strawberries each have a distinct shape, so even a small raised charm can make the design easy to recognize. Clear gel adds a glossy, juicy finish that makes the fruit look freshly glazed.
Fruit charms can be a cheerful accent against a sheer base or part of a more colorful set. Use just one or two motifs if you prefer a subtle nod to summer, or scatter several designs across the nails for a playful, fruit-inspired look.
Choosing your fruit details
Let the base color support the charms rather than compete with them. A clear or pale background gives colorful fruit room to pop, while a brighter base can create a bolder, more maximalist feel.
- Try tiny cherries for a simple, recognizable accent.
- Choose citrus slices for a fresh, colorful detail.
- Use strawberry charms for a sweet, playful look.
- Add clear gel for a glossy, juicy-looking finish.
Even a single fruit accent can give a simple manicure a fun seasonal twist.
9. Place Dewy Gel Droplets on Matte Polish
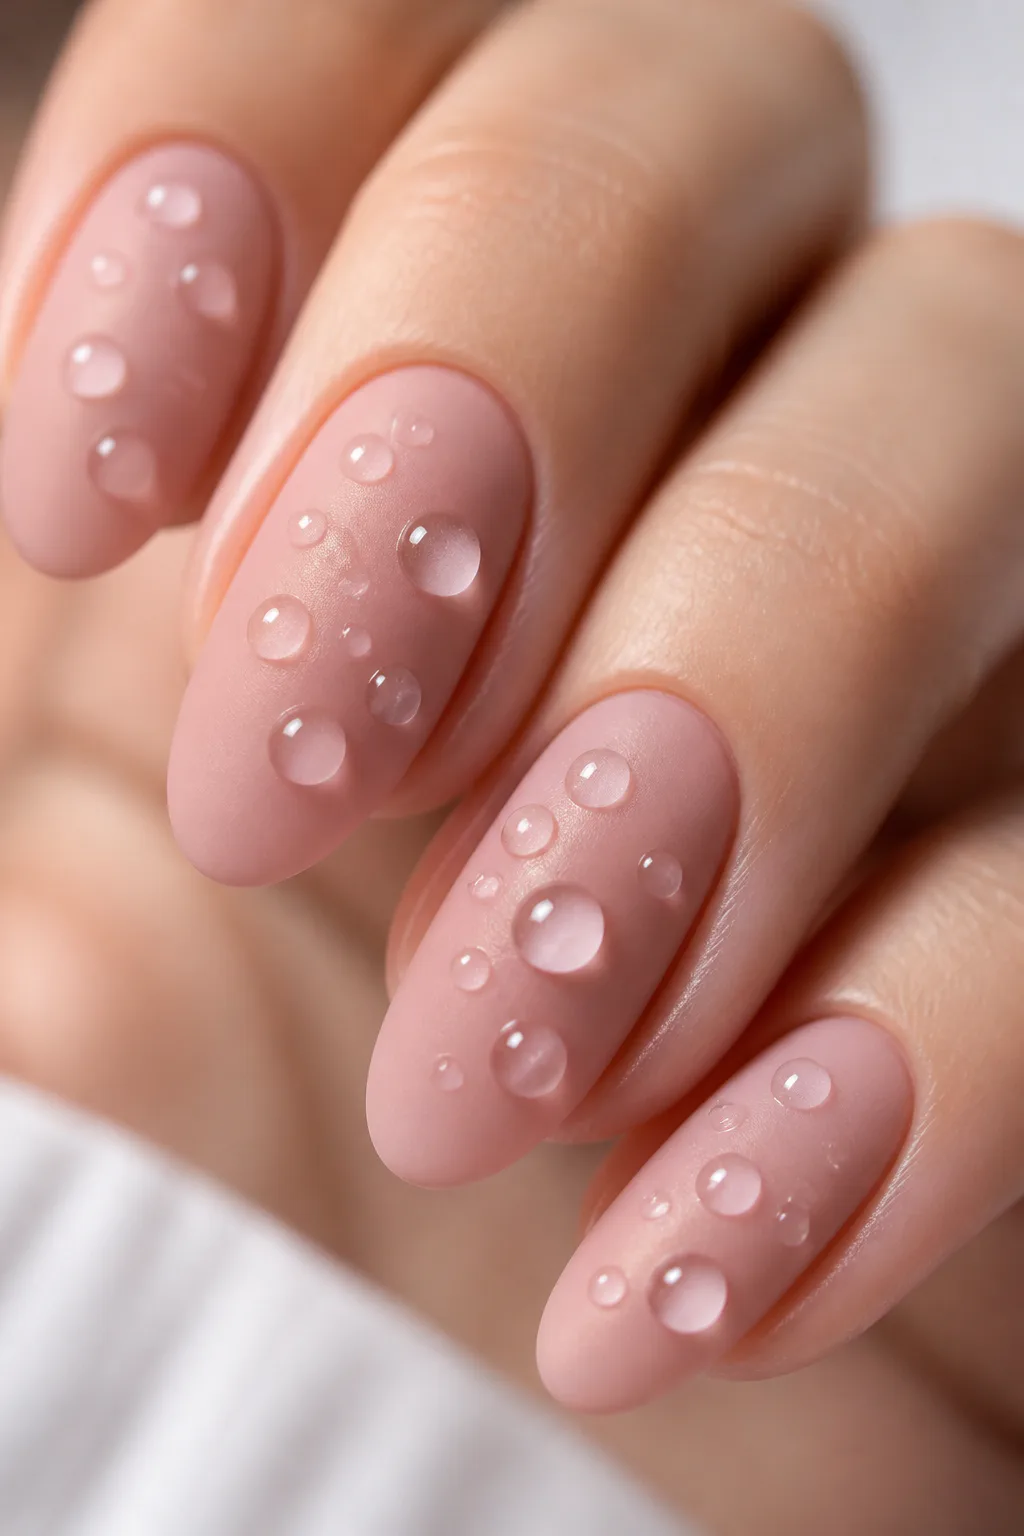
Clear gel droplets create an easy-to-read contrast: smooth, shiny beads seem to sit on a matte surface like morning dew. Because the droplets are transparent, the base color remains the star while the raised texture adds a subtle element of surprise.
This idea works across a range of colors, from soft neutrals to deeper shades. A matte finish makes the glossy beads especially noticeable, and spacing them unevenly can make the design feel more natural than a strict grid.
How to balance the texture
Keep the droplets varied but intentional, with enough space around each one for its shine to show. A small number on each nail can feel refined, while more beads create a bolder, rain-kissed effect.
- Pair clear droplets with a matte base for contrast.
- Choose a colored base if you want extra visual depth.
- Vary the droplet sizes for a more natural look.
- Leave breathing room so the beads stay distinct.
The finish is a simple way to add dimension without introducing extra colors or charms.
10. Add Puffy Hearts with Glossy Chrome
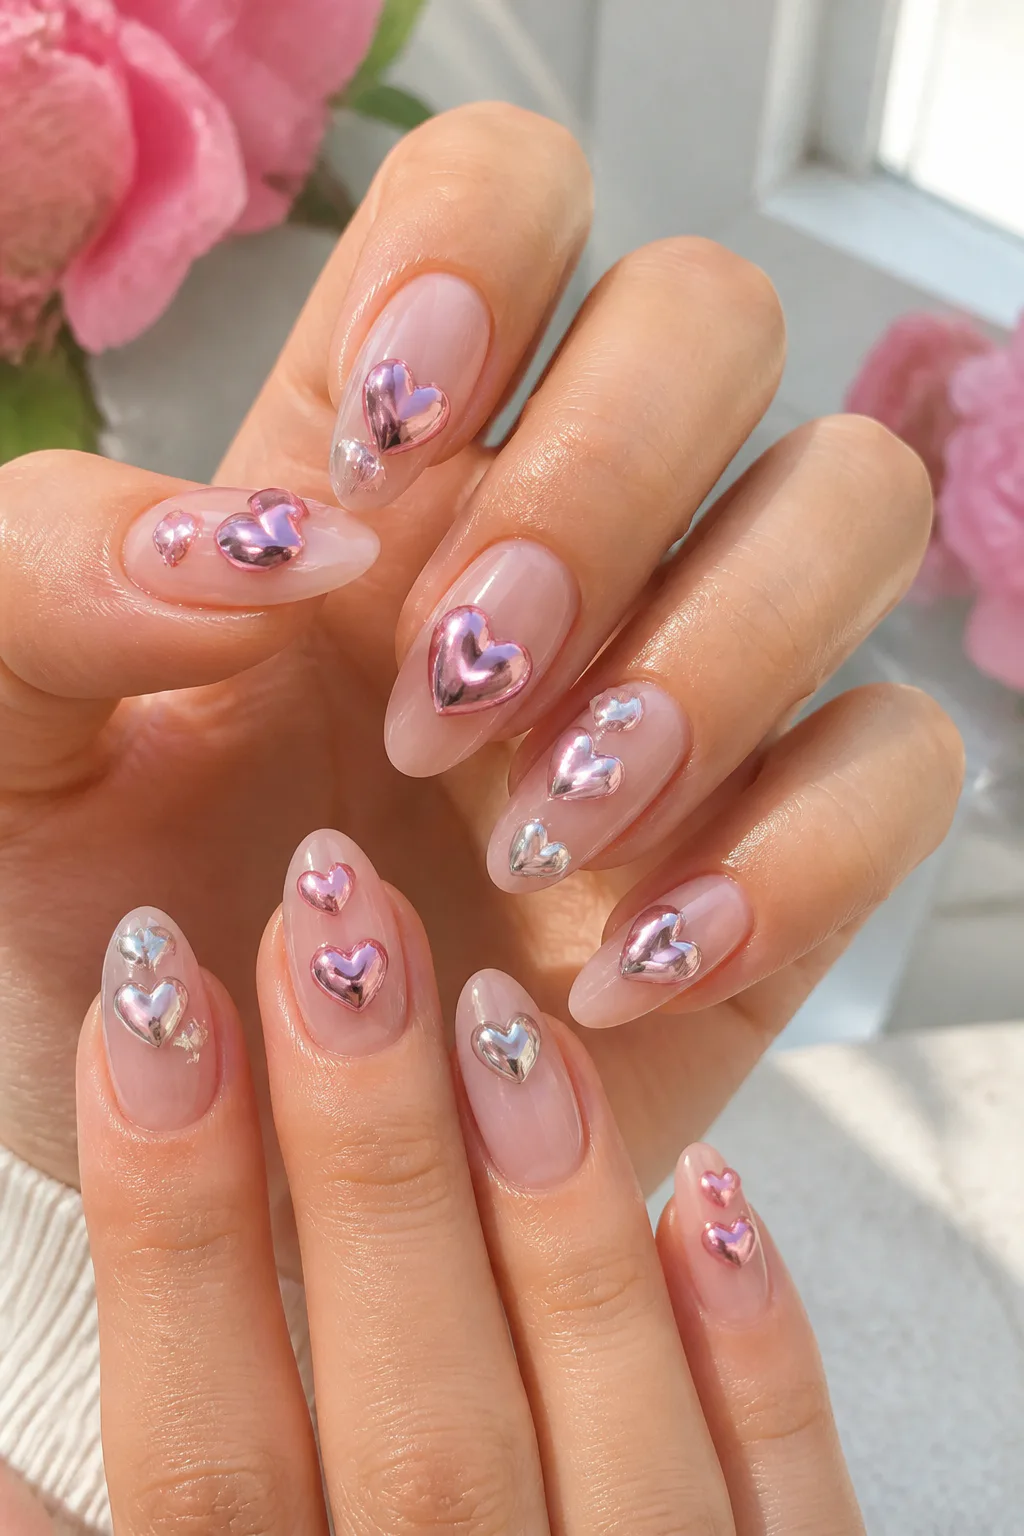
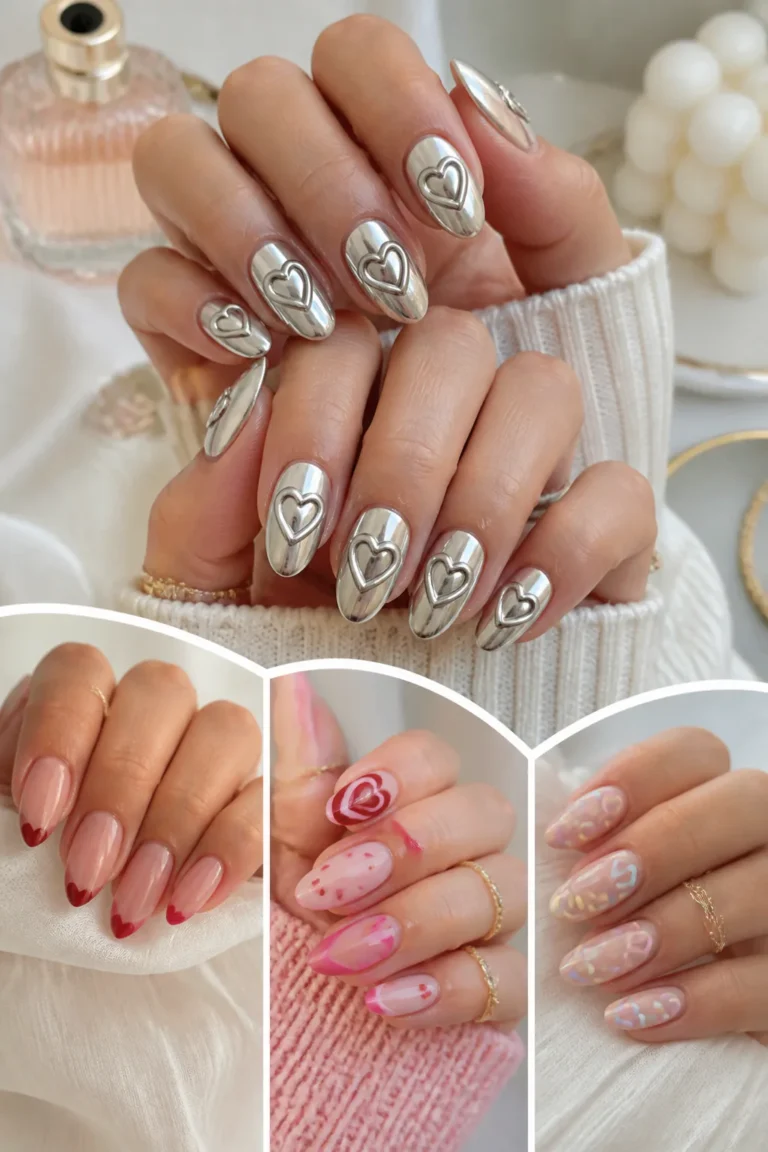
Puffy hearts give a manicure a soft, inflated appearance that feels romantic and playful. Their rounded shape stands out as a raised detail, while a glossy finish makes them look smooth and polished. A chrome coating shifts the same heart motif toward something bolder and more futuristic.
One dimensional heart can be the focal point of an accent nail, or several smaller hearts can create a more expressive set. Pairing the shapes with a simple base keeps the manicure from feeling overly busy and lets the glossy or metallic surface catch the eye.
Make hearts the focal point
Consider the scale of the design in relation to the nail. A large puffy heart makes a clear statement, while smaller hearts can be spread across multiple nails for a lighter touch. Choose glossy color for a sweet mood or chrome for a more dramatic finish.
- Use one raised heart as a standout accent.
- Try glossy pink or red for a romantic feel.
- Choose chrome when you want a more modern finish.
- Keep the surrounding nails simple to highlight the shape.
It’s a familiar motif made more eye-catching through volume and shine.
11. Sculpt Molten Metal Drips
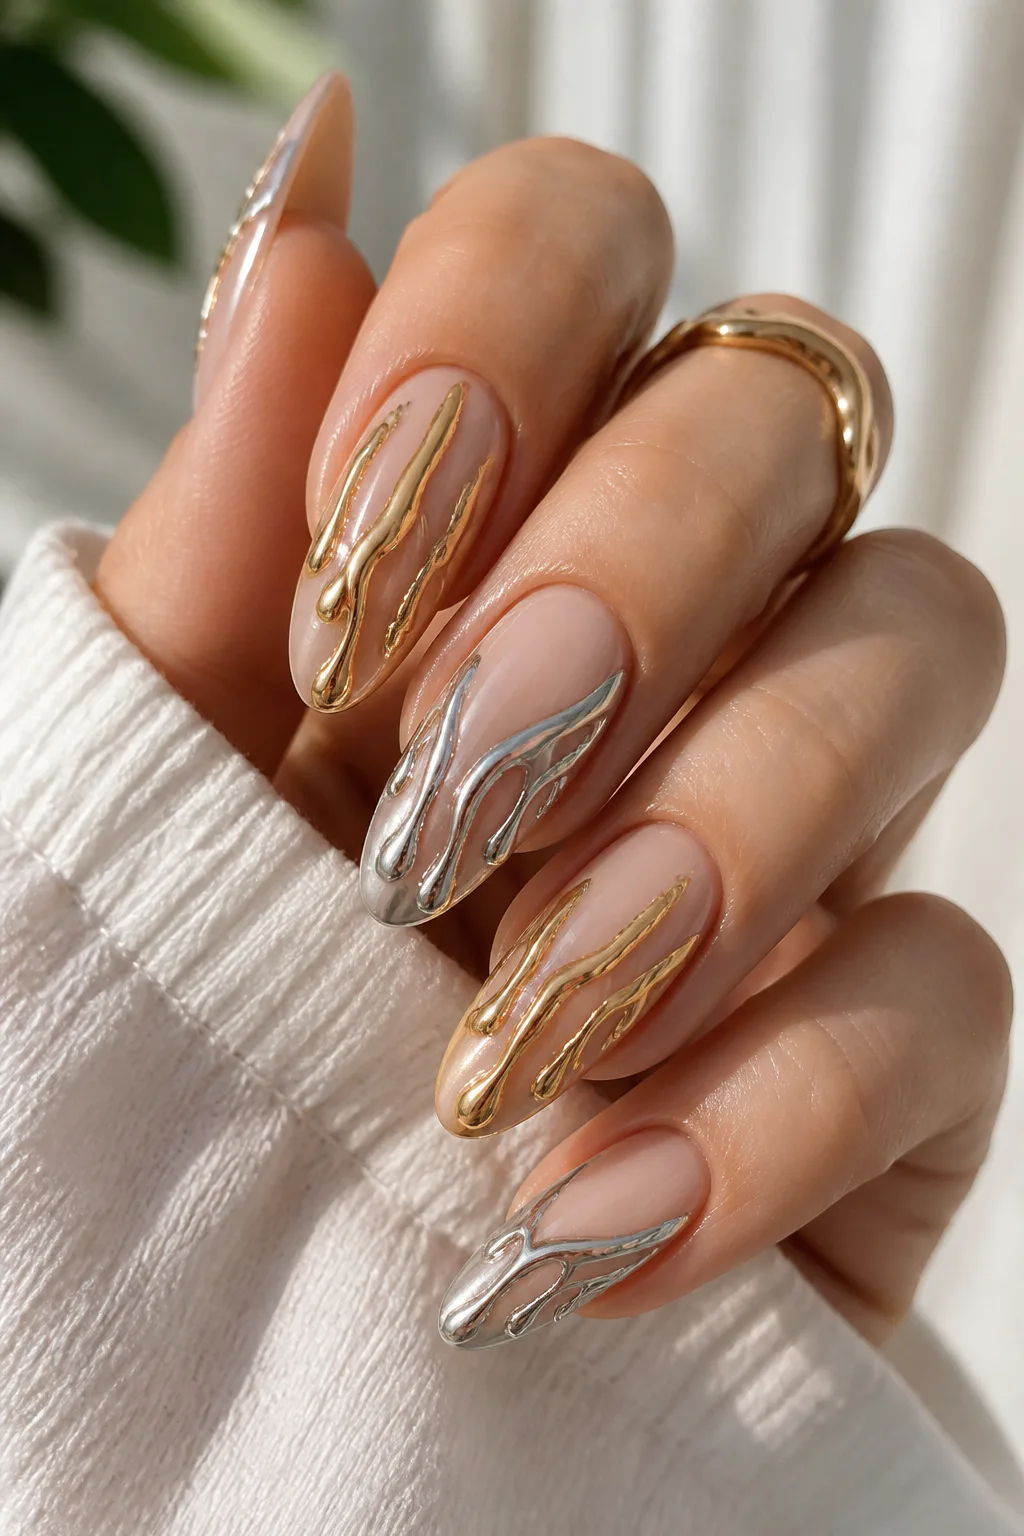
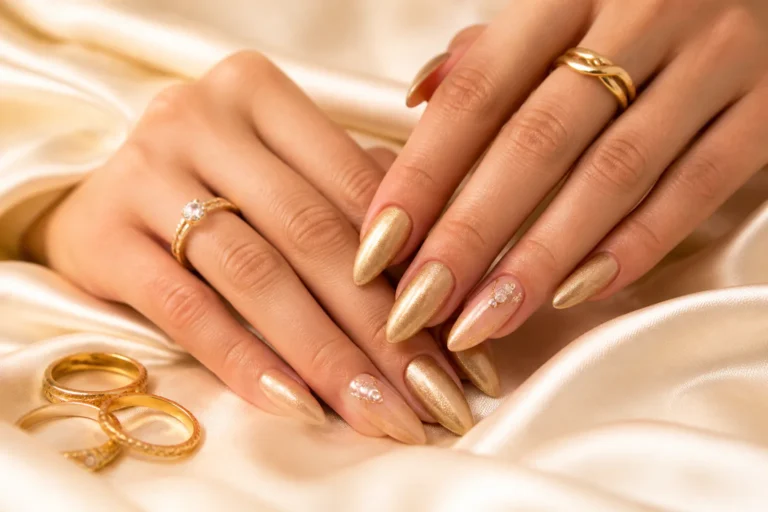
Molten metal drips make a manicure feel bold and a little unexpected. Raised lines that look like liquid metal flowing across the nail create movement, while silver or gold chrome gives the sculpted shapes their reflective finish.
This design can be dramatic across several nails or used sparingly as an accent. On a neutral base, metallic drips become the obvious focal point; against a dark base, the contrast can feel even more striking. Let the lines curve naturally rather than forcing every nail to match exactly.
Styling the drips
Think about the overall balance before adding metallic details everywhere. A few well-placed drips can make a strong statement, and leaving some nails smooth gives the set room to breathe.
- Choose silver chrome for a cool, futuristic look.
- Try gold for a warmer metallic accent.
- Use a neutral or dark base to frame the raised lines.
- Vary the drip shapes for a flowing, liquid effect.
With their reflective surface and irregular shape, these accents turn simple polish into a statement manicure.
12. Add Raised Racing Stripes and Emblems
Sporty 3D nails borrow the energy of racing details, using raised pinstripes, bold accents, or tiny molded athletic emblems. The added height gives graphic lines more presence than a painted design alone, making this a playful option for anyone who likes a manicure with a sharper, more energetic feel.
Keep the palette focused so the shapes stay readable. A couple of accent nails can carry the racing-inspired details, while the remaining nails echo one color from the design. This approach gives the set a coordinated look without putting a large emblem on every finger.
Build a sporty set
Simple shapes are often the easiest to wear: a raised stripe, a small emblem, or a combination of both. Consider how much texture you want and keep raised details comfortable, particularly if the design sits near the nail edge.
- Use raised pinstripes for a clean graphic accent.
- Add a small molded emblem to one feature nail.
- Repeat a color across the set to tie the design together.
- Limit the busiest details to one or two nails.
The result feels sporty and expressive while still leaving room for a polished overall look.
13. Stack Charms on an Accent Nail
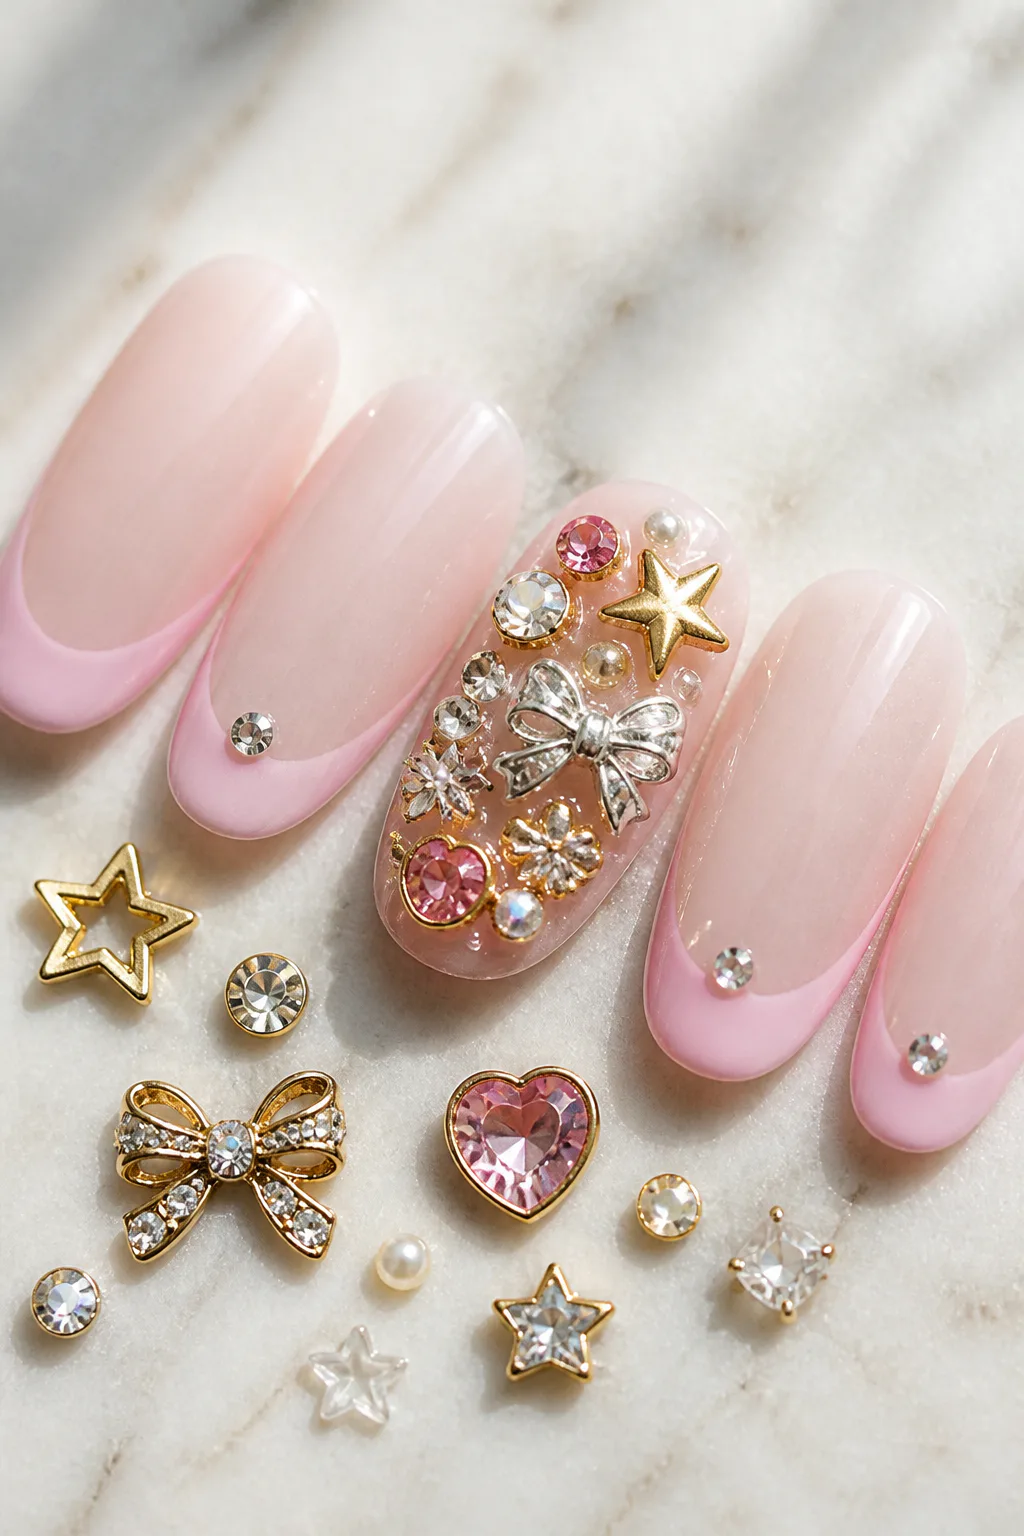
A charm-bracelet accent nail brings together stars, bows, gems, and other small embellishments in one layered design. Each charm adds its own shape and shine, creating a miniature collage that feels personal and playful.
Because stacked details can quickly become visually busy, concentrating them on one nail helps the manicure feel intentional. Keep the neighboring nails simpler, or echo just one color from the charm cluster for a more connected look.
Layer with intention
Choose a few charms that work together rather than adding every available shape. Varying the sizes creates dimension, while a consistent color story helps the arrangement look styled rather than random. A smoother base can also give the raised pieces a clean backdrop.
- Combine a few shapes, such as stars, bows, and gems.
- Keep the charm cluster on one accent nail.
- Repeat one shade elsewhere in the manicure for cohesion.
- Leave neighboring nails simple to balance the texture.
This is a fun choice when you want your manicure to feel like a tiny collection of favorite accessories.
Final Thoughts
Three-dimensional nail art can be delicate or dramatic, depending on the shapes, finishes, and placement you choose. Pearls, sculpted flowers, and dew-like droplets offer softer texture, while chrome bubbles, molten drips, and layered charms make a bolder statement.
Start with the idea that best fits your style, then decide how much dimension feels comfortable for your routine. A single accent nail can be just as eye-catching as a fully embellished set, so feel free to make the design your own.