12 Stunning Red and Green Christmas Nail Ideas
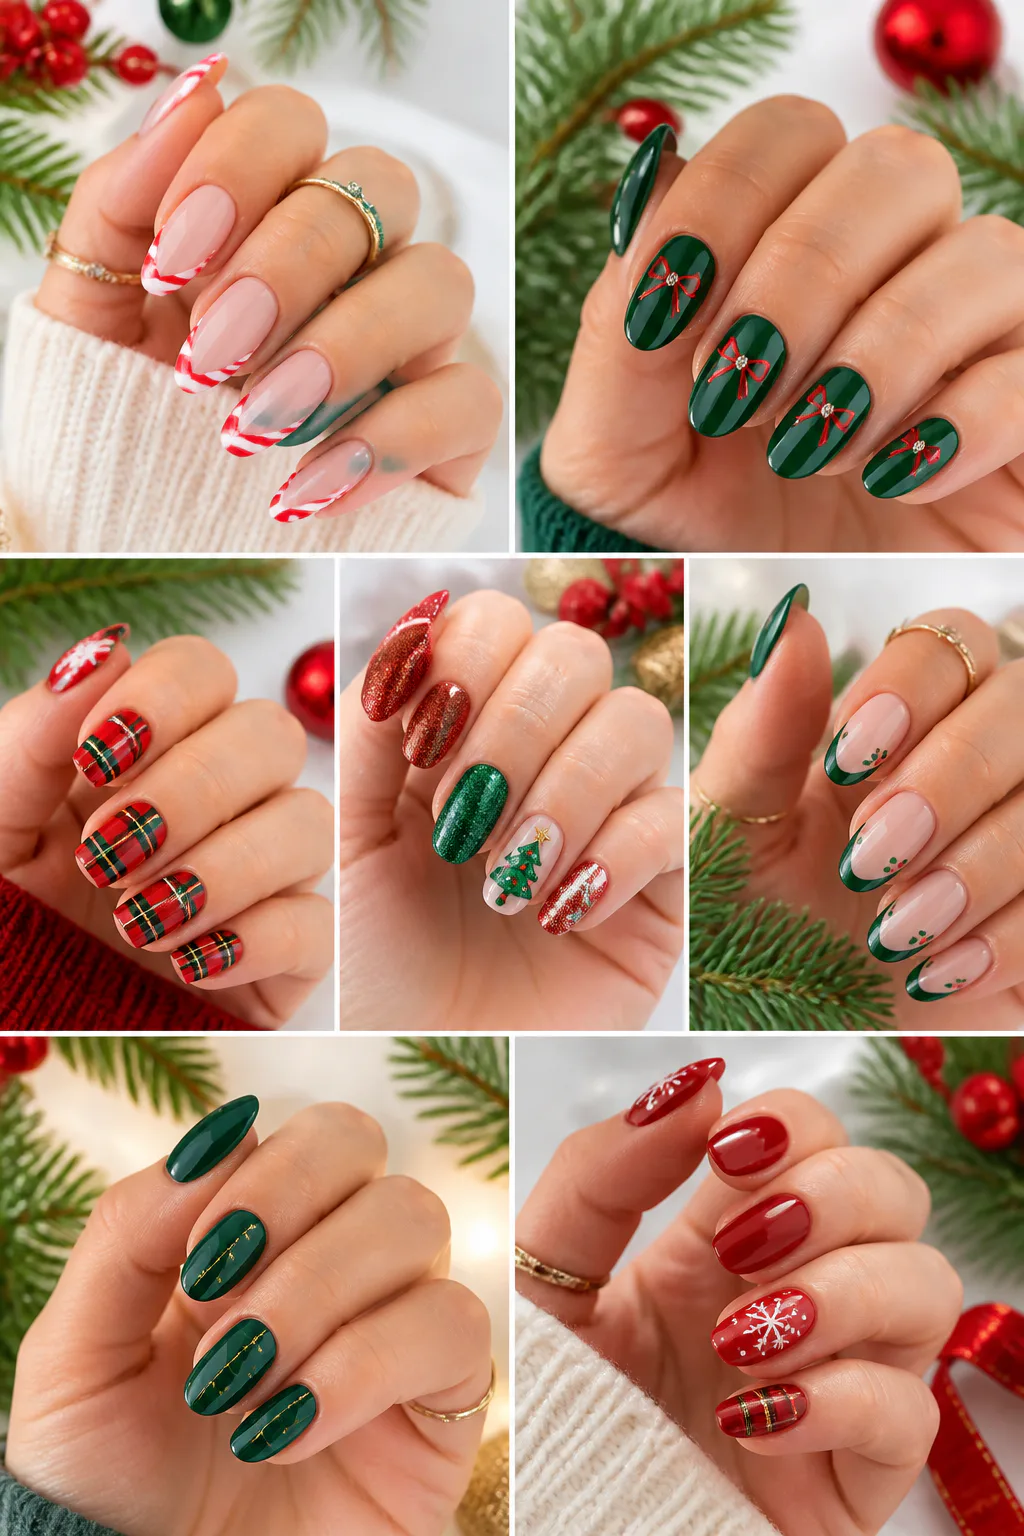
Red and green Christmas nails can feel classic, playful, or surprisingly modern depending on the finish and the amount of detail. These ideas bring the traditional holiday palette together in designs that range from tiny accents to bold color across every nail.
Whether you prefer a short, practical manicure or longer nails with room for intricate art, there’s a look here to suit your style. Many designs can also be simplified by asking for one or two accent nails instead of a different pattern on every finger.
Use these ideas as inspiration for a salon appointment or a DIY manicure. Consider your nail shape, how much detail you enjoy wearing, and whether you want a glossy, matte, glittery, or textured finish before choosing your favorite.
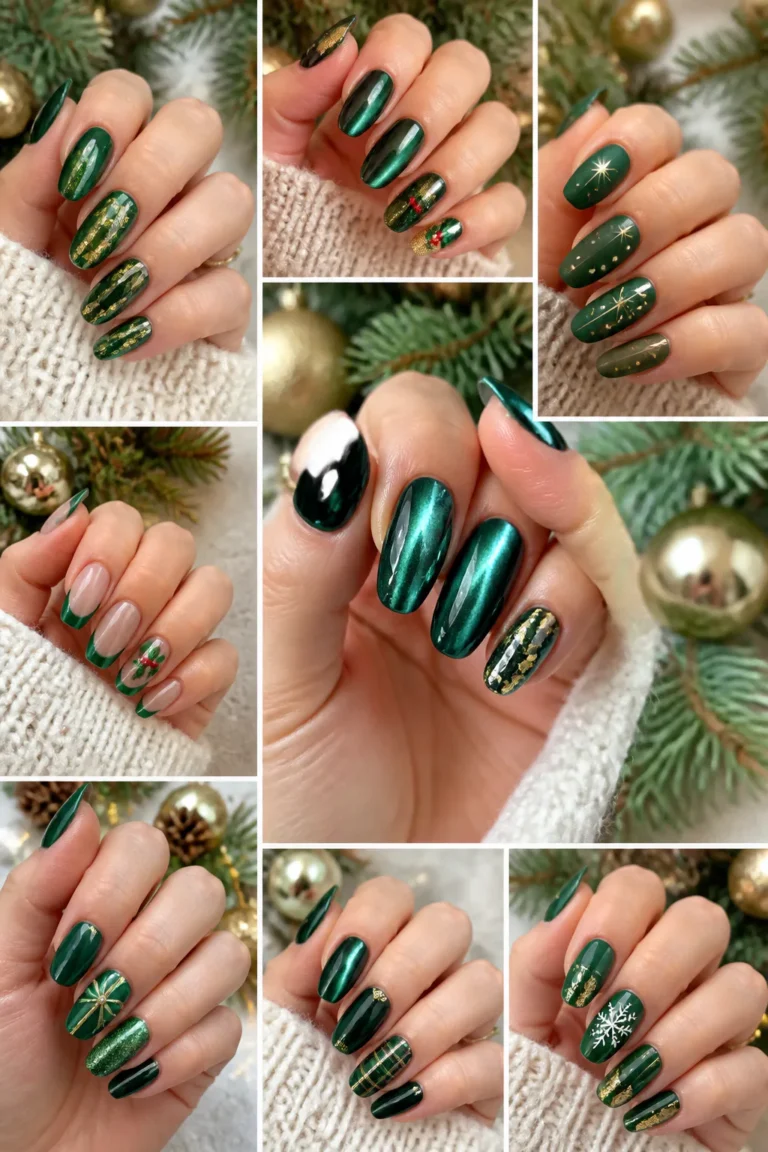
1. Peppermint Red and Green French Tips
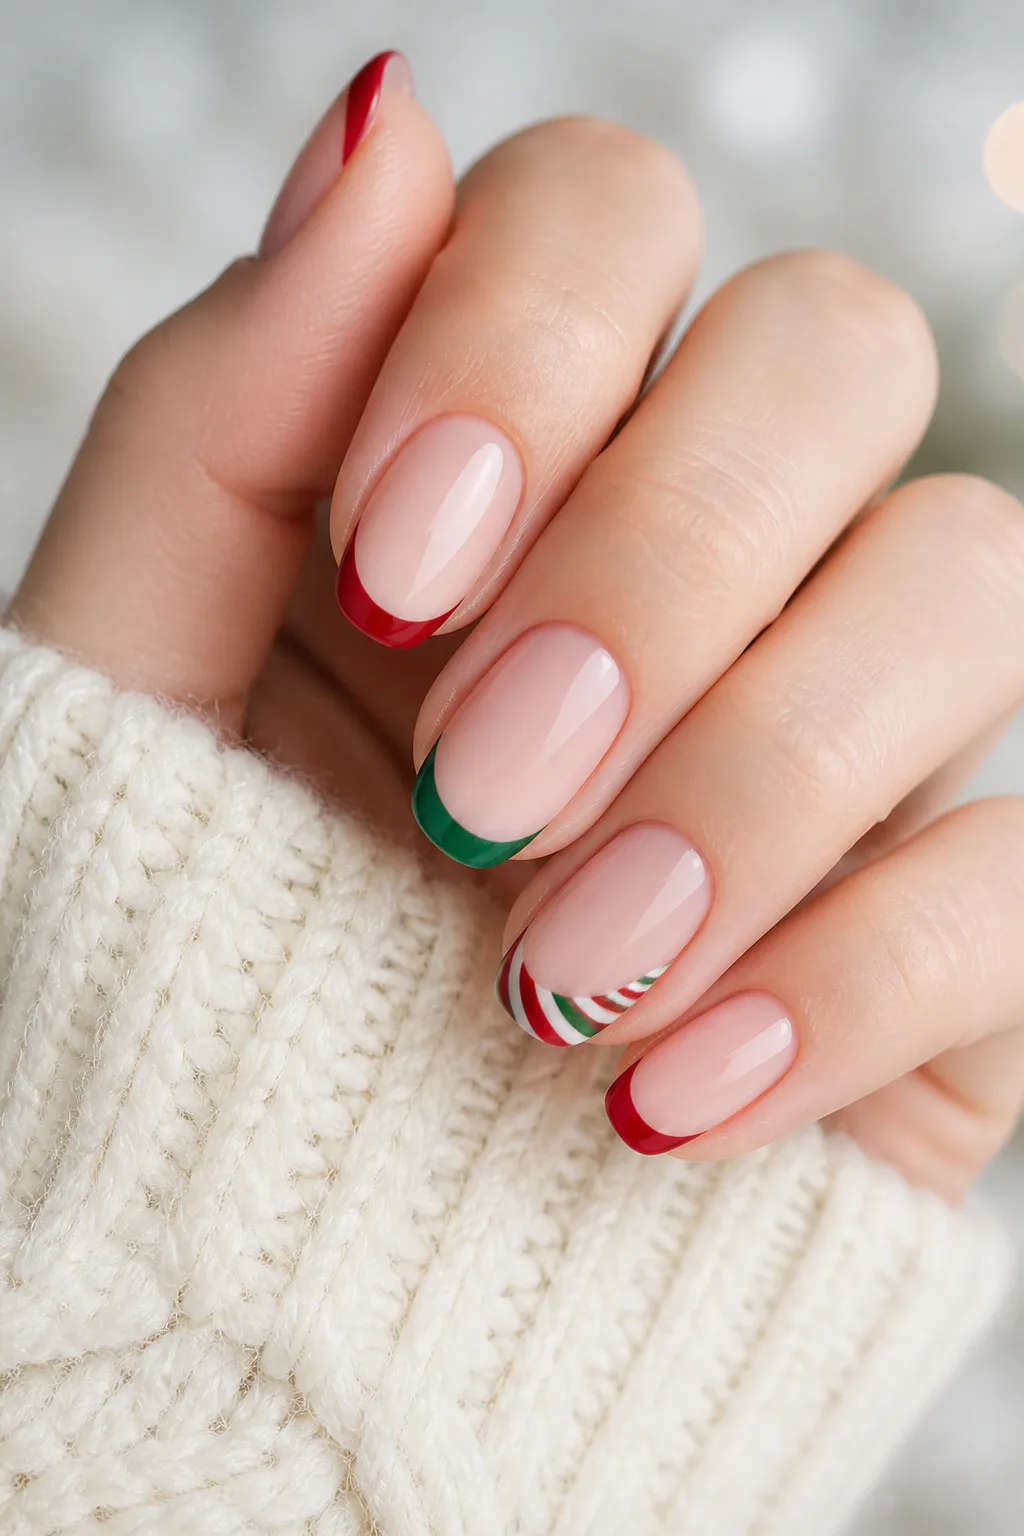
A neutral base keeps this festive French manicure light and easy to wear, while alternating red and green tips bring in a cheerful holiday color story. Micro-French edges suit anyone who wants a subtle nod to Christmas, and slightly wider tips make the colors more noticeable without covering the whole nail.
For a candy-cane effect, add a fine swirl of red and green to selected tips rather than repeating the pattern on every nail. The look works especially well on almond or oval shapes, where curved tips echo the rounded lines of peppermint candy. Short nails can wear a thin, clean stripe for a similar effect.
How to pull it off
Ask for a sheer nude or milky base and precise, evenly curved tips. Keeping the colors on the free edge helps the manicure feel balanced and lets the neutral base remain the main backdrop.
- Alternate solid cherry-red and emerald-green tips.
- Choose candy-cane swirls for one or two accent nails.
- Add a glossy top coat to sharpen the color and shine.
This design pairs easily with holiday outfits because its festive details stay neat and contained.
Photo: @vivianmariewong on Instagram. Style shown: classic red and green French tips.
2. Evergreen Nails with Sparkly Red Tips
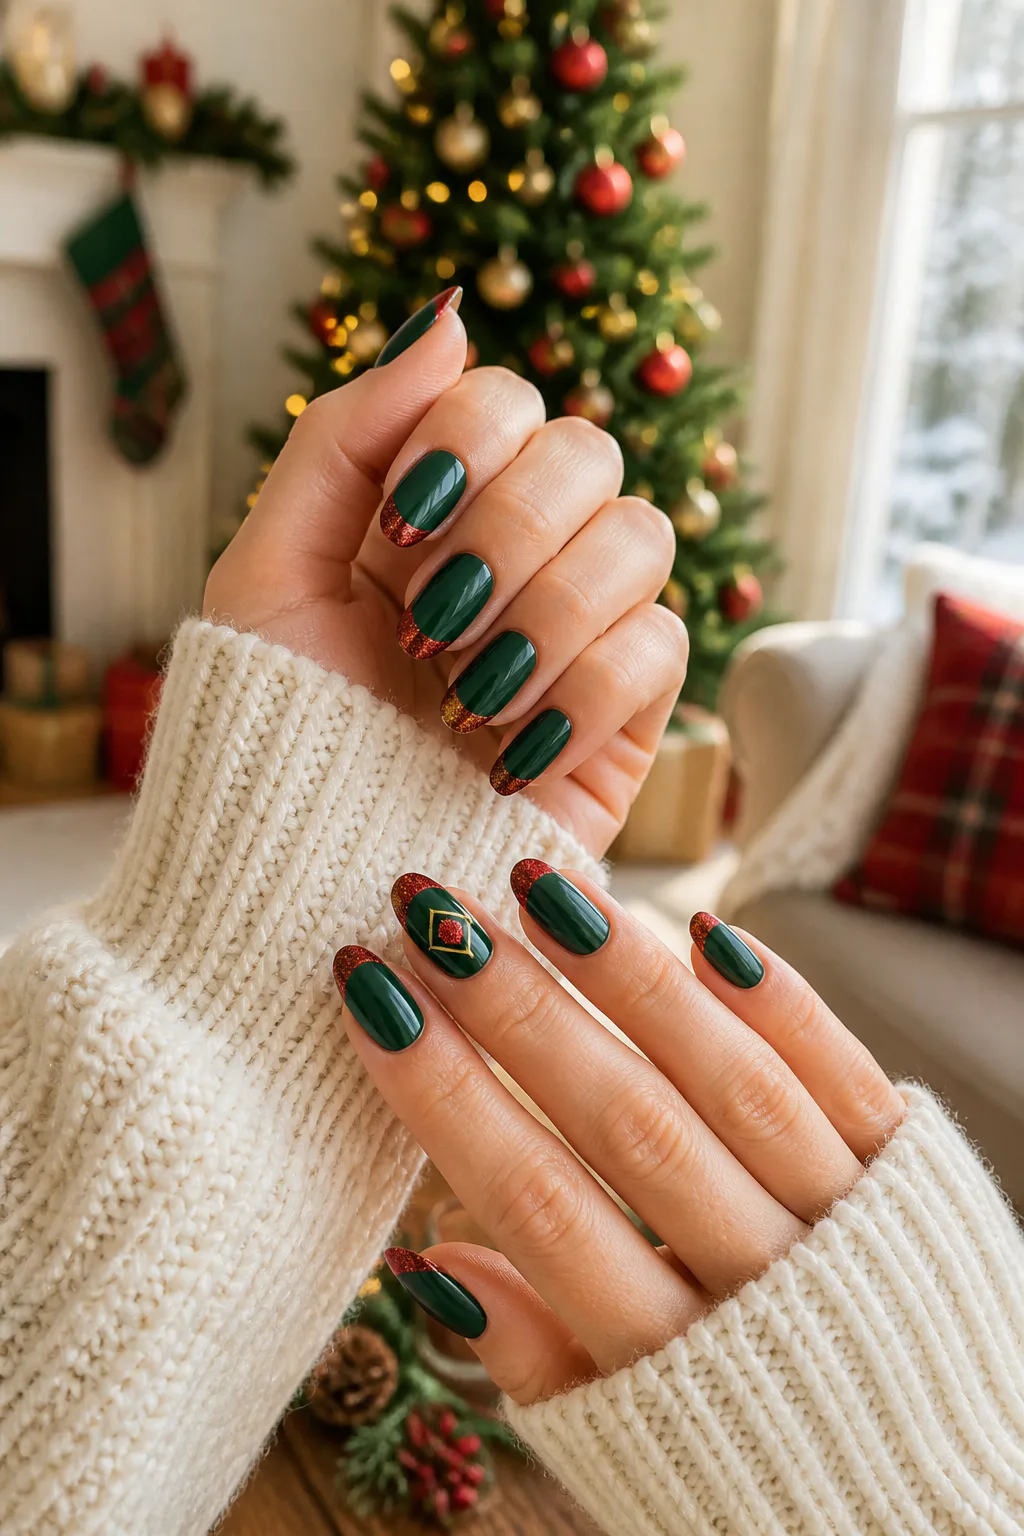
Rich evergreen polish gives this manicure a deep, dramatic foundation, while glittery red tips add a bright flash of holiday color. The combination feels more striking than a traditional French manicure but still leaves some natural or sheer space at the nail base, which can help the design feel less visually heavy.
Try the look on longer nails if you want a generous area for sparkling tips, or ask for a narrow glitter edge on shorter nails. A few restrained geometric accents in gold or red can add an art-deco mood, but leaving most nails simple keeps the glitter from competing with the green.
Design tips
Use a smooth, opaque evergreen base and make sure the red glitter is concentrated where you want the eye to land. A clean curve across each tip gives the design a polished finish, while varied tip widths create a more playful result.
- Keep most nails fully evergreen for contrast.
- Choose fine red glitter for a softer shimmer.
- Add a small geometric accent to one or two nails.
- Seal glitter carefully with a glossy top coat.
The result is festive and bold without requiring elaborate nail art on every finger.
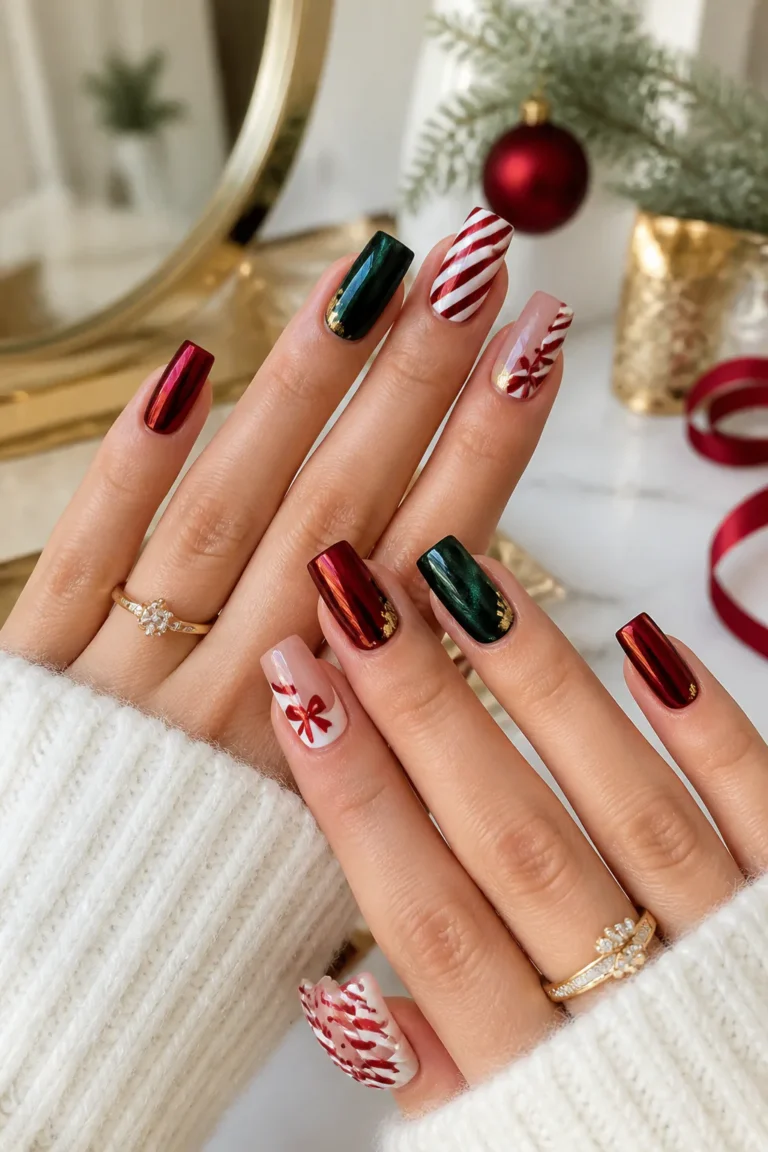
3. Glossy Green Nails with Red Bows
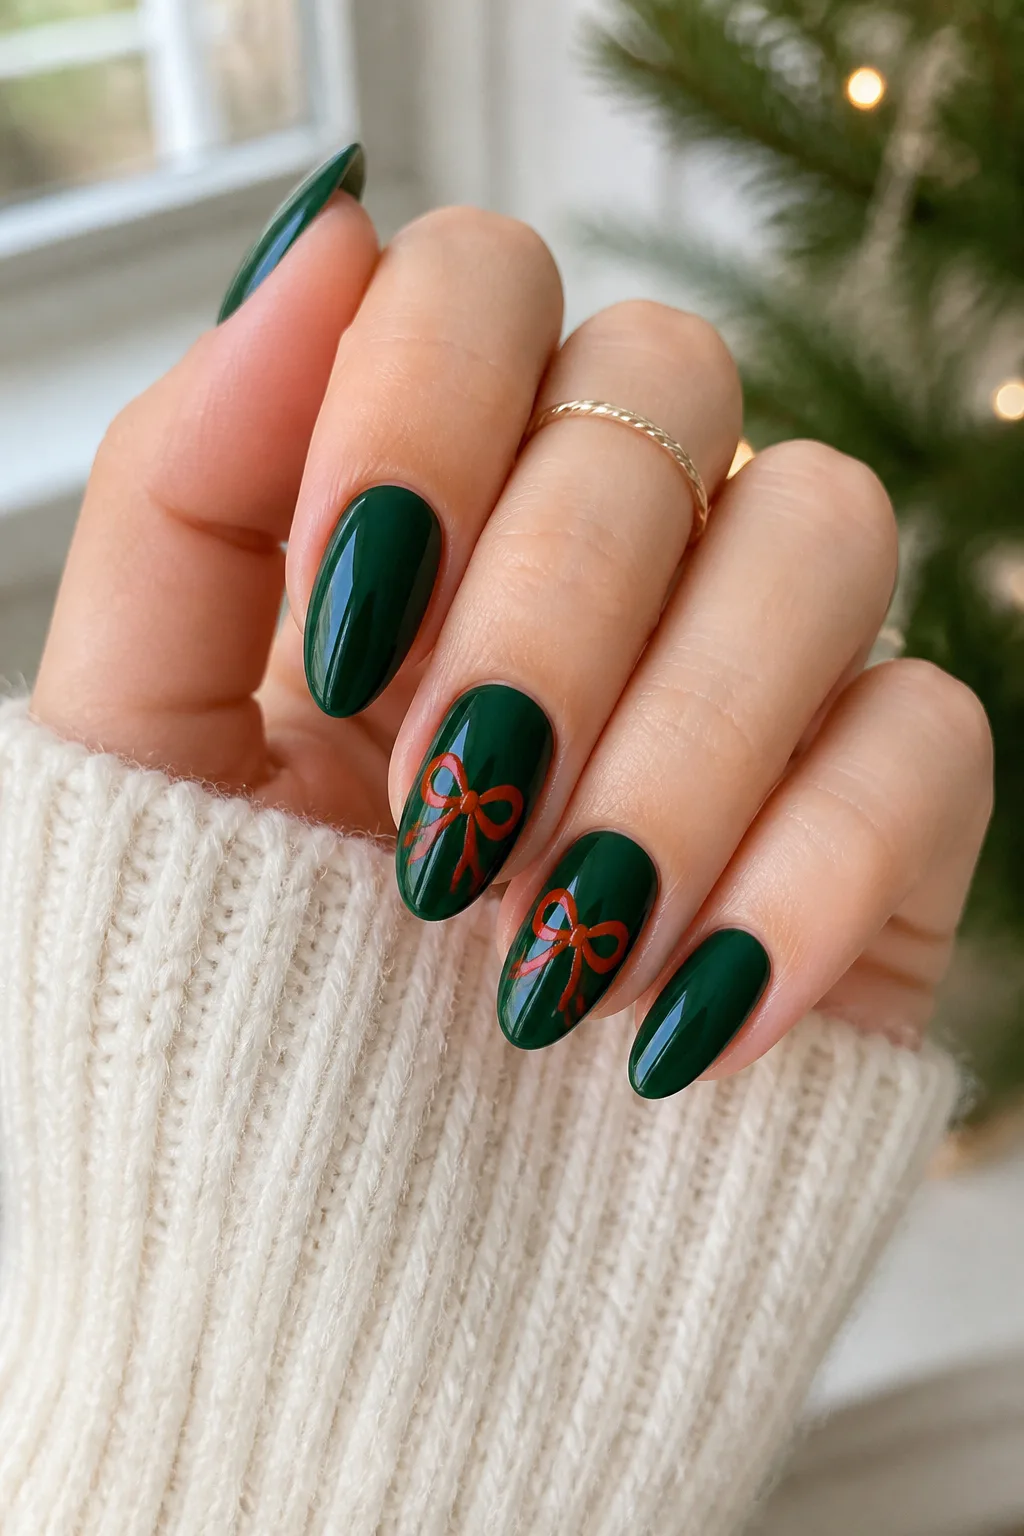
Glossy hunter-green polish creates a smooth, jewel-like background for small red ribbon details. A bow on each ring finger is enough to give the manicure a clear holiday theme while keeping the rest of the nails sleek and simple. This is a lovely choice if you enjoy nail art but don’t want a different design on every finger.
Flat painted bows offer a tidy, comfortable finish, while a subtle raised detail adds dimension for a special occasion. The design works on a range of shapes, though a longer nail gives the artist more space to draw ribbon loops and tails without crowding the cuticle or edges.
Keeping the bows delicate
Ask for small, crisp bows in a bright or classic red that stands out against the deep green. Placing the design near the center of the accent nail makes it easy to see and helps the manicure remain balanced.
- Use glossy hunter green on the full set.
- Place red bows on the ring fingers for a restrained accent.
- Choose painted bows if you prefer a smooth nail surface.
- Keep extra embellishments minimal so the ribbon stays in focus.
It’s a polished way to bring a gift-wrap detail to a classic seasonal manicure.
Video: @nailsbyalma_ on Instagram. Style shown: glossy green nails with 3D red bows.
4. Ruby and Pine Velvet Cat-Eye Nails
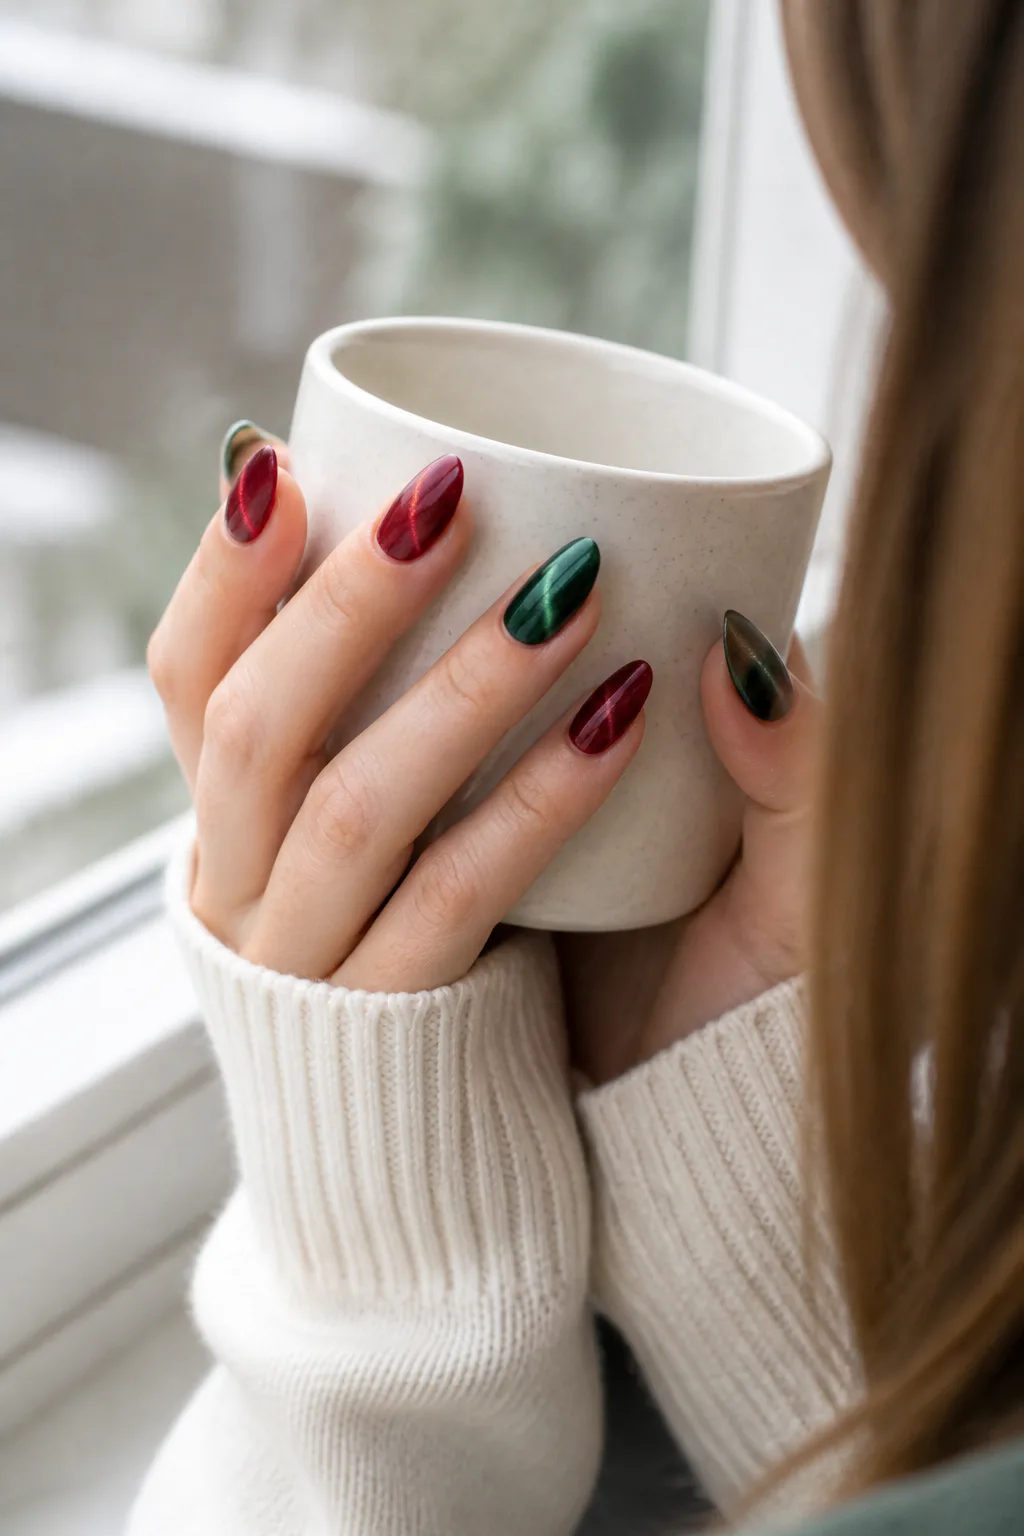
Magnetic cat-eye polish creates a shifting band of light that gives nails a soft, velvet-like appearance. Pairing ruby red with pine green makes the effect feel especially seasonal, and the color seems to change as your hands move under different lighting. This finish adds depth even when the design has no extra pattern or decoration.
You can alternate the two shades across the set or reserve one color for each hand. The style works on short and long nails, though longer shapes give the reflective effect more room to sweep across the surface. Because the finish itself is the focus, keeping the rest of the manicure simple helps its movement stand out.
Getting the velvet effect
Ask your nail artist to use a magnetic gel and shape the reflective line before curing. The placement can be centered, diagonal, or slightly curved; each option changes how the light appears to travel across the nail.
- Alternate ruby and pine for a balanced holiday mix.
- Use one shade as the main color and the other as an accent.
- Choose a glossy finish to emphasize the shifting light.
- Skip busy art that could distract from the cat-eye effect.
This is a strong option when you want rich color with a little visual drama.
5. Mismatched Holiday Doodle Nails
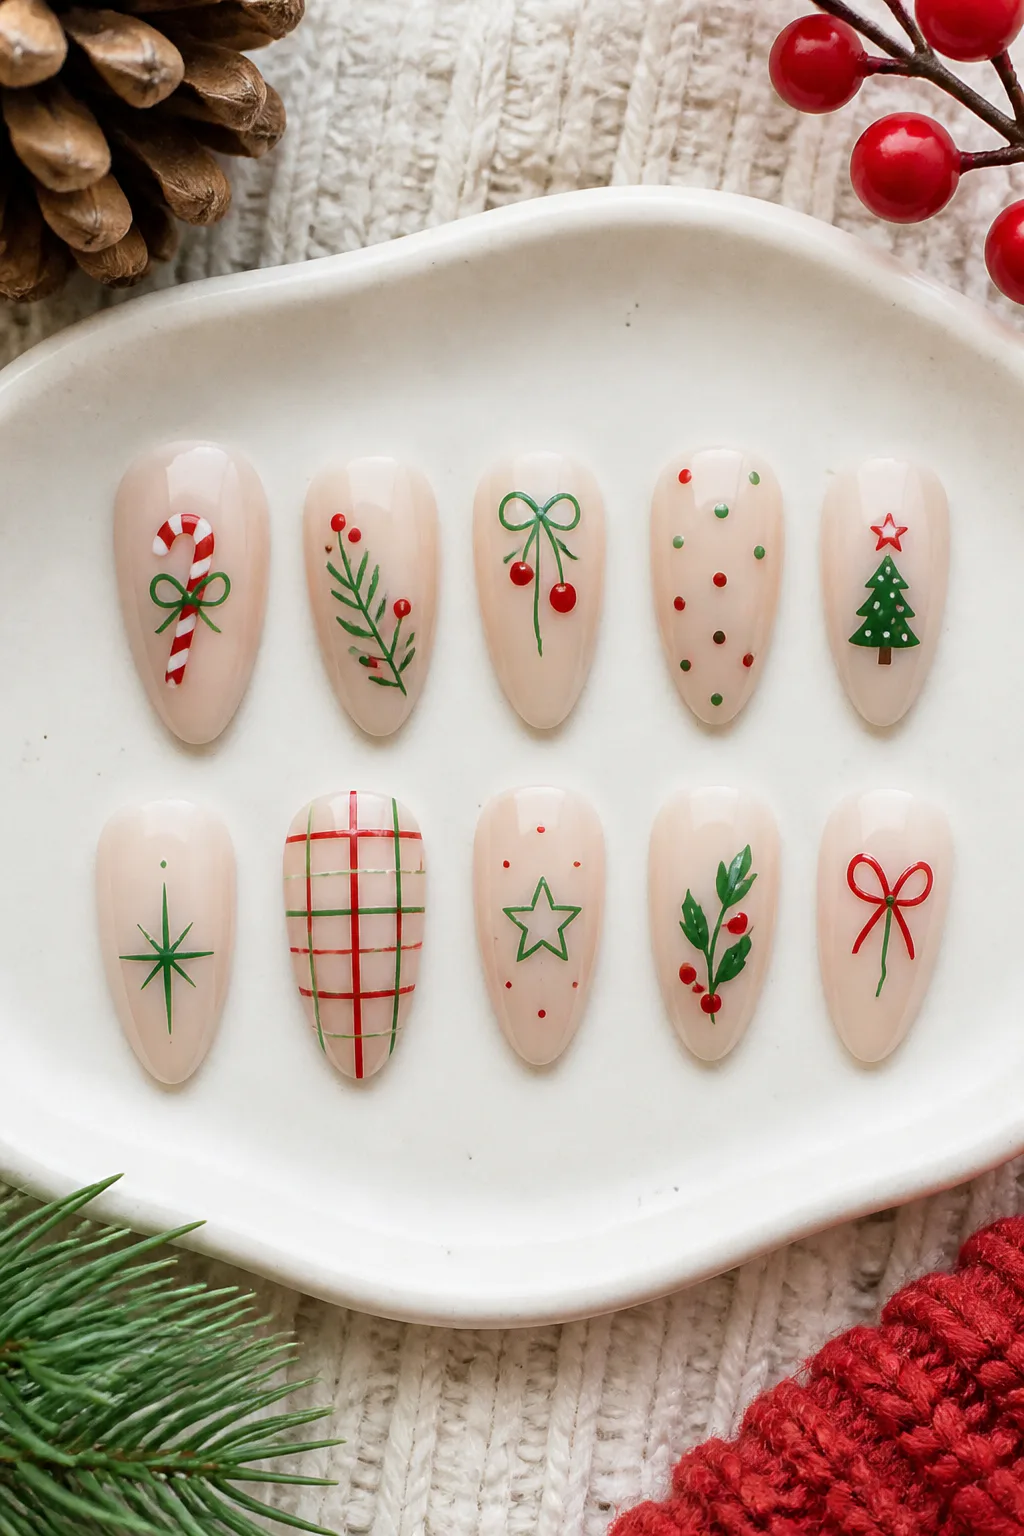
A mismatched manicure gives each nail its own small festive illustration while keeping the full set connected through red and green. Tiny candy canes, mistletoe, stars, and plaid blocks are all possibilities, so the design can feel playful without needing a large motif on every finger. A neutral base gives these little details room to show.
This style suits anyone who likes variety and doesn’t mind a more decorative manicure. It can be adapted to short nails by using simple shapes and limiting each nail to one clear doodle. On longer nails, small combinations of motifs can work, provided the lines and colors remain easy to distinguish.
Planning a balanced set
Choose a small collection of designs before painting so the finished manicure feels intentional rather than crowded. Repeating a color or a simple star detail across several nails can tie different illustrations together.
- Pair a candy cane with a simple star or holly leaf.
- Use red and green as the consistent palette.
- Keep illustrations small enough to read at a glance.
- Choose a sheer neutral base to prevent visual clutter.
The mix-and-match approach makes it easy to personalize the set with your favorite holiday symbols.
6. Red and Green Tartan Plaid Nails
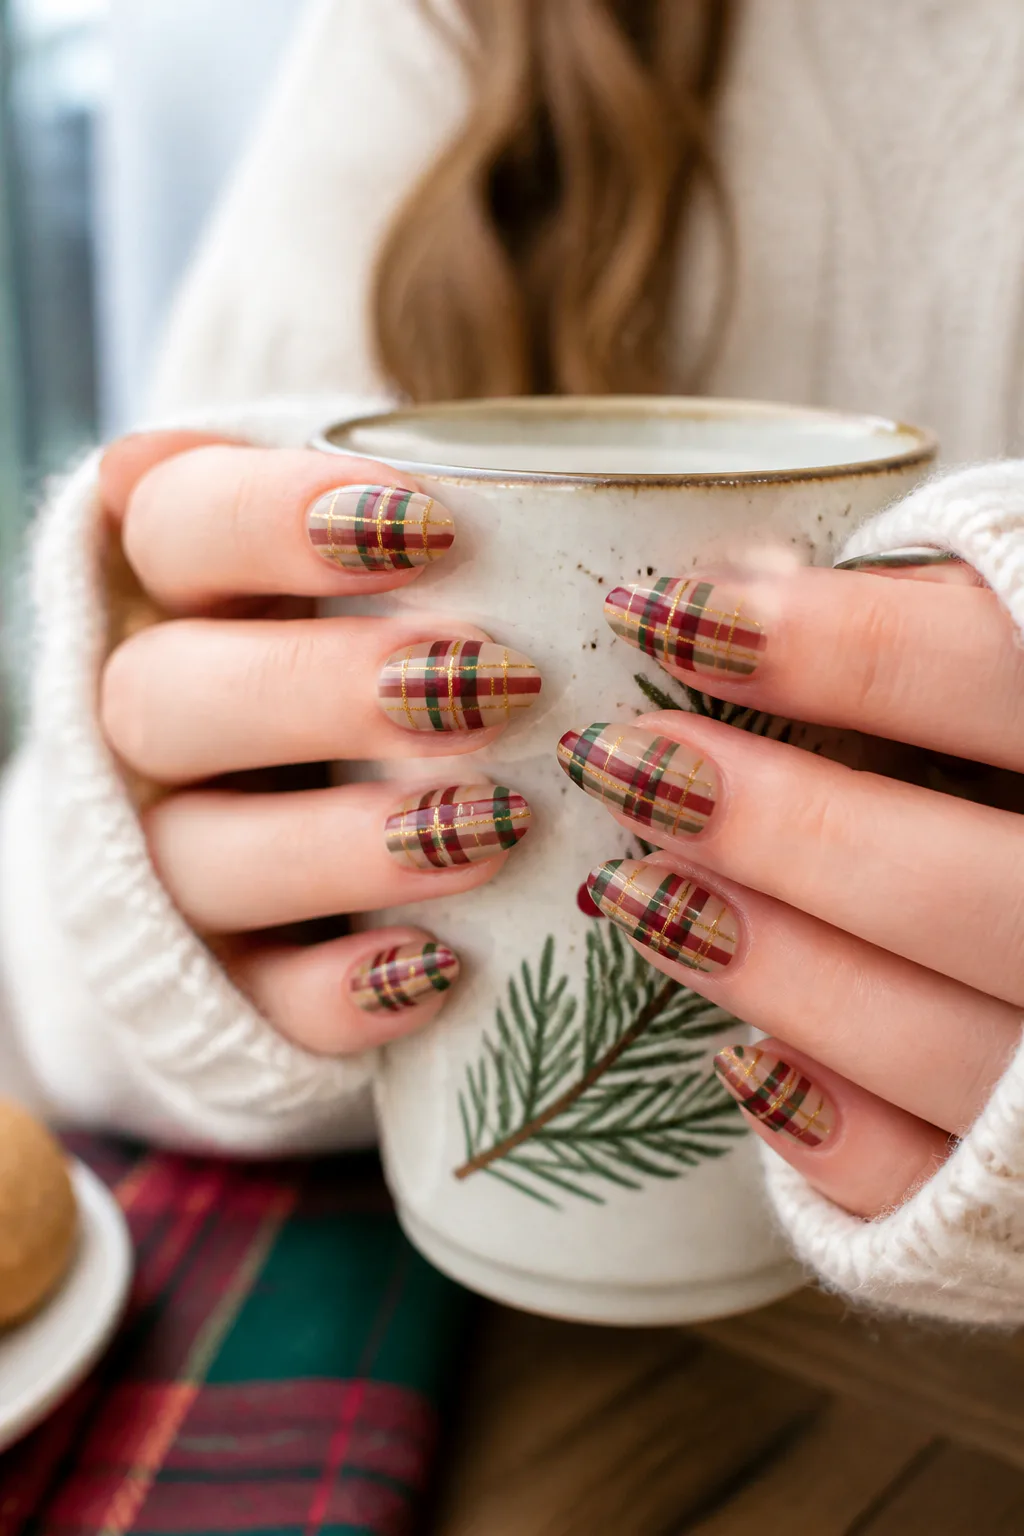
Tartan plaid brings a cozy, classic pattern to the holiday palette. Deep burgundy and evergreen lines cross over a neutral or nude base, while fine gold accents add a subtle glint. The pattern can cover every nail for a statement look or appear on one or two accent nails alongside solid red and green polish.
Because plaid uses intersecting lines, a little open space helps the design remain clear. A sheer base keeps the pattern from feeling too dense, and carefully varied line thickness gives the effect more depth. This look is especially suited to medium or long nails, but a simplified grid can also work on shorter nail beds.
Making the pattern wearable
Ask for a few fine lines rather than a thick, tightly packed grid. The goal is to suggest tartan fabric while leaving enough of the base visible to separate each stripe.
- Start with a nude or sheer neutral background.
- Layer burgundy and evergreen lines in a loose grid.
- Add narrow gold lines for a festive accent.
- Use plaid on accent nails if you prefer a quieter set.
Paired with solid-color nails, plaid adds a warm detail without taking over the whole manicure.
Video: @melody.made_ on Instagram. Shade shown: HD01 Holiday Red.
7. Christmas Light French Tip Nails
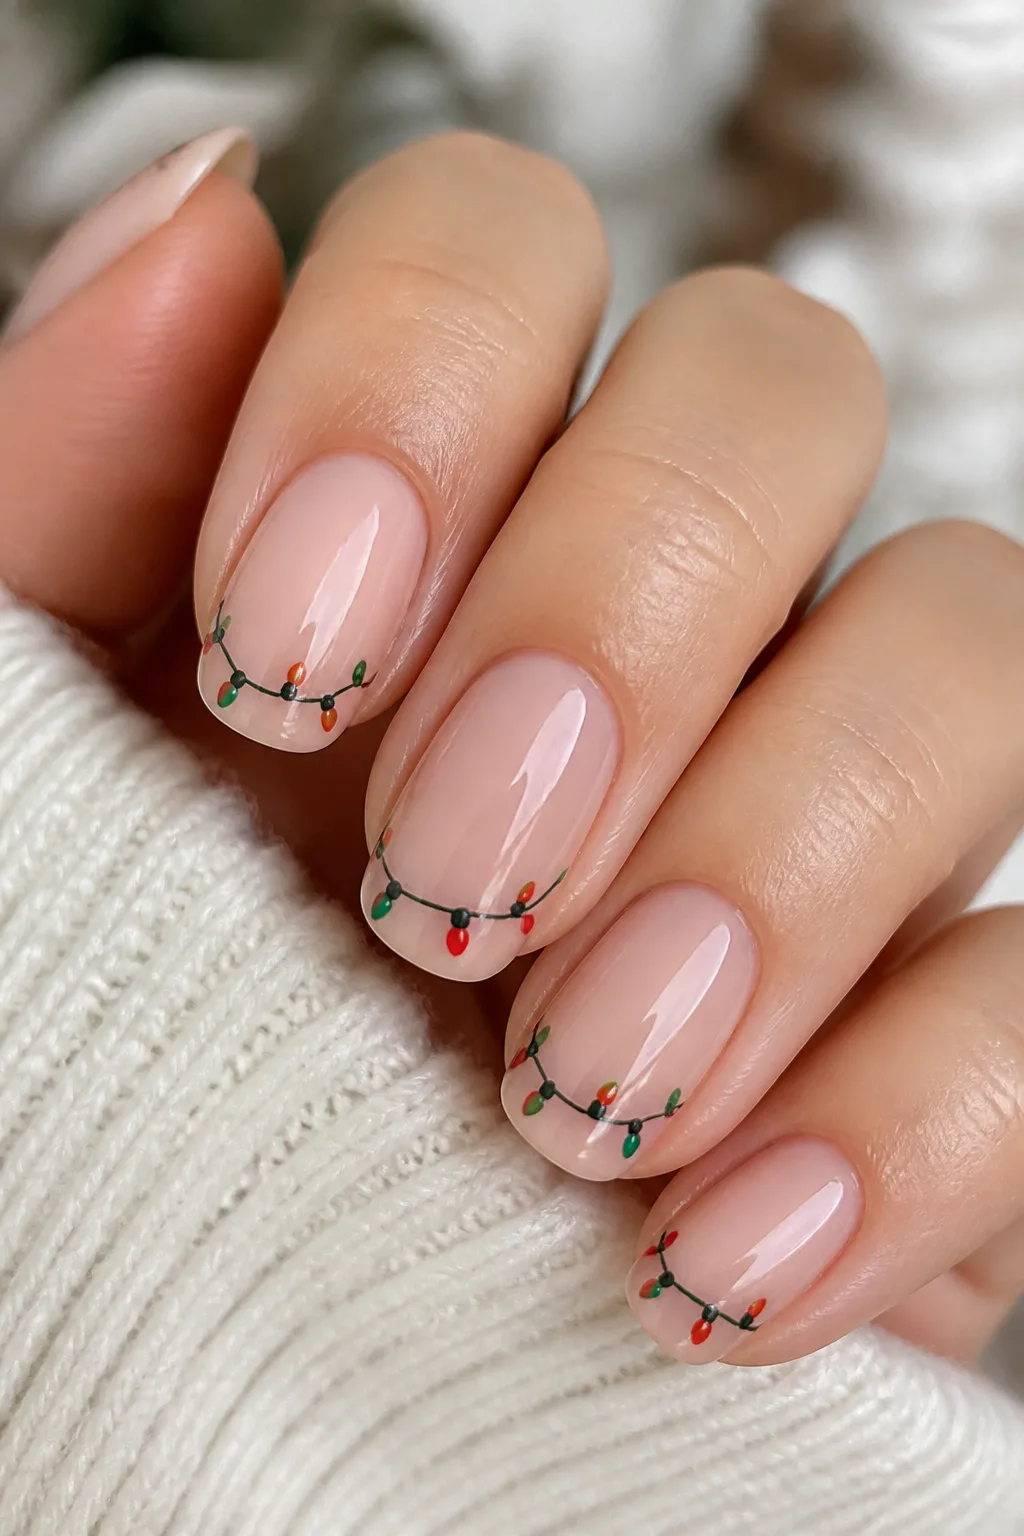
Delicate strings of holiday lights turn a French manicure into a playful seasonal design. A nude base keeps the look airy, while a fine dark or metallic line traces along the tips and creates a place for tiny red and green bulbs. The result is detailed but still light enough to wear with everyday winter outfits.
The bulbs can follow the curve of the nail edge or dip gently across the tip like a loose string. This design works best when the dots are small and spaced apart, so each one remains distinct. If you want a more subtle version, decorate just a couple of nails and leave the rest with simple French tips.
Keeping the lights crisp
Choose a thin line color that contrasts gently with the base, then add the bulbs after the string is set. Clean spacing matters more than adding lots of dots, particularly on shorter nails where detail can quickly feel crowded.
- Use a sheer nude or milky base coat.
- Trace a fine string along each tip.
- Dot on tiny red and green bulbs with a fine tool.
- Reserve the full design for accent nails if needed.
This manicure captures a familiar holiday decoration in a delicate, wearable way.
8. Cozy Textured Sweater Nails
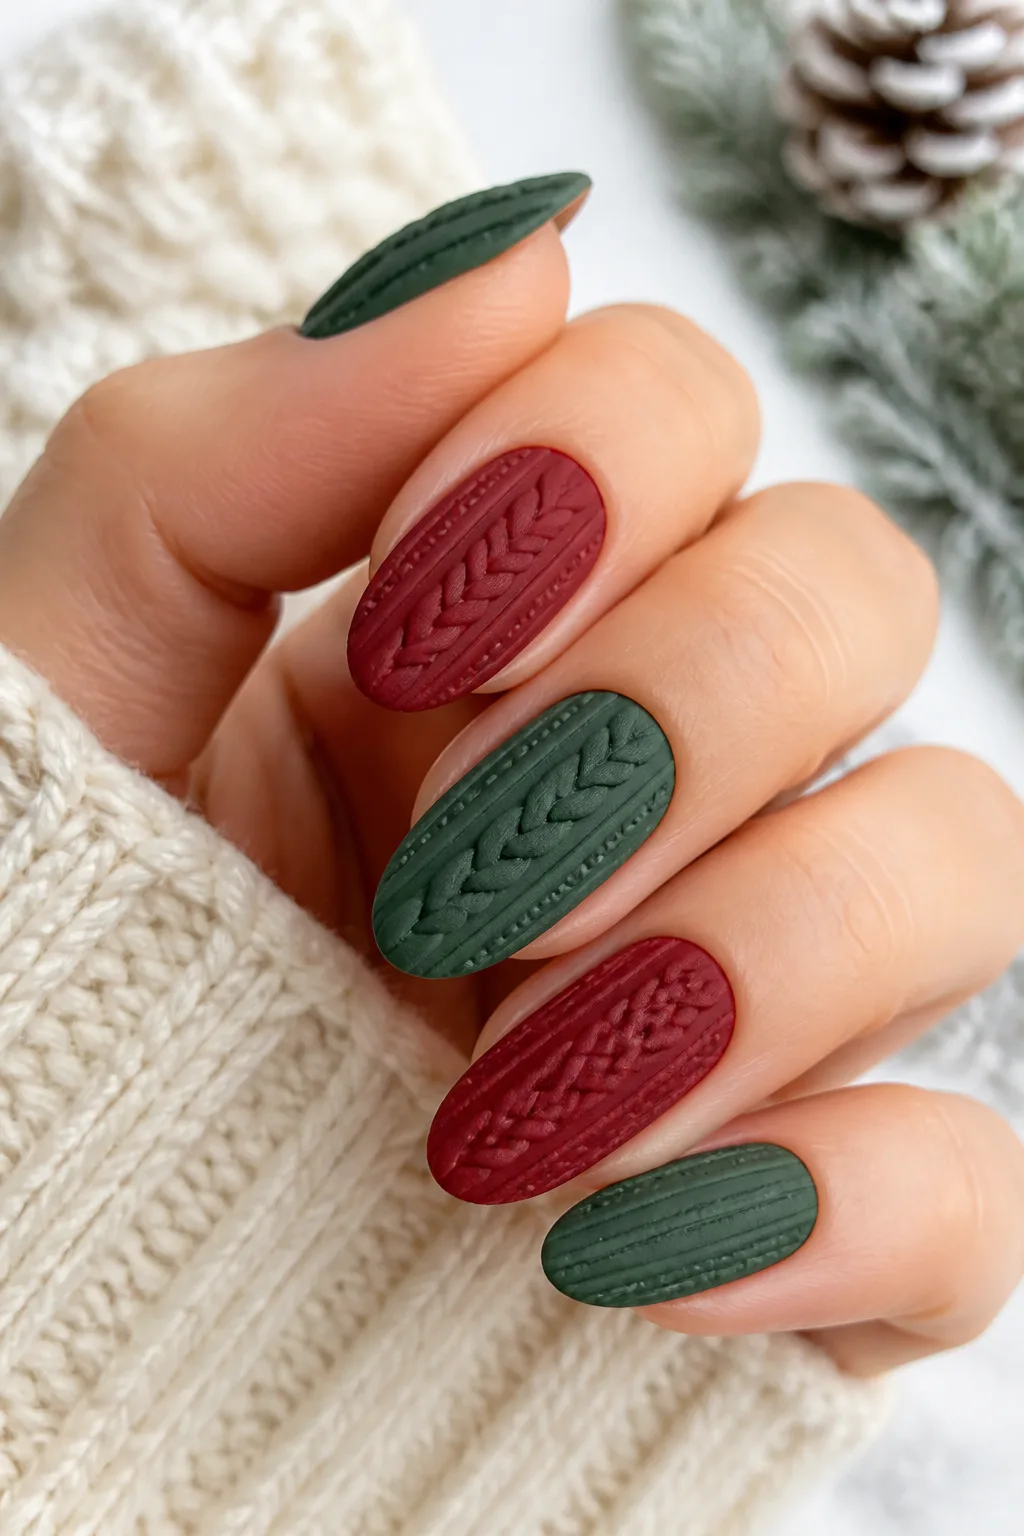
Raised cable-knit details give a manicure the look and feel of a favorite winter sweater. Matte emerald green or cranberry red provides a cozy base, while the embossed pattern adds dimension without relying on glitter or bright embellishments. This design makes a strong statement on one or two nails, especially when paired with simple solid-color fingers.
The texture is most visible on a smooth, solid background, so choose a rich shade and let the raised lines do the work. Sweater patterns can include cables, loops, or repeated knit-like ridges. A matte finish enhances the fabric-inspired effect, though a glossy base beneath the raised detail can create a subtle contrast.
Choosing the right amount of texture
Ask for a raised design on accent nails if you want the look without a full textured set. A compact cable pattern suits shorter nails, while longer nails can accommodate a more intricate arrangement.
- Pick emerald green or cranberry red as the main shade.
- Use a matte top coat for a soft, knit-inspired finish.
- Keep the raised pattern on one or two nails for balance.
- Choose a simple cable or loop motif that reads clearly.
The tactile detail brings a cozy winter mood to a classic holiday color palette.
9. Emerald V-Tips with Holly Berries
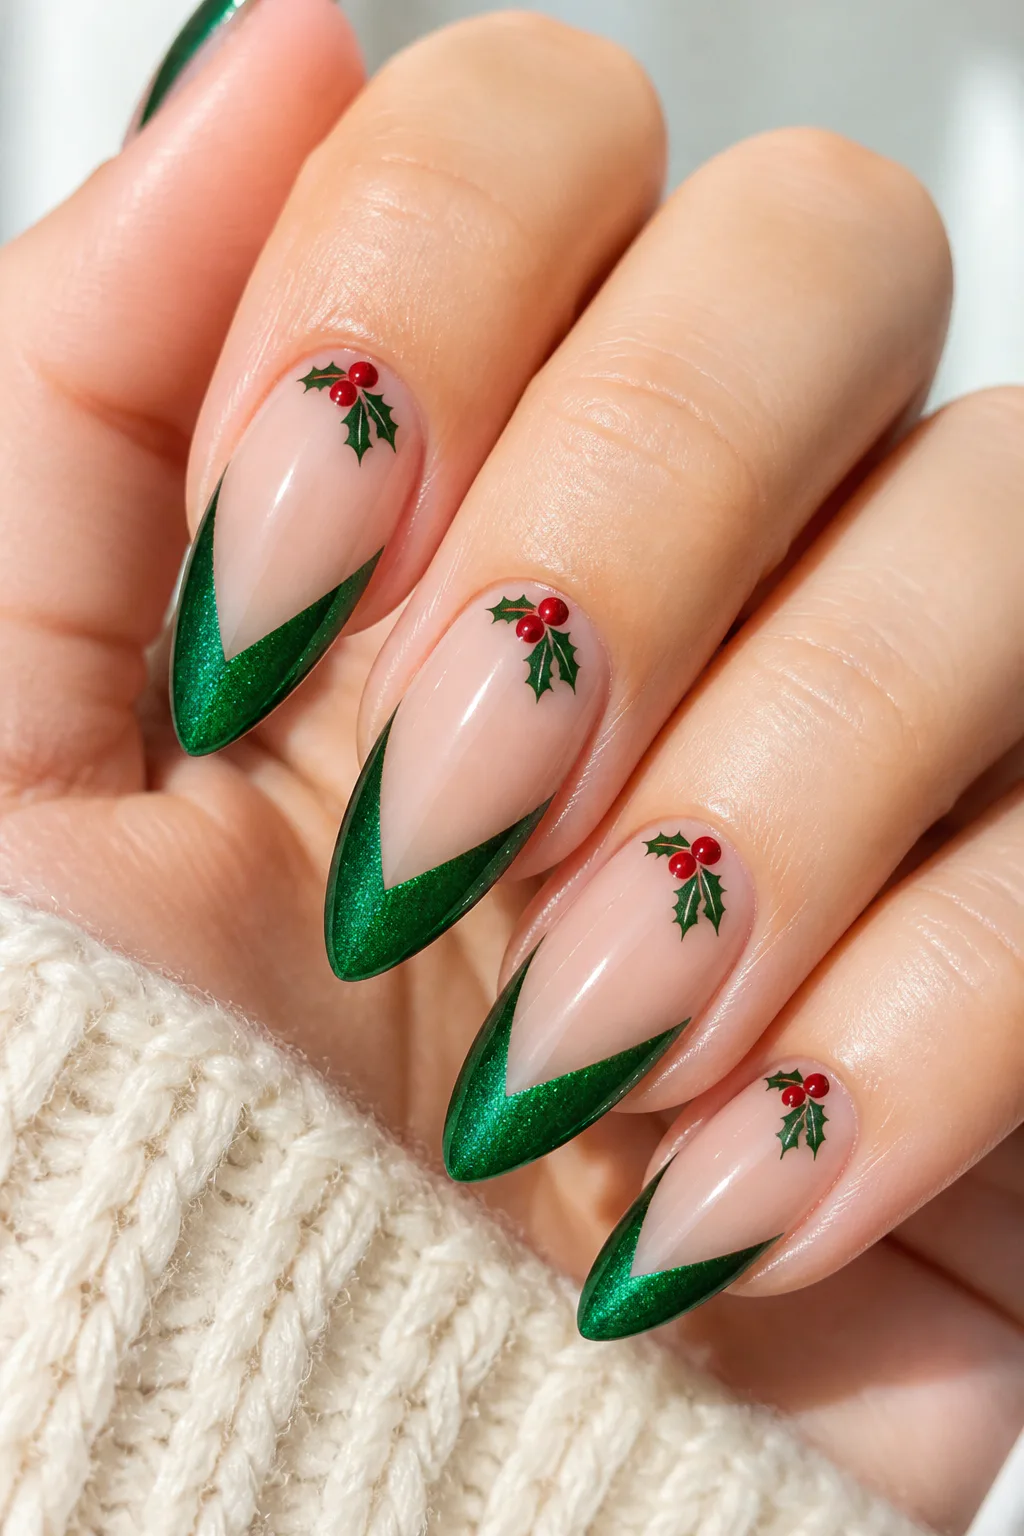
Emerald V-tips create a pointed, graphic alternative to a rounded French manicure. A shimmer in the green catches the light, while small red berries and holly leaves near the cuticle add a recognizable Christmas accent. The open center of the V can also help the design feel light, even when the green is rich and reflective.
This style works particularly well on almond or tapered nail shapes, where the angled tips echo the natural outline. On shorter nails, keep the V shallow and the holly details tiny so the design doesn’t crowd the nail. You can also limit the berries and leaves to a pair of accent nails.
Balancing the accents
Ask for clean, even V-shapes and a restrained amount of shimmer. Place the holly detail near the base of an accent nail, where it won’t compete with the green tip.
- Choose a sheer nude base to frame the V-tip.
- Use shimmery emerald green for the angled edge.
- Add a few small red berries with fine holly leaves.
- Keep the accent art to one or two nails if preferred.
The combination feels festive and graceful, with color and detail distributed across the nail.
10. Red and Green Split-Color Nails
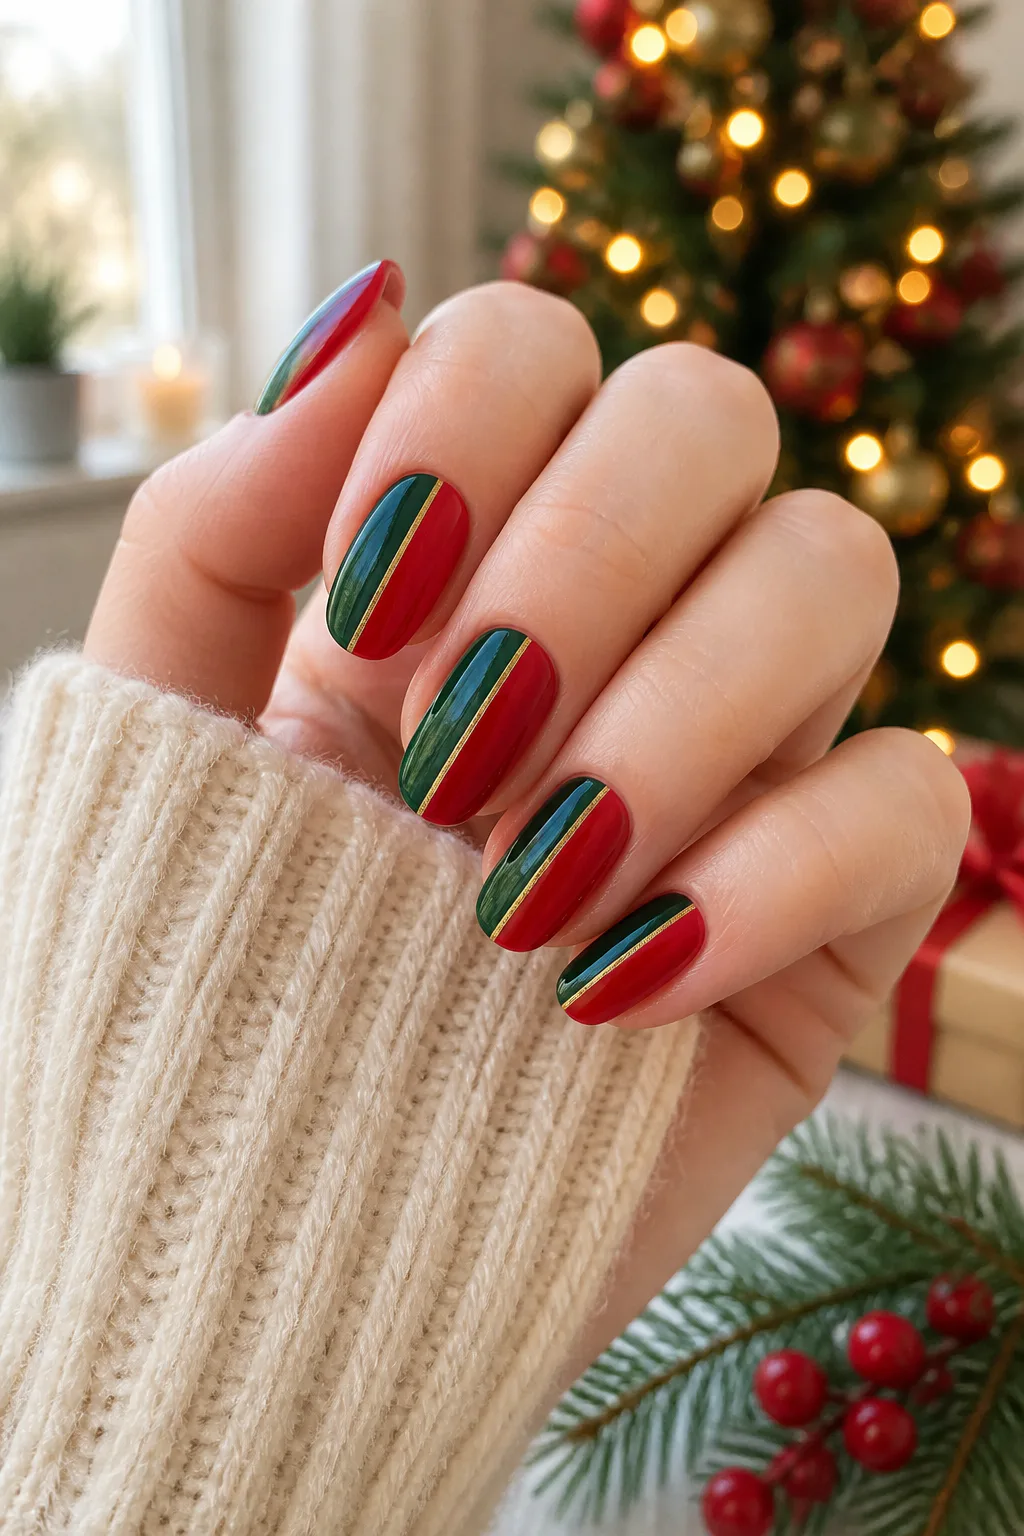
Vertical color blocking makes red and green the main event in this modern holiday manicure. Each nail is divided between vibrant red and forest green, creating a bold, graphic effect that feels clean rather than ornate. A narrow gold line between the colors can emphasize the division and give the design a hint of shine.
The split can run straight down the center or sit slightly off-center for a less uniform look. Both shades are strong, so tidy edges help keep the manicure polished. This style is especially eye-catching on longer nails, but short nails can wear it too if the gold divider and color blocks are kept simple.
Creating a clean split
Ask for an even boundary and opaque coverage in both colors. The gold detail should stay fine enough to separate the shades without becoming a third large block of color.
- Pair a bright red with a deep forest green.
- Choose a centered split for a crisp, symmetrical look.
- Try an off-center division for a more relaxed feel.
- Add a thin gold line to sharpen the transition.
This color-block design is a good fit if you love bold polish but prefer simple shapes to detailed art.
11. Red and Green Glitter Ombré Tips

Glitter ombré tips move from a sheer nude base into concentrated sparkle at the ends of the nails. Using emerald and ruby glitter brings the holiday palette together while leaving the area near the cuticle lighter and more understated. The fade gives the manicure movement and makes the sparkling color feel less like a solid block.
You can blend the two glitter shades together near the tips or let one color lead on each nail. The effect is especially pretty on longer nails, where there’s more space for a gradual transition. For shorter nails, keep the glitter concentrated close to the edge and use a fine particle size for a neater finish.
Building a smooth fade
Ask for a gradual transition rather than a sharp line between the sheer base and glitter. Concentrating the densest sparkle at the tips preserves the ombré effect and helps the design feel balanced.
- Begin with a sheer nude or milky base.
- Blend emerald and ruby glitter toward the tips.
- Keep the cuticle area relatively clear.
- Seal the surface so the glitter feels smooth and even.
The finished look is festive and sparkly while still leaving breathing room at the nail base.
12. Alternating Cherry Red and Pine Green Nails
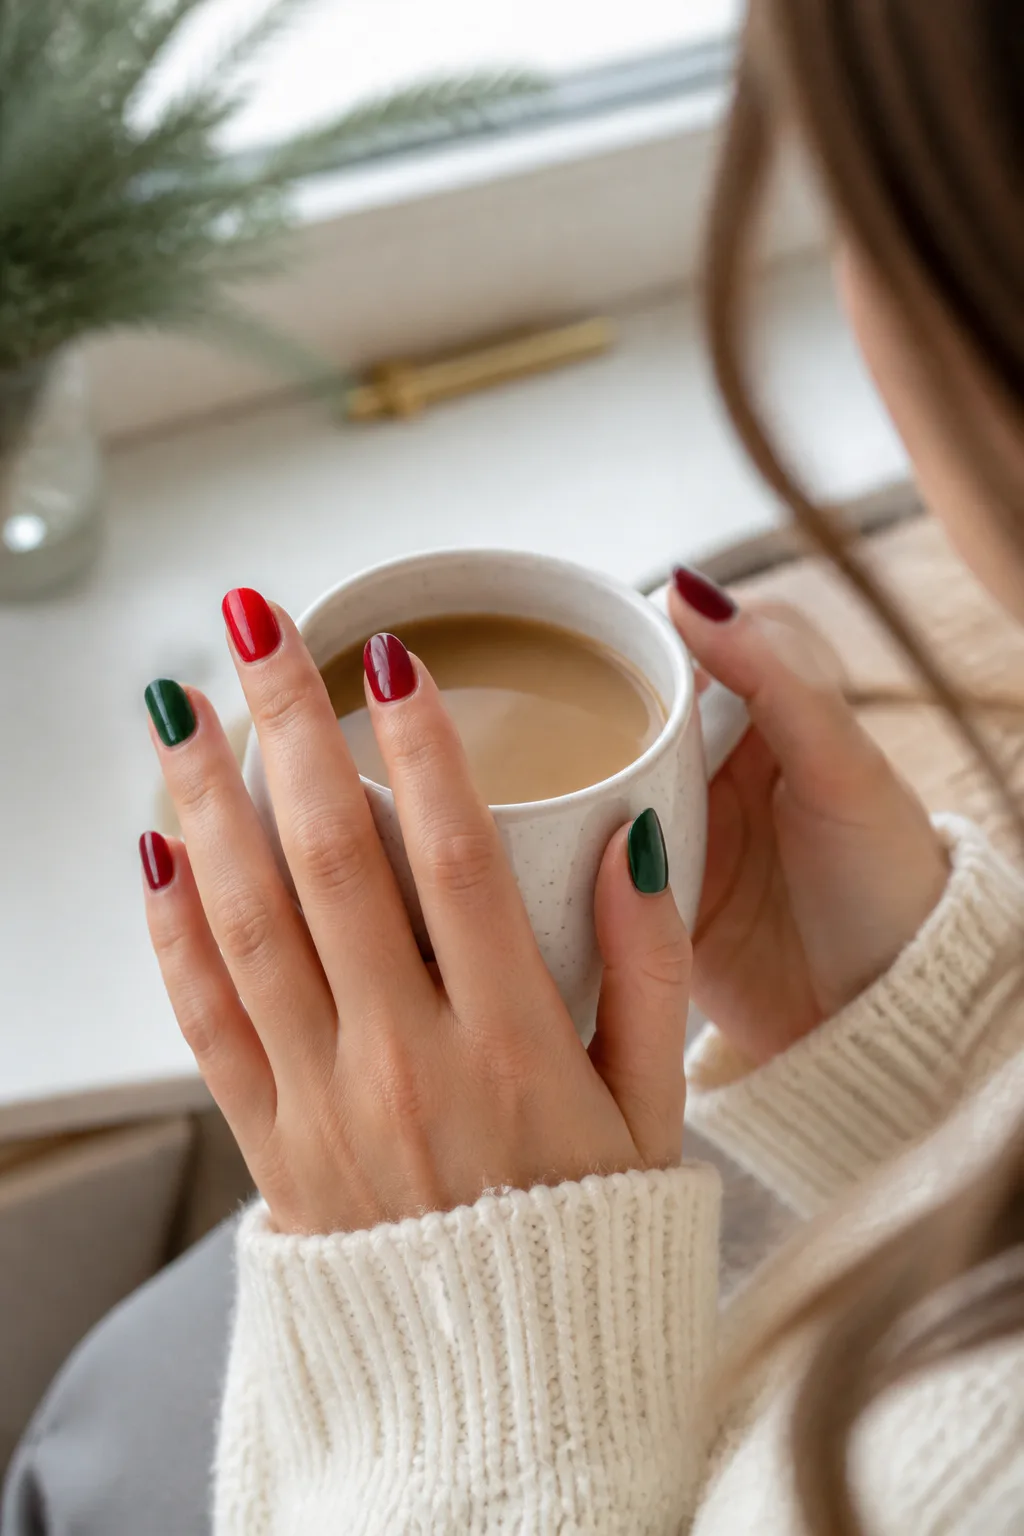
For a simple way to wear the holiday palette, alternate glossy cherry-red and deep pine-green polish across the nails. There’s no elaborate art to maintain, so the color pairing itself becomes the focus. The contrast feels classic and festive, and an even, high-shine finish gives both shades a crisp, polished appearance.
This approach works on any nail length or shape, which makes it an easy choice when you want seasonal color without detailed designs. You can alternate shades finger by finger, or use one color on each hand for a slightly more understated arrangement. A single accent nail in the opposite shade is another low-key option.
Making solid colors feel special
Choose shades with enough difference in depth that the red and green remain distinct. Careful application around the cuticles and a glossy top coat help a straightforward manicure look deliberate and salon-finished.
- Alternate cherry red and pine green across both hands.
- Use one shade per hand for a simpler color story.
- Keep the finish glossy to emphasize the rich tones.
- Refresh the top coat when you want to revive the shine.
Sometimes a clean color combination is all you need for an easy holiday manicure.
Final Thoughts
Red and green Christmas nails can be as understated or detailed as you like. French tips, solid glossy shades, and small bow accents offer simple ways to wear the palette, while plaid, velvet cat-eye polish, and sweater textures bring more pattern and dimension.
Use your favorite idea as a starting point, then adjust the colors, accent nails, and finish to suit your routine and nail shape. Whether you choose one small festive detail or a full set of holiday art, a manicure that feels comfortable and personal is the one you’ll enjoy wearing.