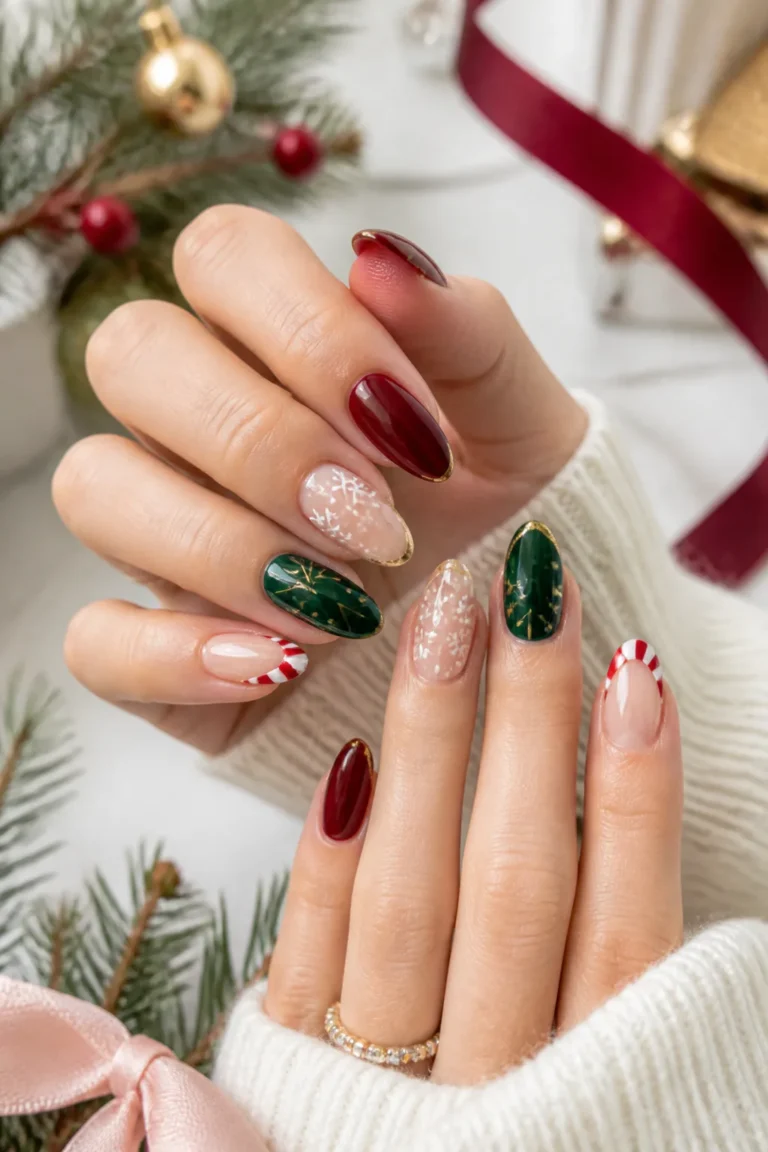
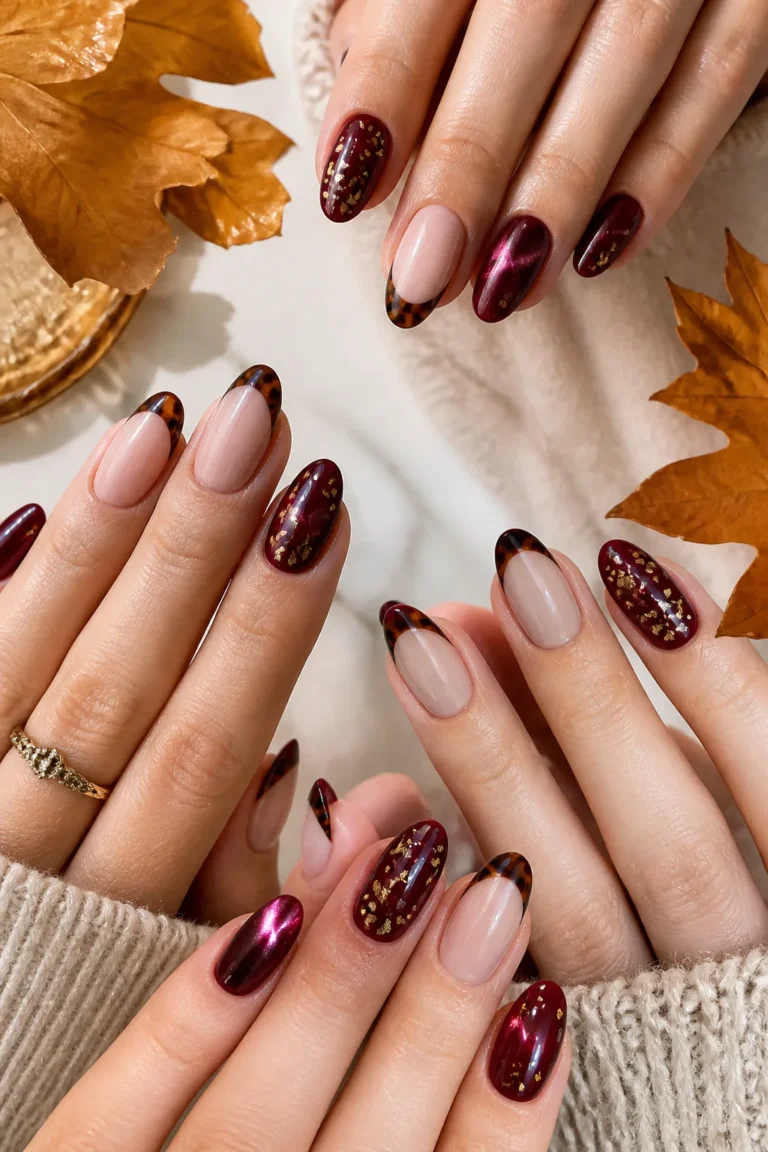
16 Stunning Long Christmas Nail Ideas for a Festive Manicure
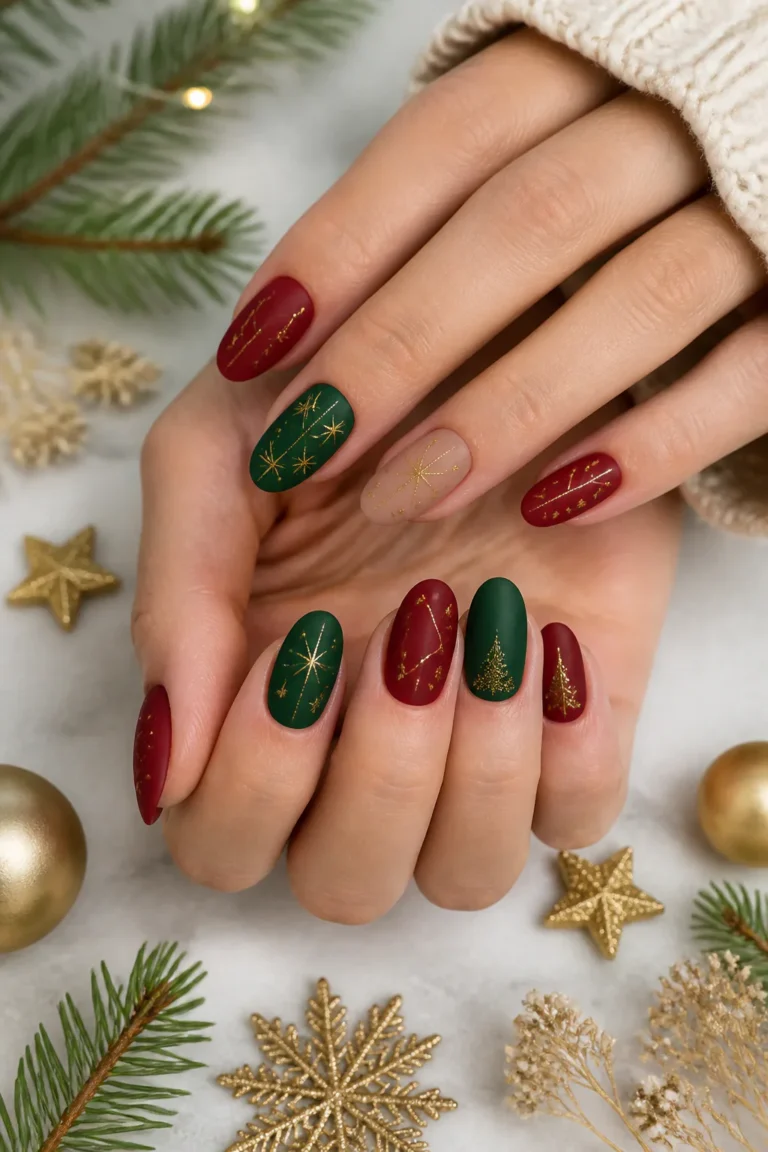
Long Christmas nails offer plenty of room for color, sparkle, and tiny seasonal details. Whether you favor classic red and green, icy winter shades, or playful character art, a longer shape can make the design feel especially expressive.
This collection includes ideas for coffin, stiletto, square, and clear extension styles, with options that range from polished and minimal to bold and dimensional. Use the colors and accents as inspiration, then adapt the details to your preferred nail shape and finish.
Some looks are easier to create with salon gel or acrylic, while simpler accents may work well on press-ons or with a steady hand at home. If you’re choosing a design for an event or everyday wear, consider how much texture and embellishment feels comfortable for you.
1. Velvet Red Cat-Eye Coffin Nails

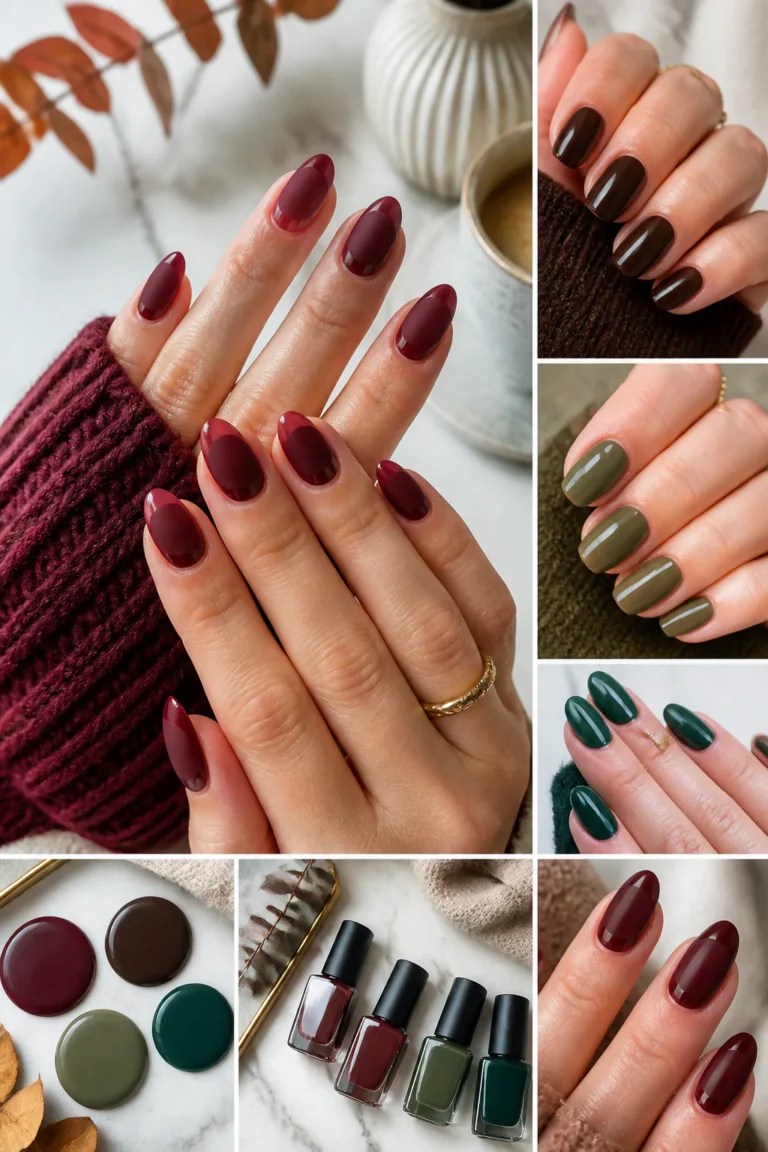
Rich crimson cat-eye polish gives long coffin nails a dramatic holiday finish without relying on painted motifs. Magnetic pigment shifts as the light moves, creating a plush, velvety effect that feels festive and dressy at the same time.
This look suits holiday parties, winter dinners, and anyone who wants a classic red manicure with extra depth. A glossy top coat makes the color look jewel-like, while a more subdued finish can emphasize the soft, fabric-inspired shimmer.
How to pull it off
Ask for a saturated red magnetic gel and have the magnet used deliberately on each nail. A consistent light band creates a coordinated set, while changing its angle slightly gives the manicure a more dimensional, less uniform look.
- Choose a coffin shape with balanced, tapered sides.
- Keep the rest of the nail art minimal so the magnetic finish stands out.
- Use a thin, even top coat to preserve the reflective effect.
The result is a polished statement that pairs easily with both simple outfits and holiday sparkle.
2. Grinch Green French Tips

Bright lime or neon-olive French tips put a playful twist on a familiar manicure. On long nails, the colored edge has enough space to feel intentional, while a tiny Grinch-inspired heart on one nail adds a festive wink without taking over the whole set.
This design works especially well on a sheer nude or soft pink base, which keeps the vivid green crisp and easy to notice. It’s a fun choice for anyone who likes character-inspired holiday nails but prefers most of the manicure to stay clean and graphic.
Design tips
For a neat French line, keep the tip width consistent and match its curve to the shape of the nail. Place the small heart on an accent nail where it has room to read clearly, such as the ring finger.
- Try lime for a high-energy look or neon olive for a slightly softer effect.
- Use a thin brush to refine the curved French edge.
- Keep the heart small and simple rather than adding several characters.
A glossy top coat brings the bright color together and gives the manicure a smooth finish.
3. Red and Green Plaid Accent Nails

Deep red and forest green tartan brings the familiar coziness of holiday flannel to a manicure. Setting the plaid against a matte nude base lets the pattern stand out while keeping the overall look balanced, especially when only a few nails carry the detailed design.
Long nails provide room for intersecting lines, but the pattern can still feel refined if the colors are restrained. This style fits comfortably alongside classic Christmas outfits and looks especially coordinated with knitwear, scarves, or other winter textures.
How to create the pattern
Start with a fully dry nude base, then layer narrow lines in a few complementary tones. Give each stripe time to set before adding crossing lines, so the tartan stays defined instead of blending into a crowded block of color.
- Use deep red and forest green as the main plaid colors.
- Add a fine accent line in a lighter shade for extra definition.
- Keep the remaining nails nude or solid red for visual breathing room.
A matte finish on the base makes the plaid feel more like soft fabric.
4. Enchanted Forest Snowy Silhouettes
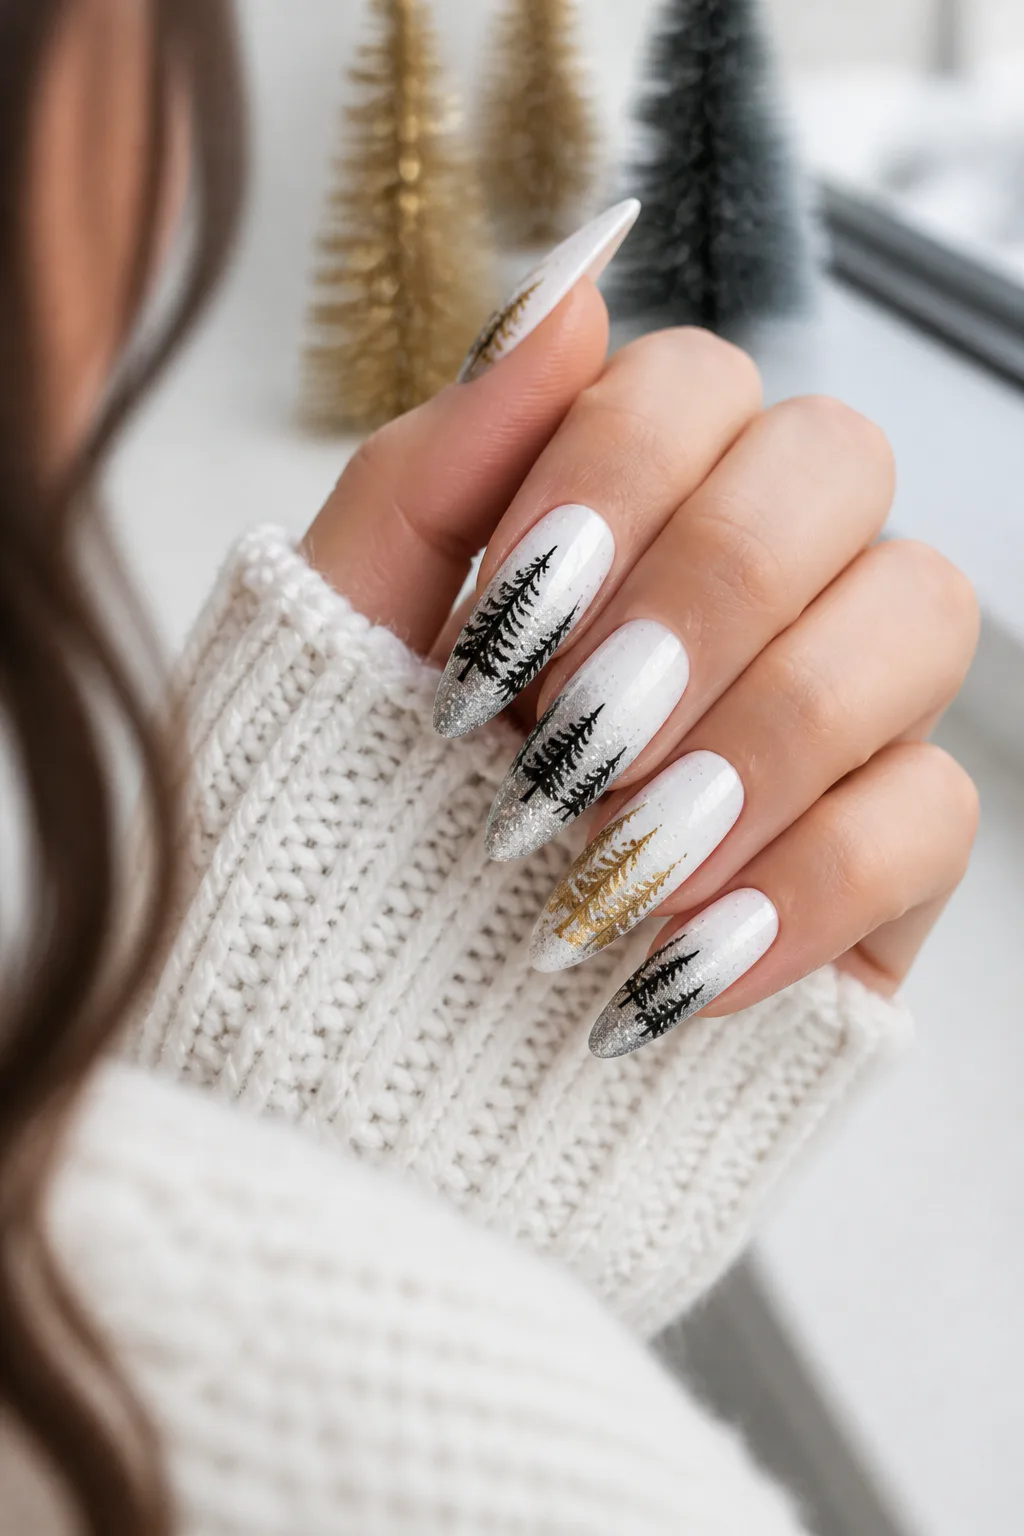
Pine tree silhouettes over a snowy white and silver glitter ombre create the feeling of a quiet winter landscape. Black trees offer strong contrast, while gold silhouettes make the design feel warmer and a little more ornamental.
This idea suits long nails because the gradual background and tree shapes can unfold from tip to base. It works well as a full set for a winter-wonderland mood or as an accent design paired with simple white or silver nails.
Design tips
Blend the white and silver background softly so the trees remain the focal point. Stamping can help keep the silhouettes crisp and consistent, while hand-painted trees allow more variation from nail to nail.
- Place the deeper glitter near the tips for a snowy ombre effect.
- Choose black for a graphic forest or gold for a softer glow.
- Vary tree heights to make the scene feel more natural.
A glossy top coat smooths the glitter and gives the finished landscape a glassy look.
5. Candy Cane Drip Stiletto Nails

Glossy white stiletto nails make a striking base for red candy-cane stripes that trail down from the tips. The pointed shape gives the design a dramatic silhouette, while the red-and-white pattern keeps it unmistakably festive.
The drip effect adds movement and makes the stripes feel more playful than a traditional straight French tip. This is a bold option for a holiday party or for anyone who enjoys statement nails and doesn’t mind a design that draws attention.
How to pull it off
Keep the white base opaque and smooth before adding the red lines. Vary the length of the drips slightly so they look intentional, and leave enough white space for the candy-cane pattern to remain clear.
- Use a fine liner brush for narrow, controlled stripes.
- Angle the red lines consistently across each tip.
- Balance the graphic tips with a simple finish on the rest of the nail.
Because stiletto nails are already dramatic, clean color placement helps the design feel polished rather than busy.
6. Raised Sweater-Knit Nail Texture
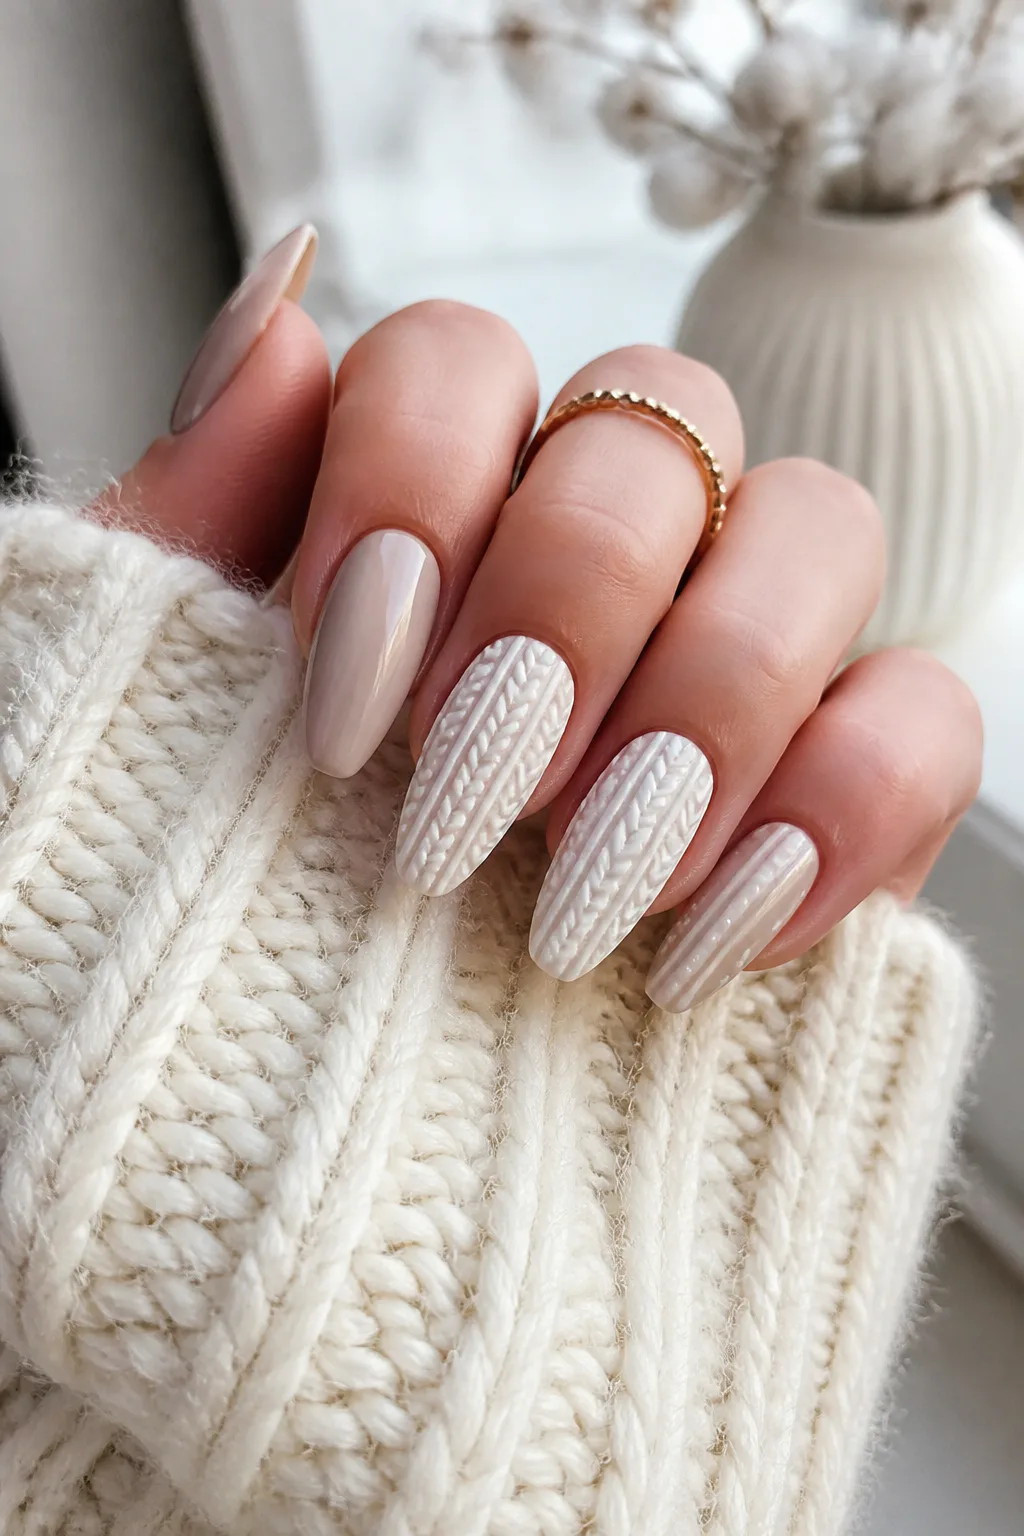
Photo: @nailsbysue__ on Instagram. Style shown: pink 3D sweater-knit texture with gold bows.
Raised cable-knit patterns bring the coziness of a favorite winter sweater to long nails. White or cream texture looks soft against a neutral base, and the dimensional detail makes this manicure feel special even without bright colors or elaborate illustrations.
The look is especially charming on one or two accent nails, where the raised pattern can stand out beside a smooth solid shade. It suits casual holiday gatherings and winter outfits with chunky knits, but can also feel elegant when the palette stays understated.
Things to consider
Ask for the knit lines to be built up neatly with acrylic or another suitable nail-art product. A design with a few recognizable cable shapes often reads more clearly than a crowded texture that covers every part of the nail.
- Choose cream or white for a soft, sweater-like appearance.
- Pair textured accents with smooth nude, red, or pale pink nails.
- Keep the raised design away from the very edge to help preserve its shape.
The contrast between tactile accents and glossy nails makes the set feel cozy but still refined.
7. Ice Queen Blue Chrome Nails

Video: @heygreatnails on YouTube. Style shown: icy blue chrome with glittery snowflakes.
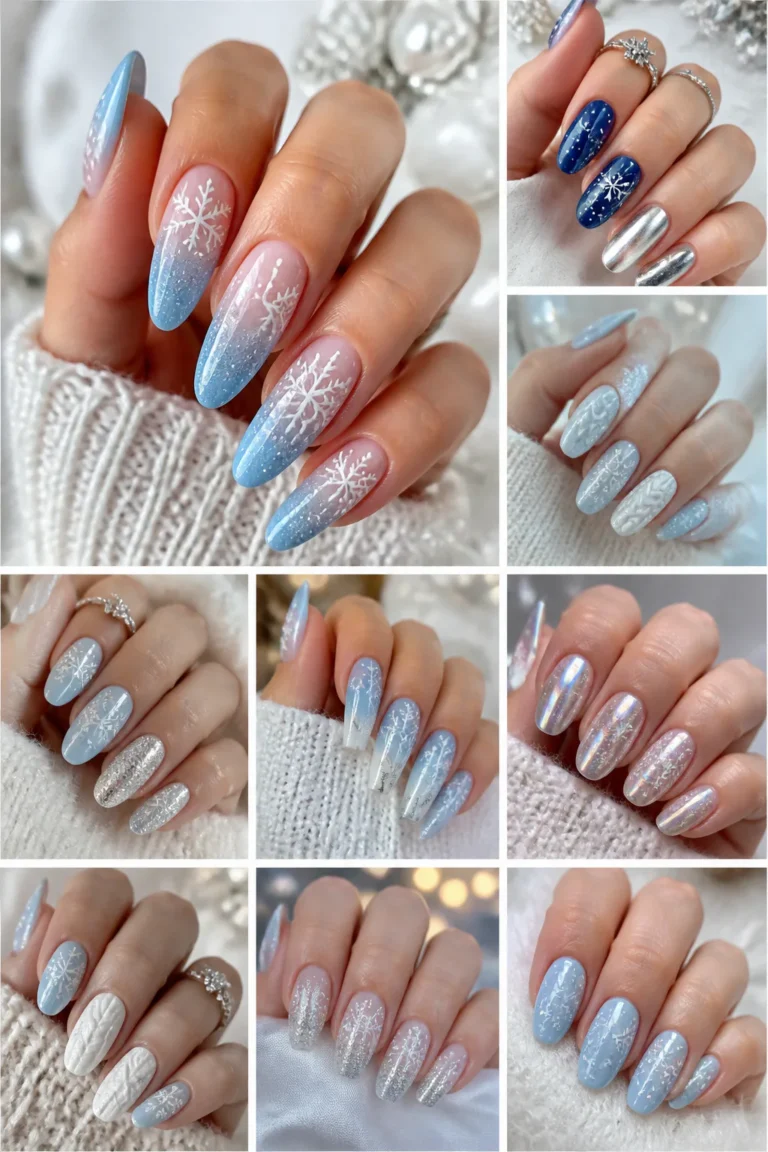
An icy pastel blue base topped with pearlescent white chrome creates a frozen-glass effect. The cool color feels wintery without leaning on traditional Christmas red and green, while the reflective finish catches light across the full length of the nail.
This manicure is a natural fit for long almond, coffin, or square shapes, where the soft blue can make a simple silhouette feel more striking. It works well for winter events and for anyone who prefers cool-toned, luminous nails over character art or busy patterns.
How to get the finish
Start with an even pastel base, then apply chrome powder over the appropriate gel surface for a smooth pearly sheen. Keep the color beneath it consistent, since uneven coverage can show through the reflective layer.
- Choose a pale blue that looks icy rather than overly saturated.
- Use pearlescent white chrome for a soft, frosted glow.
- Keep added art minimal so the reflective finish stays prominent.
A glossy seal helps the chrome look sleek and gives the manicure a crisp, glasslike finish.
8. Gold Stars on Midnight Nails
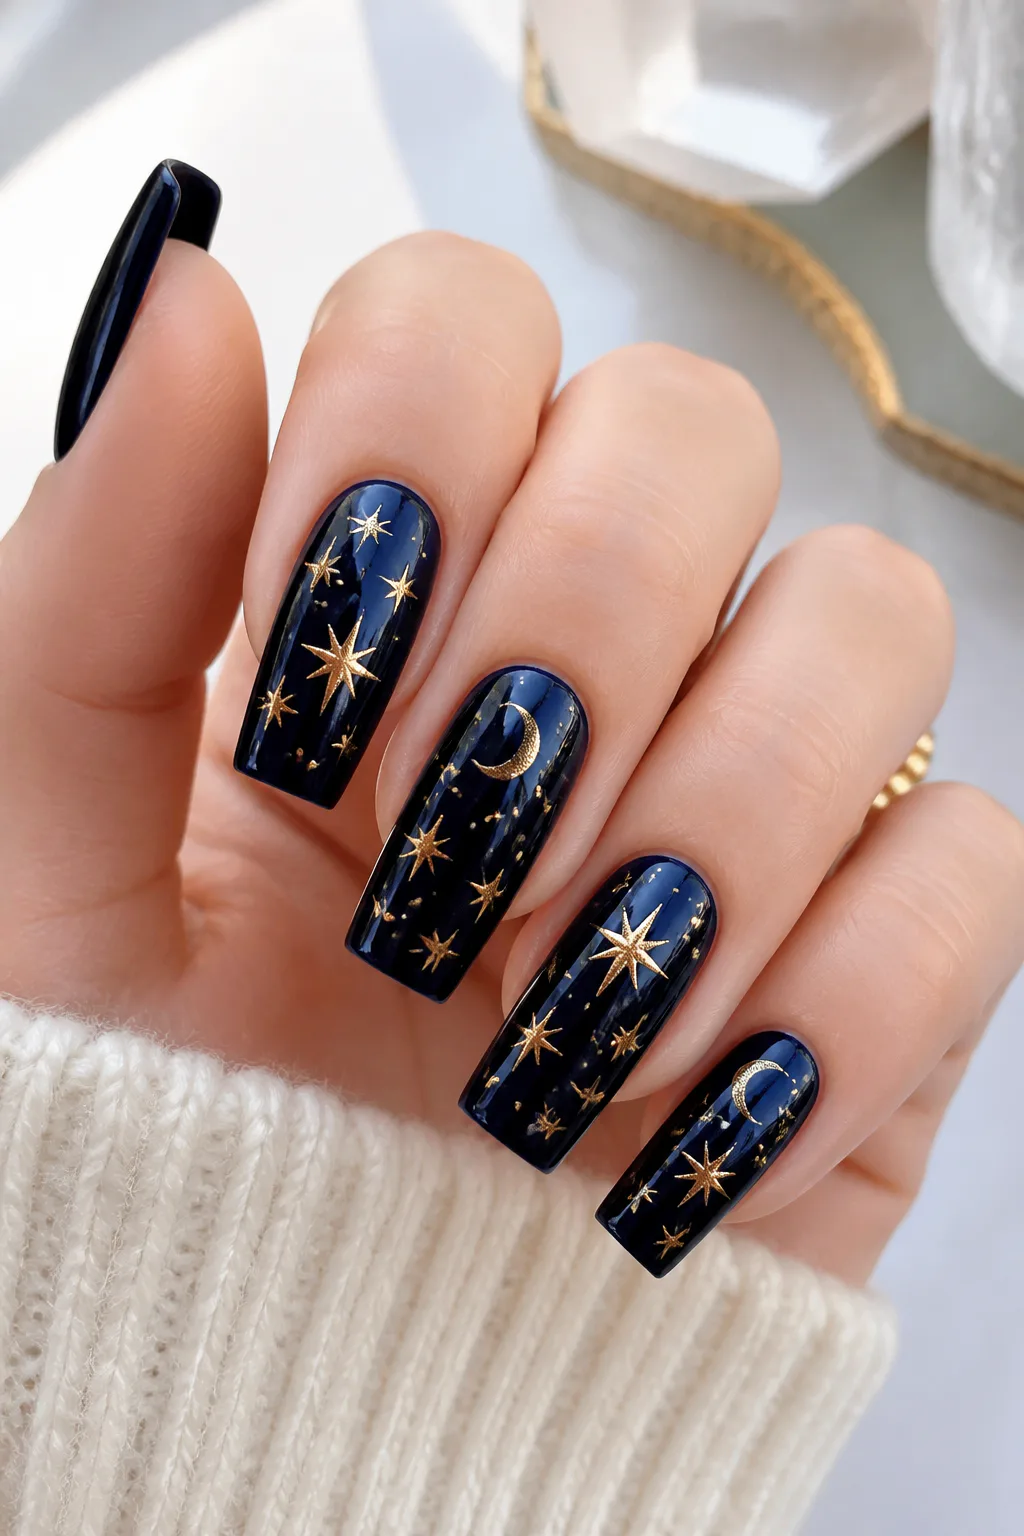
Metallic gold stars and crescent moons scattered across deep blue or black nails create a festive midnight-sky look. The dark base makes the foil details pop, and a long square shape offers a broad canvas for arranging the celestial accents.
This design feels glamorous without depending on a traditional holiday motif. It works for evening celebrations, winter parties, or anyone who wants a manicure that can carry through the season after Christmas Day.
Design tips
Arrange the stars with a light hand so each accent has room to shine. A few larger shapes mixed with tiny scattered details can create a balanced sky, while a solid dark nail or two gives the eye a place to rest.
- Try midnight blue for a softer night-sky effect or black for sharper contrast.
- Use metallic gold foil stars and small crescent moons.
- Vary the spacing rather than lining every accent up evenly.
Finish with a smooth top coat to secure the foil and bring out its warm metallic glow.
9. Santa Belt Accent Nail

A matte black manicure becomes holiday-ready with a crisp belt detail near the cuticle of one accent nail. The small gold buckle gives a clear Santa-belt reference, while the dark background keeps the overall effect sleek rather than cartoonish.
This is a good choice for anyone who likes seasonal nail art but wants to keep most of the set simple. A single decorated nail can stand out on long extensions, especially when the remaining nails stay matte black or use a subtle coordinating shade.
How to make it work
Keep the belt narrow and place it neatly across the accent nail, close to the cuticle line. A simple square buckle is enough to make the theme recognizable; clean edges matter more than adding extra details.
- Use a matte black base for a soft, tailored look.
- Choose gold for the buckle to create a bright focal point.
- Repeat the black on the other nails to tie the set together.
The restrained design is festive in close-up but still understated from a distance.
10. Gilded Holiday Ornament Nails
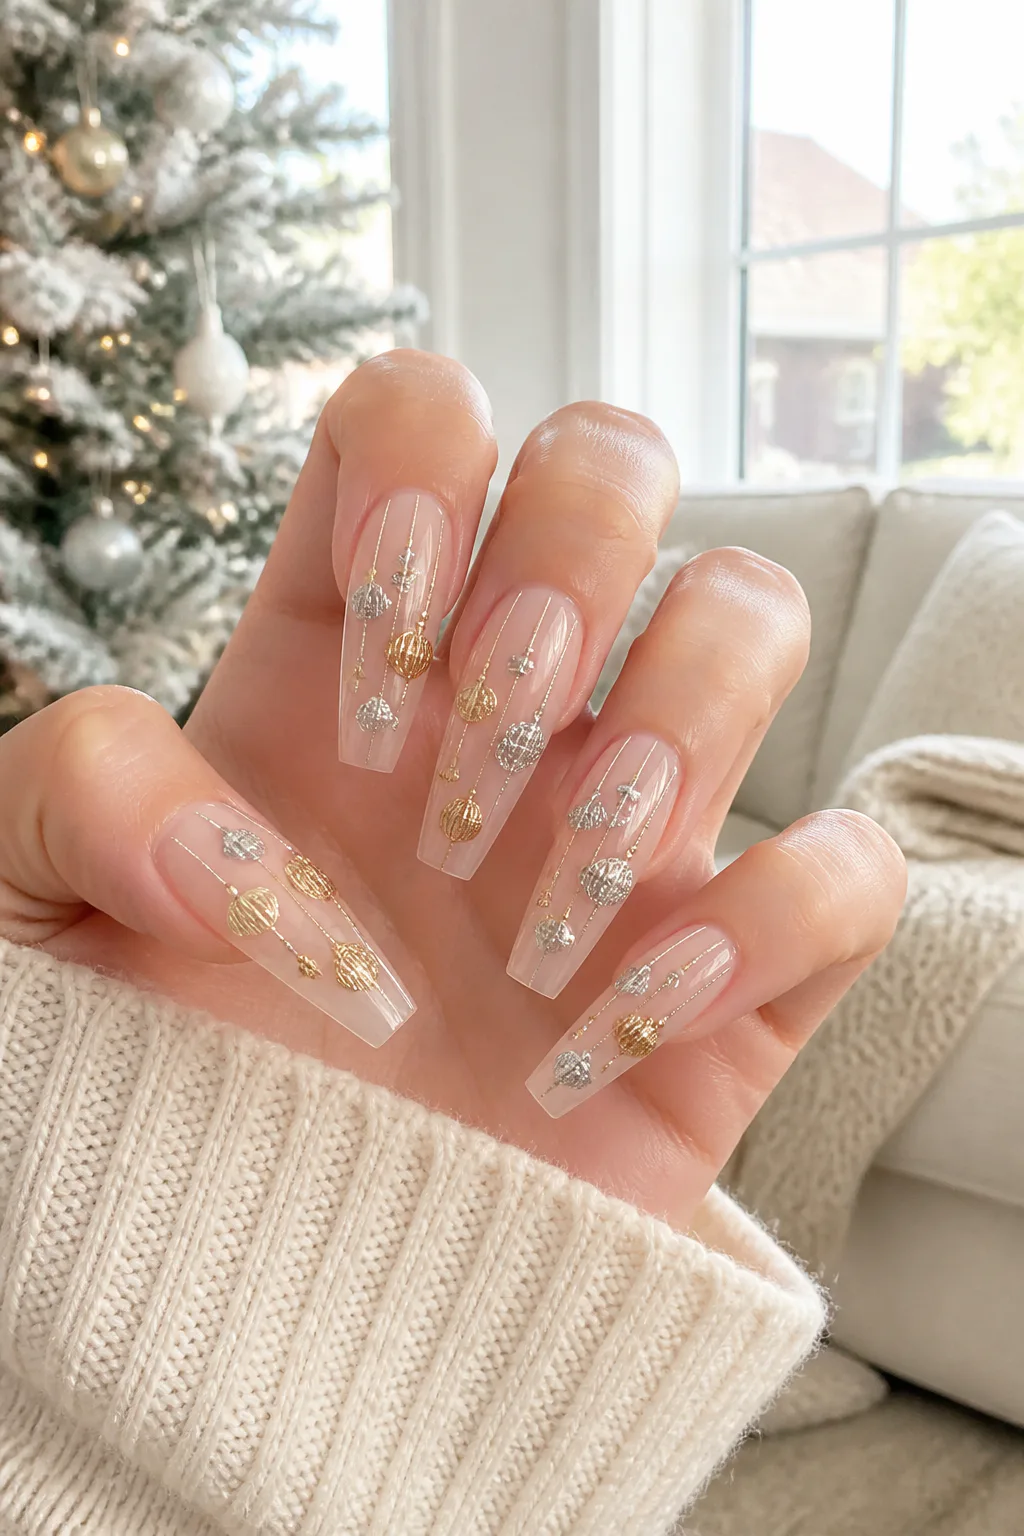
Fine-line silver and gold baubles dangling down long clear or nude builder-gel nails create a delicate ornament-inspired design. The translucent background lets the metallic details feel airy, while the extra length gives the hanging lines room to trail gracefully.
This idea suits anyone looking for holiday nail art that feels elegant rather than bold. It can be worn as a full set with subtle ornaments on each nail or concentrated on a few accents beside a sheer, glossy manicure.
Design tips
Use thin lines for the strings and keep the baubles small enough to leave open space around them. Mixing silver and gold adds dimension, but repeating the same line weight and ornament style helps the set look cohesive.
- Choose a clear or nude base to keep the design light.
- Vary ornament placement so the nails don’t look identical.
- Use fine metallic lines for a delicate hanging effect.
A glossy finish makes the clear base look fresh and protects the fine-line art.
11. Sugar-Coated Holiday Gumdrop Nails
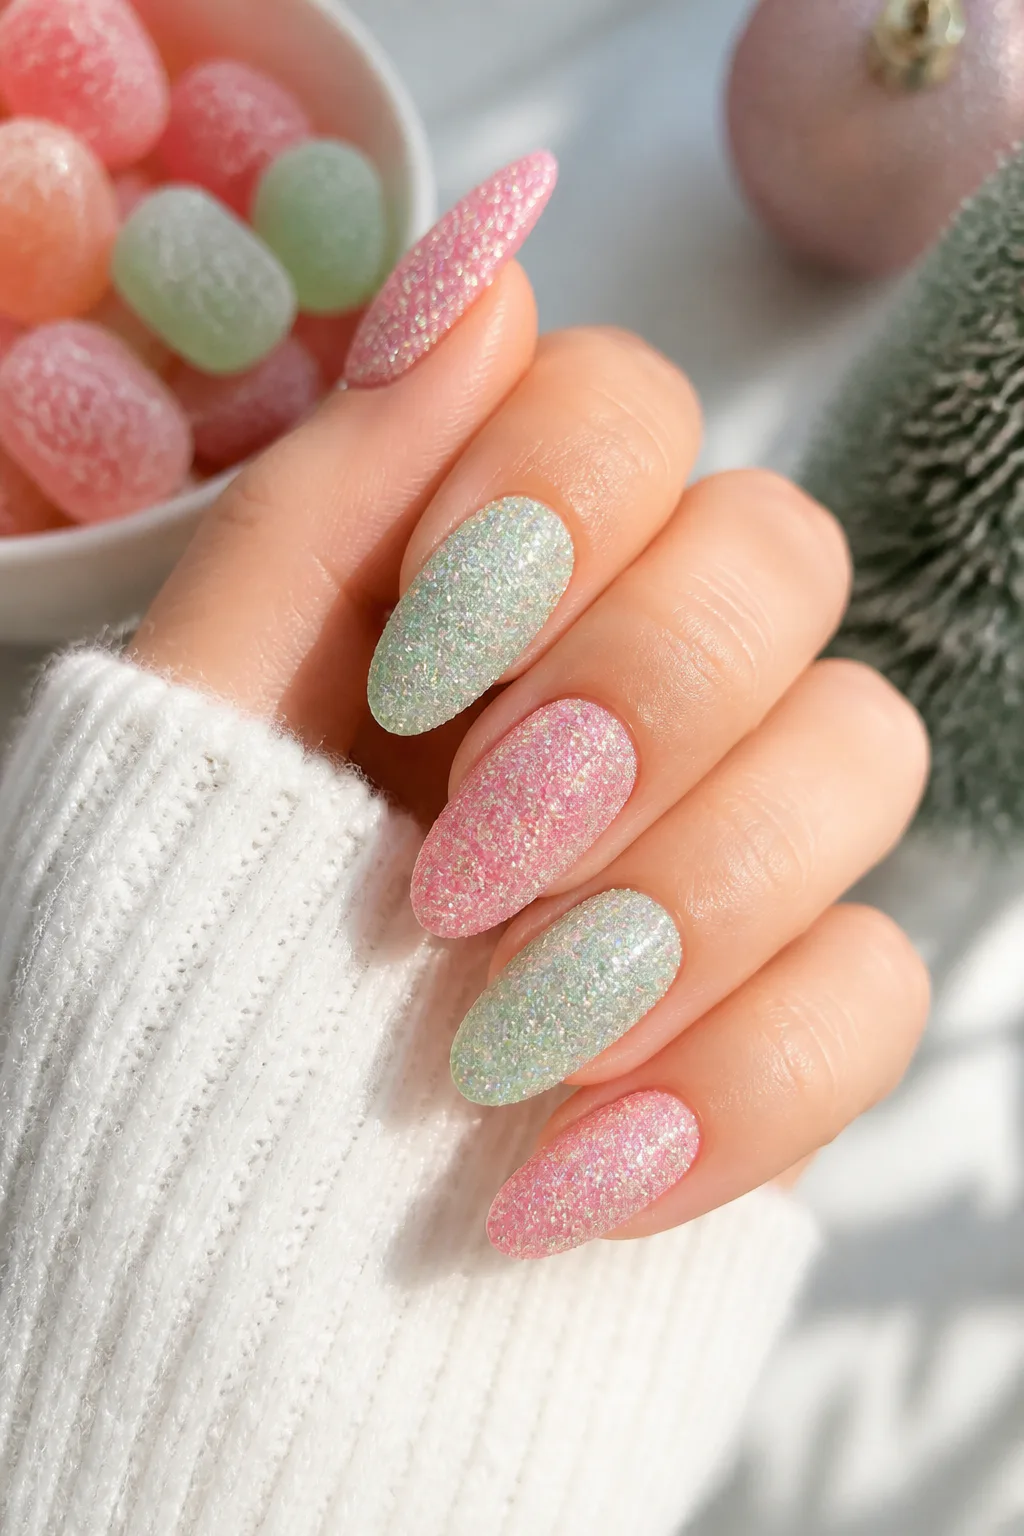
Pastel pink or mint green nails covered in pixie-dust glitter look like frosted holiday gumdrops. The soft base color keeps the sparkle sweet rather than intense, while the glitter gives long nails plenty of shimmer under party lights.
This design is a playful alternative to deeper seasonal shades and works well for anyone who loves candy-inspired colors. It can cover every nail for a full glitter look or be limited to accents alongside a solid pastel manicure.
How to balance the sparkle
Choose one pastel shade as the main color and apply glitter evenly so the surface looks intentionally coated. If you want a less busy set, leave one or two nails smooth and use them to create contrast with the glittered finish.
- Try mint green for a cool, frosted candy effect.
- Use pastel pink for a softer, sweeter palette.
- Seal the glitter carefully for a smooth-looking finish.
The combination of gentle color and dense sparkle makes this manicure festive without needing extra nail art.
12. Mismatched Merry Character Nails

Give each long nail its own holiday character, such as a reindeer, snowman, gingerbread man, or elf hat. The mismatched approach turns the manicure into a tiny seasonal story, with every finger contributing a different expression or color.
This style is ideal for anyone who enjoys playful nail art and wants a design that feels personal. Long nails provide more space for recognizable faces and accessories, but a simple palette helps the set feel coordinated instead of crowded.
Planning the characters
Decide which character belongs on each nail before painting, then repeat a few colors across the set. Simple facial features and familiar shapes are usually easier to read than intricate scenes on a small surface.
- Mix characters such as a reindeer, snowman, gingerbread man, and elf hat.
- Use shared red, green, white, or brown accents to unify the set.
- Keep each illustration focused on one clear feature or expression.
A glossy top coat brings the colors together and gives the tiny designs a neat finish.
13. Emerald Nails with Rhinestone Cuticles

Glossy dark emerald nails paired with clear rhinestones around the cuticles create a rich, jewel-like holiday manicure. The deep green feels seasonal and luxurious, while the stones add concentrated sparkle without covering the entire nail.
This design works especially well on long acrylic nails, where the solid color has room to look bold and the rhinestone clusters can frame the base. It suits dressy gatherings and makes a strong choice for anyone who likes glamour with a clear focal point.
Keeping the embellishment balanced
Place the stones carefully near the cuticle area, leaving most of the emerald surface visible. A cluster on one or two accent nails can feel more wearable, while repeated clusters create a more dramatic, coordinated set.
- Choose a deep emerald shade with a glossy finish.
- Use clear rhinestones to reflect light without competing with the green.
- Keep the stone placement consistent across decorated nails.
Secure embellishments thoroughly and follow your nail technician’s care advice to help the design stay neat.
14. Retro Seventies Christmas Nail Art
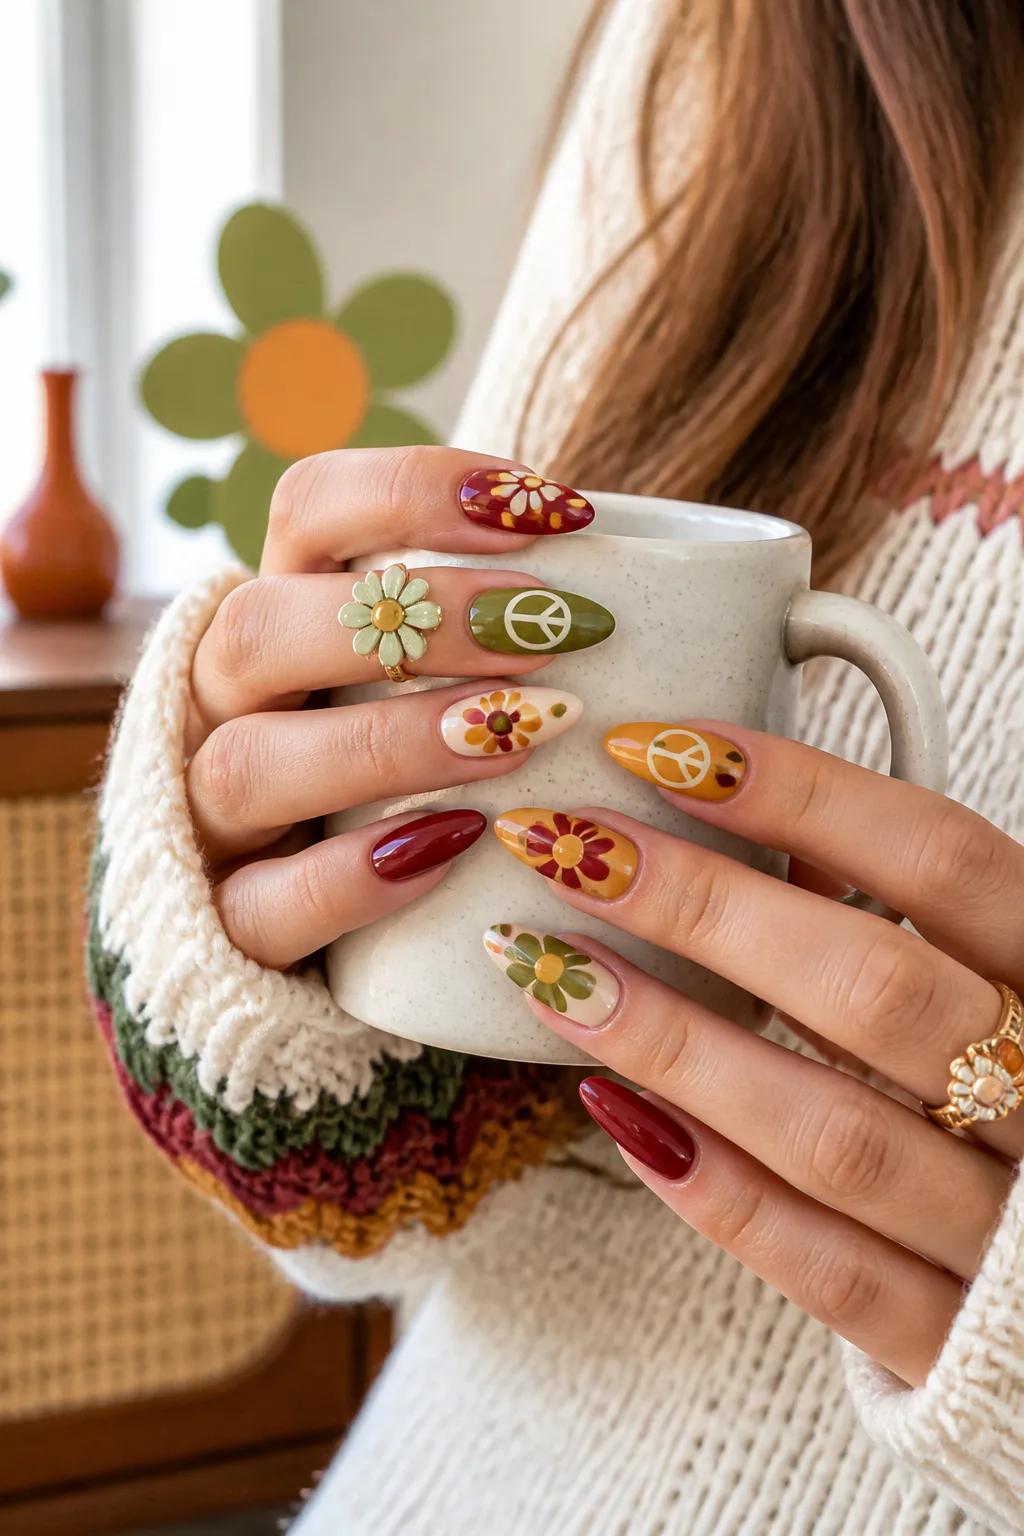
Groovy flowers and peace signs in cranberry, mustard yellow, and avocado green give Christmas nails a playful vintage mood. The warm palette feels different from the usual jewel tones, while rounded motifs make the design cheerful and easy to recognize.
Long nails create room for larger flowers or a few contrasting symbols, so the retro theme can be expressed without squeezing in too many details. This idea is especially fitting for anyone who likes nostalgic colors, graphic shapes, and a less traditional holiday manicure.
Choosing the layout
Keep the designs bold and simple, using one or two motifs per nail rather than filling every space. Alternating a patterned nail with a solid cranberry or avocado shade gives the set a deliberate rhythm.
- Combine cranberry, mustard yellow, and avocado green.
- Use groovy flowers and peace signs as the main motifs.
- Repeat colors across different nails for a cohesive look.
A glossy finish makes the warm colors feel vibrant and helps the graphic shapes stand out.
15. Holographic Snowflake Blizzard Nails

Transparent long coffin extensions filled with iridescent snowflake confetti and micro-glitter create a sparkling blizzard effect. The clear base lets the embedded decorations appear suspended, while holographic reflections shift as the nails catch different light.
This look is a bold choice for anyone drawn to icy, high-shine designs. It can feel especially striking as a full set, but keeping the confetti concentrated toward the tips can make the transparent base feel lighter and more wearable.
Design tips
Arrange the snowflakes at different angles and mix them with fine glitter so the surface has depth. Avoid placing too many large pieces close together, as spacing helps each snowflake remain visible against the reflective background.
- Use a clear base to show off the embedded details.
- Mix iridescent snowflake confetti with micro-glitter.
- Choose long coffin extensions for a broad, balanced canvas.
A smooth, well-sealed surface helps the dimensional sparkle look intentional and polished.
16. Cranberry French Tips with Bows
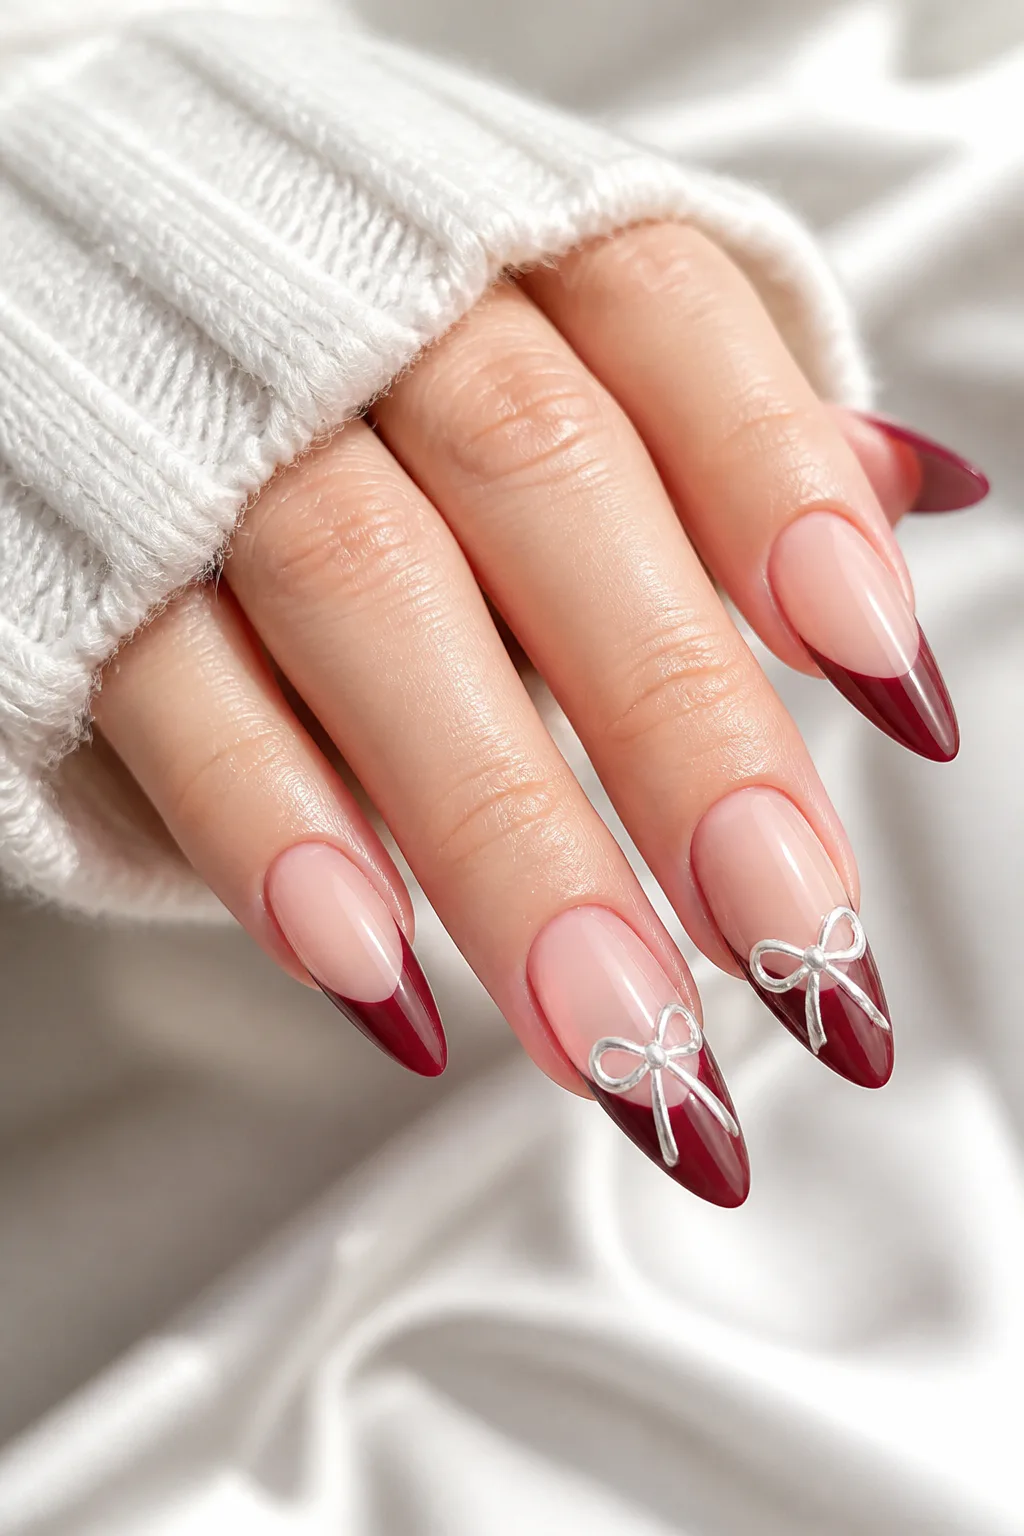
Deep cranberry side-slant French tips give a long manicure a rich, modern holiday accent. Delicate raised white or silver ribbon bows add a gift-inspired detail, creating contrast against a sheer nude or pale pink base.
This design feels romantic and festive without needing a full set of illustrations. The angled tips flatter long nails, while the small bows bring dimension and work particularly well on one or two accent fingers.
How to pull it off
Keep the cranberry edge clean and consistent, then position the bows where they won’t crowd the French design. A raised bow can be a statement on its own, so there’s no need to repeat extra embellishments across every nail.
- Use deep cranberry for a rich alternative to bright red.
- Angle the French tips to suit the shape of each nail.
- Choose white or silver bows for a delicate, dimensional accent.
The mix of crisp color and soft ribbon detail makes the manicure feel like a little holiday gift.
Final Thoughts
Long Christmas nails can lean glamorous, cozy, playful, or wintry, and the extra canvas makes room for details that might feel crowded on shorter nails. From velvet red cat-eye polish to tiny character art and delicate ornament lines, these ideas offer different ways to make a seasonal manicure feel like your own.
Use your favorite colors and nail shape as a starting point, then decide how much sparkle, texture, or nail art you want to wear. Whether you choose a full statement set or just one festive accent, a thoughtful detail can bring a little holiday spirit to your everyday look.