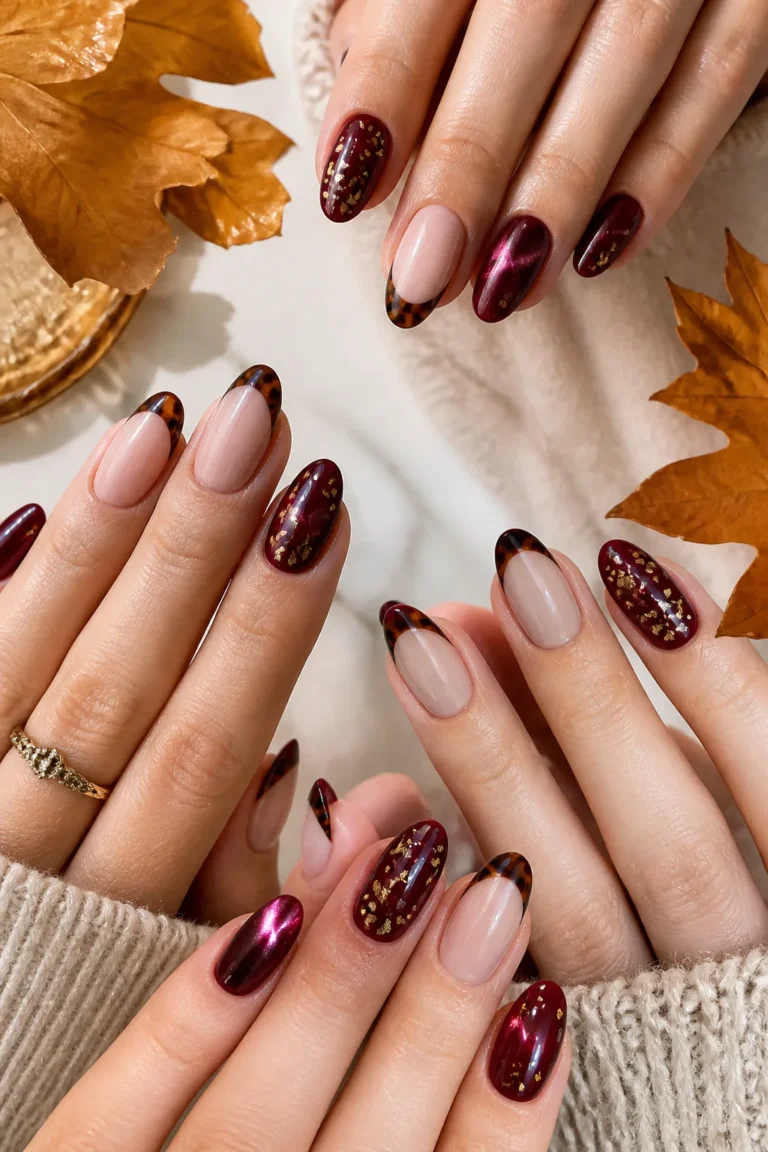
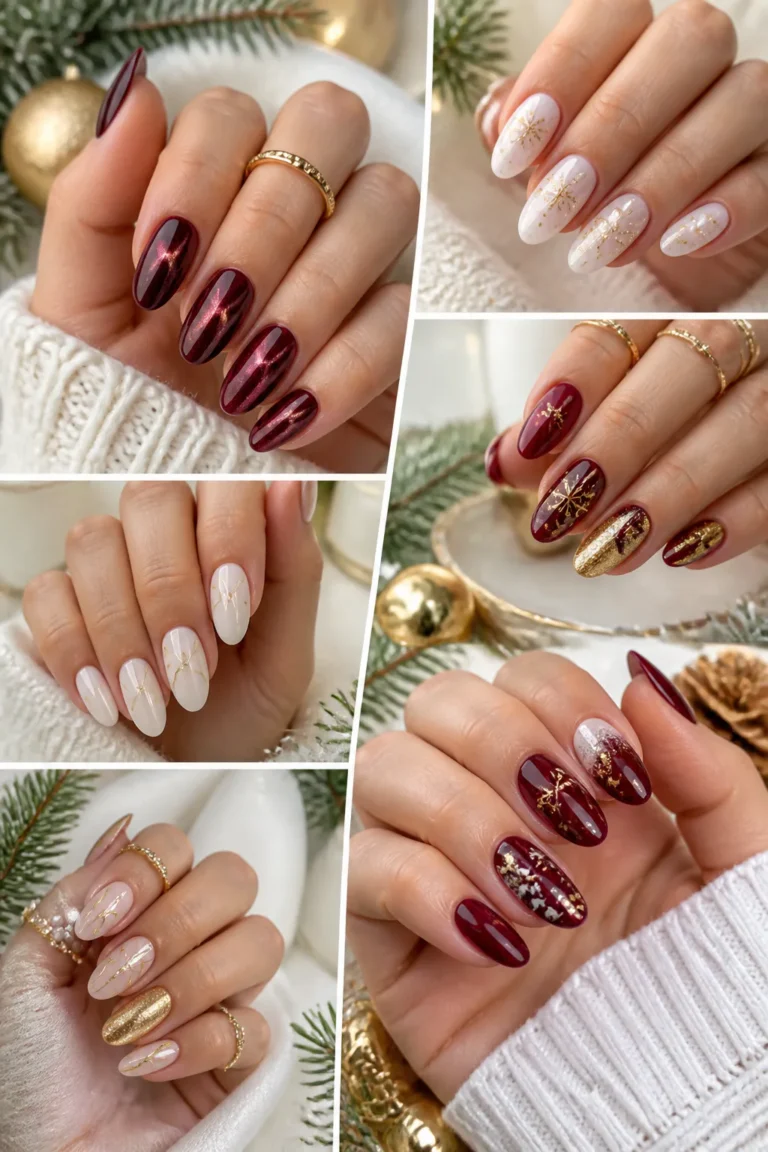
16 Stunning February Nails Ideas
February is a lovely month for experimenting with color: you can lean into romantic reds, choose a cozy dark neutral, or start easing toward spring with softer shades. The best February nails feel personal rather than tied to just one holiday, so these ideas range from understated accents to sparkling statement tips.
Each look can be adapted to your preferred nail length and shape. A tiny heart or fine gold line suits a minimalist manicure, while magnetic polish, glitter, and swirling nail art bring more movement and drama.
Use these ideas as inspiration for your next salon appointment or at-home manicure. If you’re painting your own nails, take your time with thin layers and a small detail brush, and remember that a sheer base can make intricate designs feel light and wearable.
1. Pair Ruby Red Nails with Fine Gold Tips
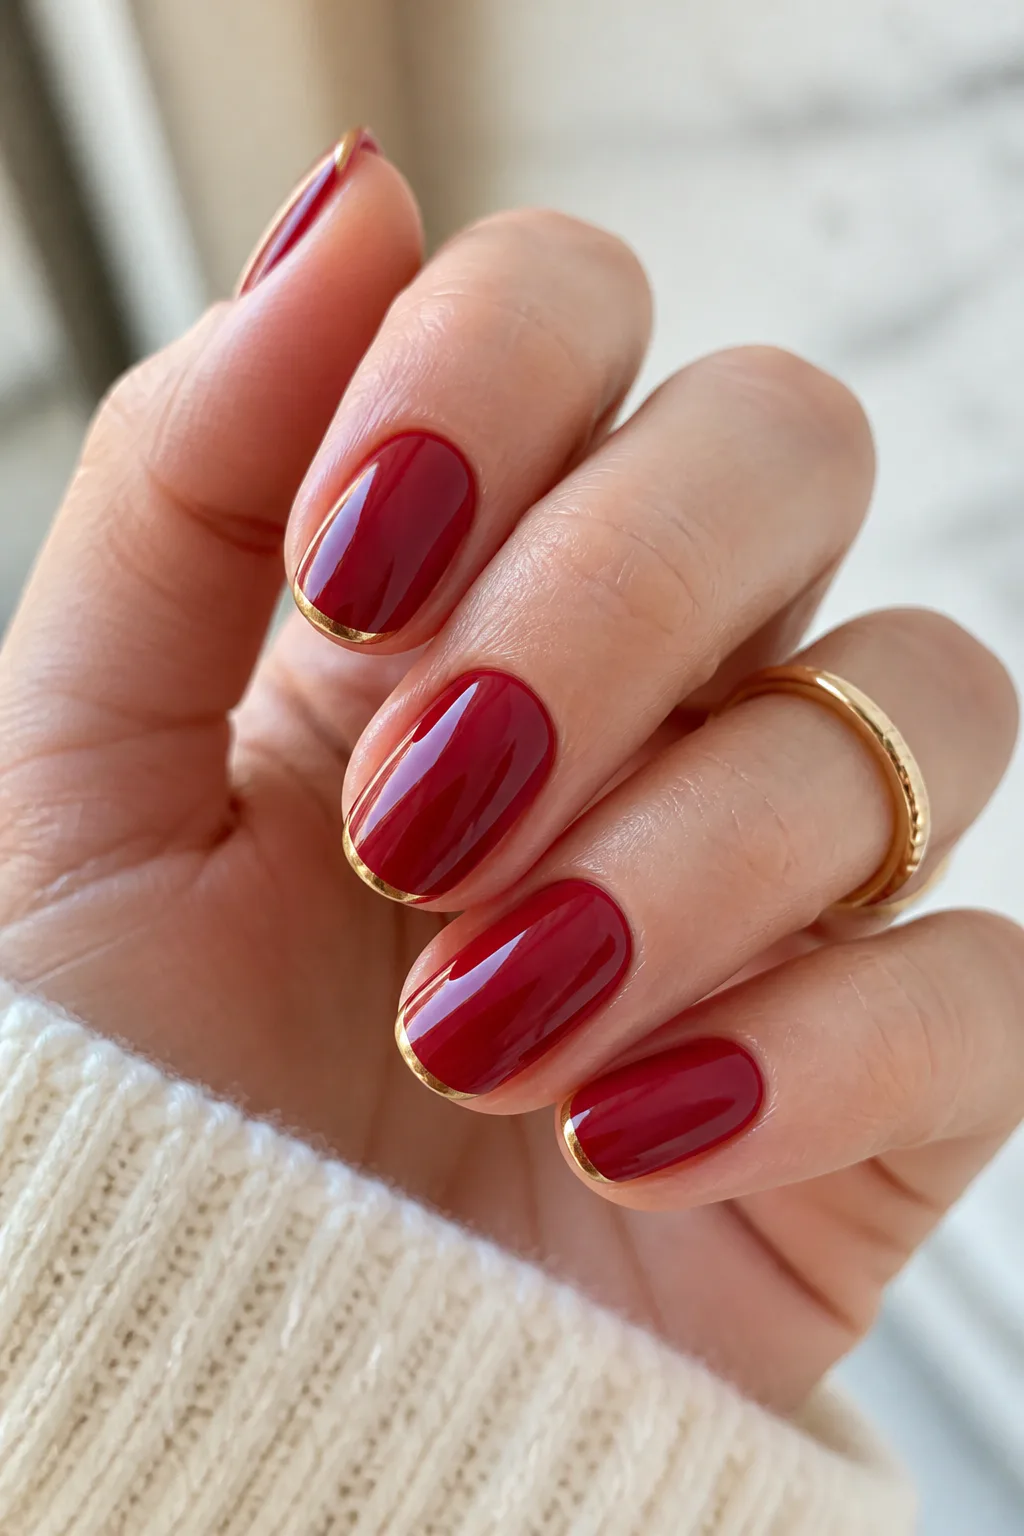
A glossy ruby-red manicure is a timeless choice for February, especially when you want a romantic color that still feels polished and grown-up. Adding a fine gold line at each tip gives the classic red a little extra detail without competing with its rich, luminous finish.
This look works on short rounded nails as well as longer almond or oval shapes. The gold detail can follow the natural curve of the tip, making the manicure feel coordinated with your nail shape rather than like a separate decoration.
How to pull it off
Start with a smooth base and apply the ruby polish in thin, even coats. Once the color is fully dry, use a fine nail-art brush or metallic liner to trace a narrow line along each free edge. A glossy top coat helps unite the red and gold.
- Choose a deep ruby shade for a classic, saturated look.
- Keep the gold line delicate if you want a subtle finish.
- Use rounded tips or a soft curve to echo your nail shape.
The result feels festive enough for a date night but simple enough to wear throughout the month.
2. Add Gold Foil to a Cherry Red Manicure
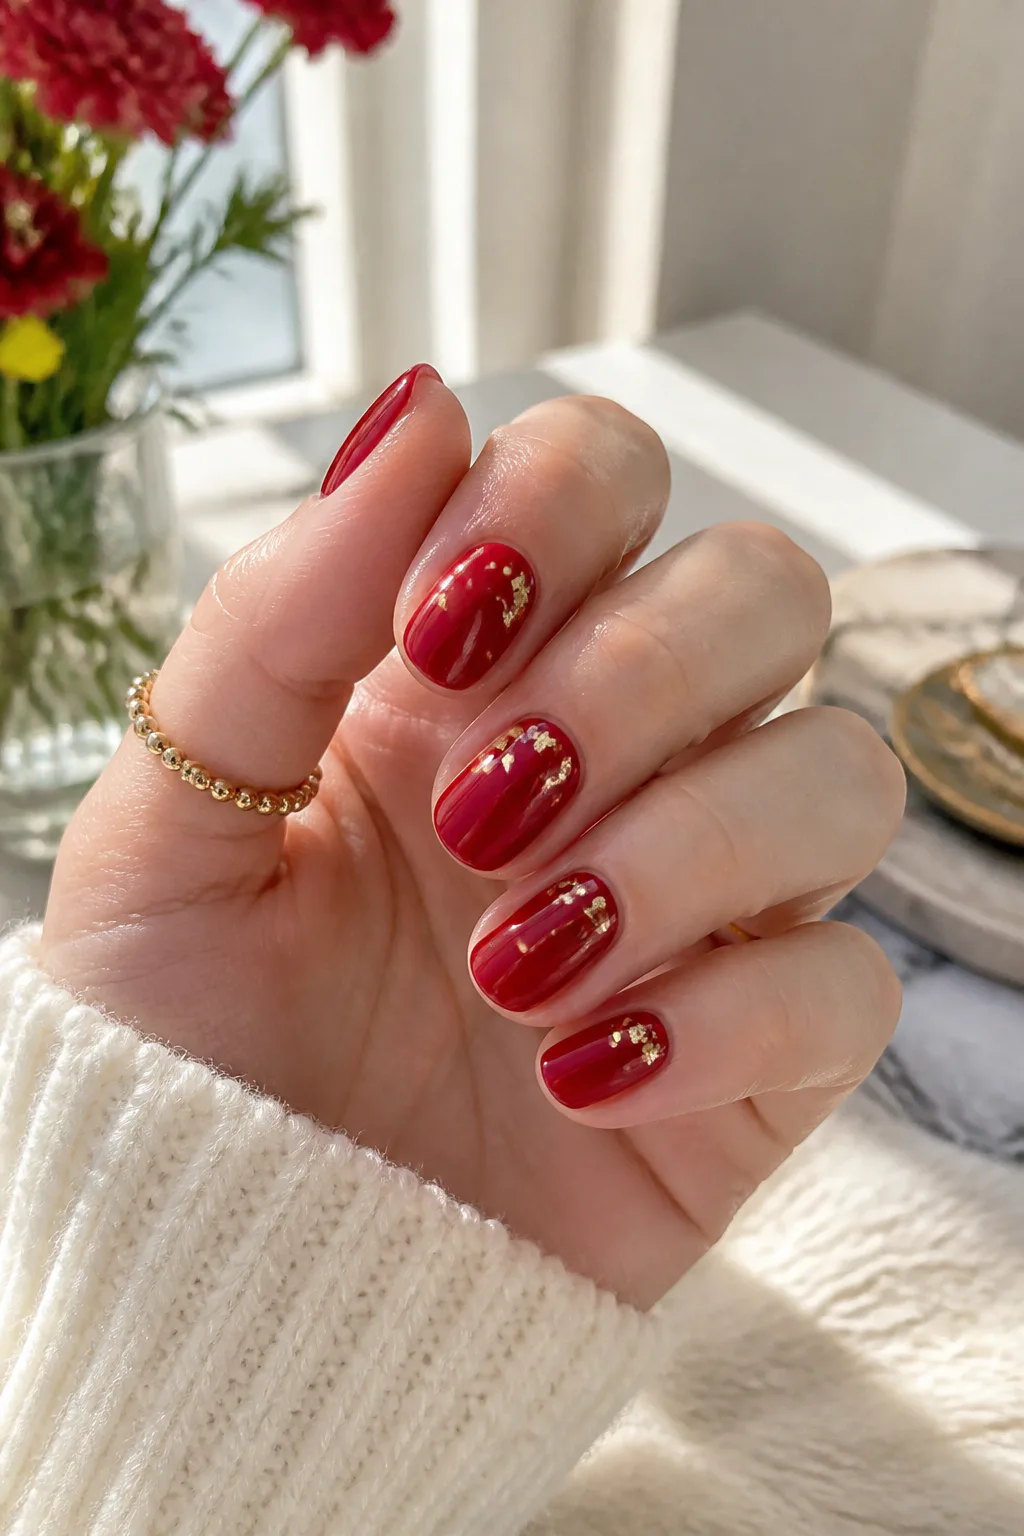
Cherry red has a bright, juicy quality that feels playful, while gold foil adds a softer, more dimensional accent. Instead of covering every nail in metallic detail, a few tiny flecks let the red remain the focus and give the manicure a scattered glint when your hands move.
This design suits anyone who likes a glossy statement color but wants something more distinctive than a solid manicure. Foil can be placed near the cuticle, toward the tips, or in an irregular pattern across one or two accent nails.
Design tips
Apply the foil over fully cured or thoroughly dried cherry polish, following the directions for your chosen formula. Use a small tool to place each piece rather than pressing down a large sheet, then seal the surface with top coat so the finish feels smooth.
- Keep foil pieces small for a delicate scattered effect.
- Concentrate the gold on accent nails for a quieter look.
- Vary the placement slightly so the design feels organic.
A little foil goes a long way, making this an easy way to dress up a familiar red manicure.
3. Paint Tiny Hearts on Milky Pink Nails
Milky pink polish gives nails a soft, clean appearance that feels romantic without being overly sweet. A single tiny red heart on an accent nail adds a clear February detail, while leaving the other nails simple keeps the overall effect light and easy to wear.
The sheer, creamy base is especially lovely when you want your natural nail to remain subtly visible. It pairs well with short, rounded nails, though a longer shape can provide extra room for a small hand-painted motif.
How to add the heart
Apply one or two thin coats of milky pink, allowing the natural nail to show through if that is the effect you want. On a fully dry accent nail, use a dotting tool or fine brush to make two small red dots and draw them together into a heart.
- Place the heart on a ring finger for a classic accent.
- Keep the design small so the sheer base remains prominent.
- Finish with a clear top coat to protect the artwork.
The result is a sweet nod to Valentine’s Day that still feels understated after the holiday passes.
4. Try Chrome Hearts on a Sheer Pink Base

A tiny chrome heart gives a sheer pink manicure a reflective focal point, creating a more modern take on the classic micro-heart design. The contrast between a soft, milky base and a gleaming accent keeps the look delicate while allowing the detail to catch the light.
This manicure works well when you want nail art that feels subtle from a distance and special up close. A single heart on one nail can look refined, while a small matching motif on a couple of fingers makes the design feel more playful.
Making the detail stand out
Use a thin layer of sheer pink polish so the base stays translucent and even. Depending on your nail-art products, the heart can be formed with chrome powder over a suitable gel detail or applied as a metallic decal. Seal it carefully with top coat.
- Choose a small heart for a minimalist accent.
- Place the motif on a plain accent nail for clear contrast.
- Keep the rest of the manicure glossy and uncluttered.
The reflective finish brings a little shine without requiring glitter across the whole nail.
5. Create a Berry Velvet Cat-Eye Manicure
Berry cat-eye polish brings depth and movement to February nails. Its magnetic shimmer shifts across a rich berry or burgundy base, creating a velvet-like effect that can look soft in one light and more dramatic in another.
This finish is a good choice when you want a moody manicure with more dimension than a flat dark color. It looks striking on medium or long nails, but short nails can show off the shifting sheen beautifully too, especially when the color is kept consistent across every finger.
How to get the velvet effect
Magnetic polish is typically worked while a layer is still wet or uncured, using a magnet to draw the shimmer into a chosen pattern. Follow the product instructions and hold the magnet steadily so the reflective effect forms cleanly before you seal the manicure.
- Pick a berry tone for a romantic, colorful finish.
- Use a darker burgundy for a moodier effect.
- Keep the nail art minimal so the magnetic shimmer can shine.
The result feels luxurious and dimensional without relying on extra embellishments.
6. Try a Burgundy Magnetic French Manicure
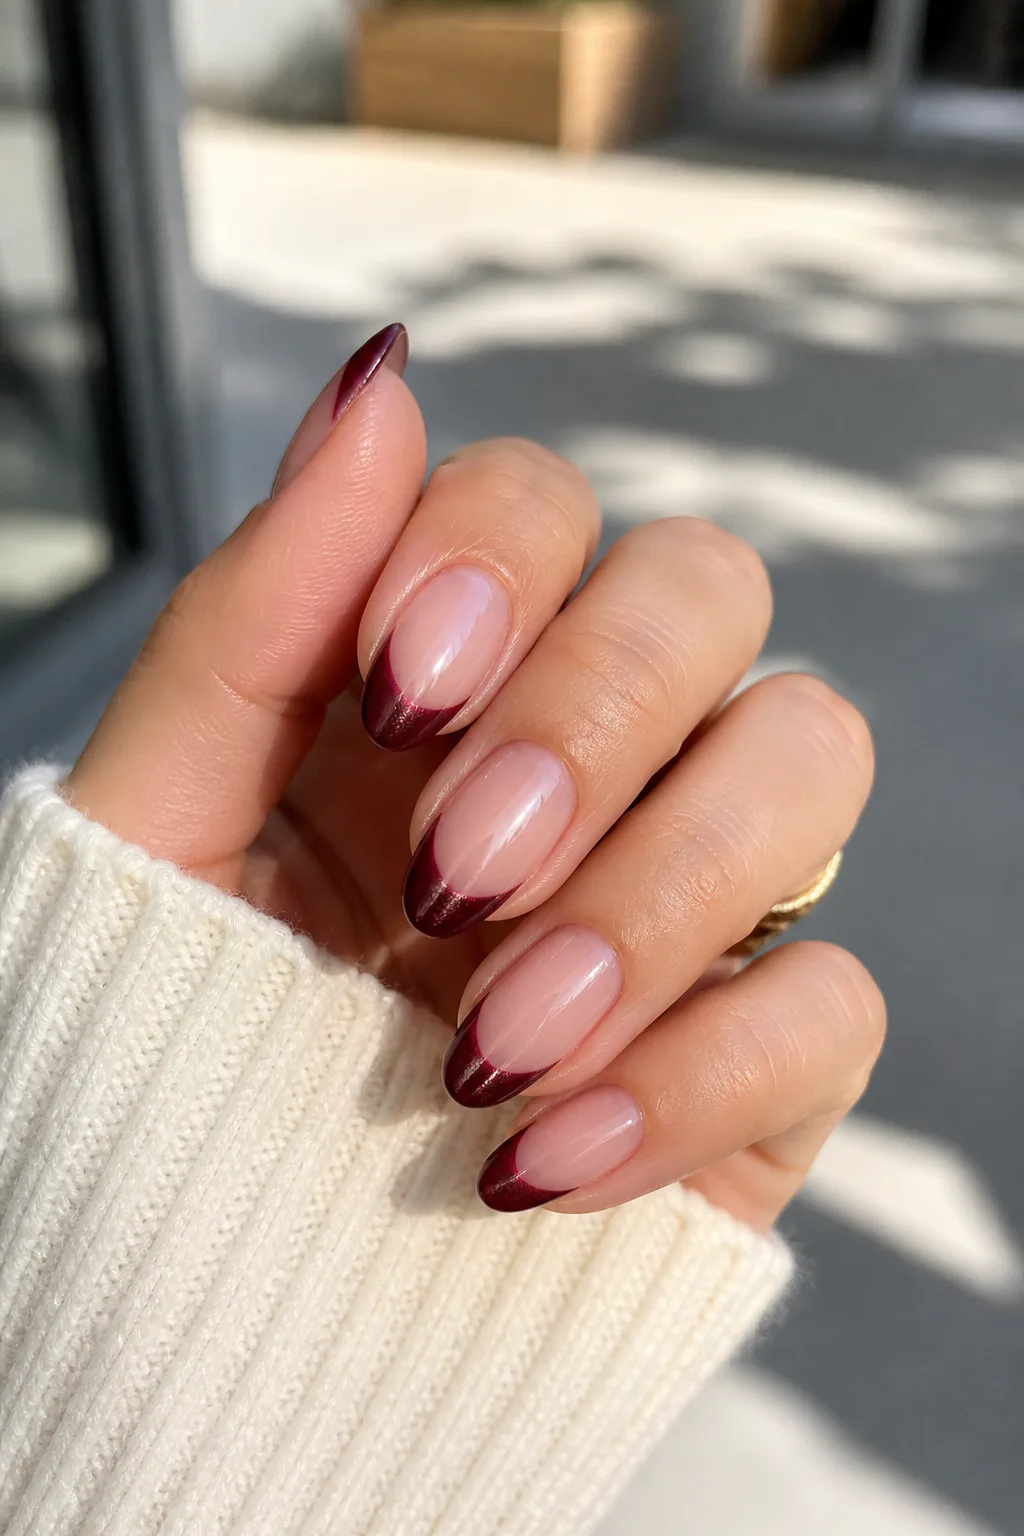
A magnetic French manicure combines the familiar shape of a French tip with the depth of burgundy cat-eye polish. Concentrating the shimmer at the ends gives the design a striking focal point, while a sheer base keeps the overall manicure light and balanced.
This idea is especially effective on almond or oval nails because the tapered shape naturally leads the eye toward the tip. It can also work on shorter nails if the colored edge is kept narrow and follows the nail’s natural curve.
Creating the contrast
Apply a sheer nude or pink base and let it dry or cure completely. Then use burgundy magnetic polish along the tip area, shaping the edge like a French manicure. Use a magnet to direct the shimmer before finishing with a clear top coat.
- Choose a sheer base close to your natural nail tone.
- Make the burgundy tips slim for a subtle take.
- Repeat the same curve on each nail for a neat finish.
This design offers a fresh way to wear dark polish without covering the entire nail.
7. Paint Every Nail a Soft Lavender Haze
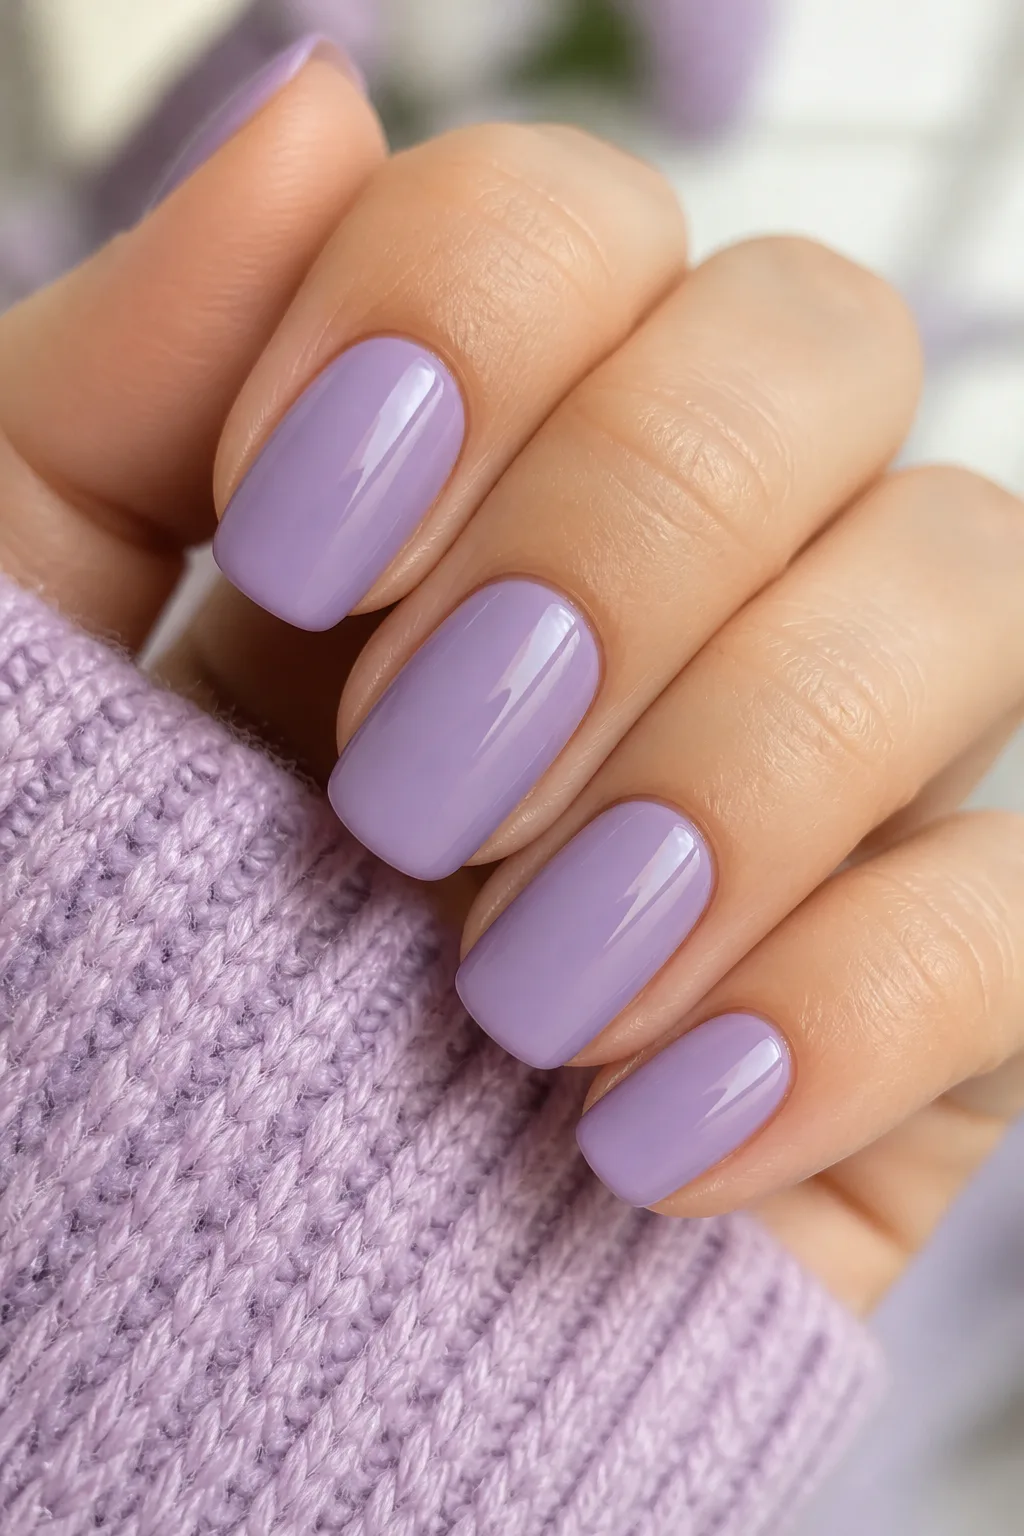
Muted lavender offers a gentle change of pace from February’s deeper reds and browns. It has the softness of a pastel but enough cool, dusky tone to feel right for the last stretch of winter, making it a natural bridge toward early spring.
A solid lavender manicure can feel especially elegant when the polish is smooth and glossy. It suits a range of nail lengths and shapes, from short squares to longer ovals, and lets the color itself provide all the interest.
Choosing the right finish
Look for a soft, slightly muted purple rather than a very bright or chalky shade if you want a hazy effect. A sheer first coat can help you judge the color, while additional thin layers build a more opaque finish without making the polish feel heavy.
- Try a dusty lavender for a subdued winter-to-spring feel.
- Use a glossy top coat to bring out the polish’s color.
- Apply thin coats for a smoother, more even result.
Worn on every nail, lavender makes a calm, polished statement that feels distinct from traditional February red.
8. Mix Lavender Polish with a Milky Accent Nail
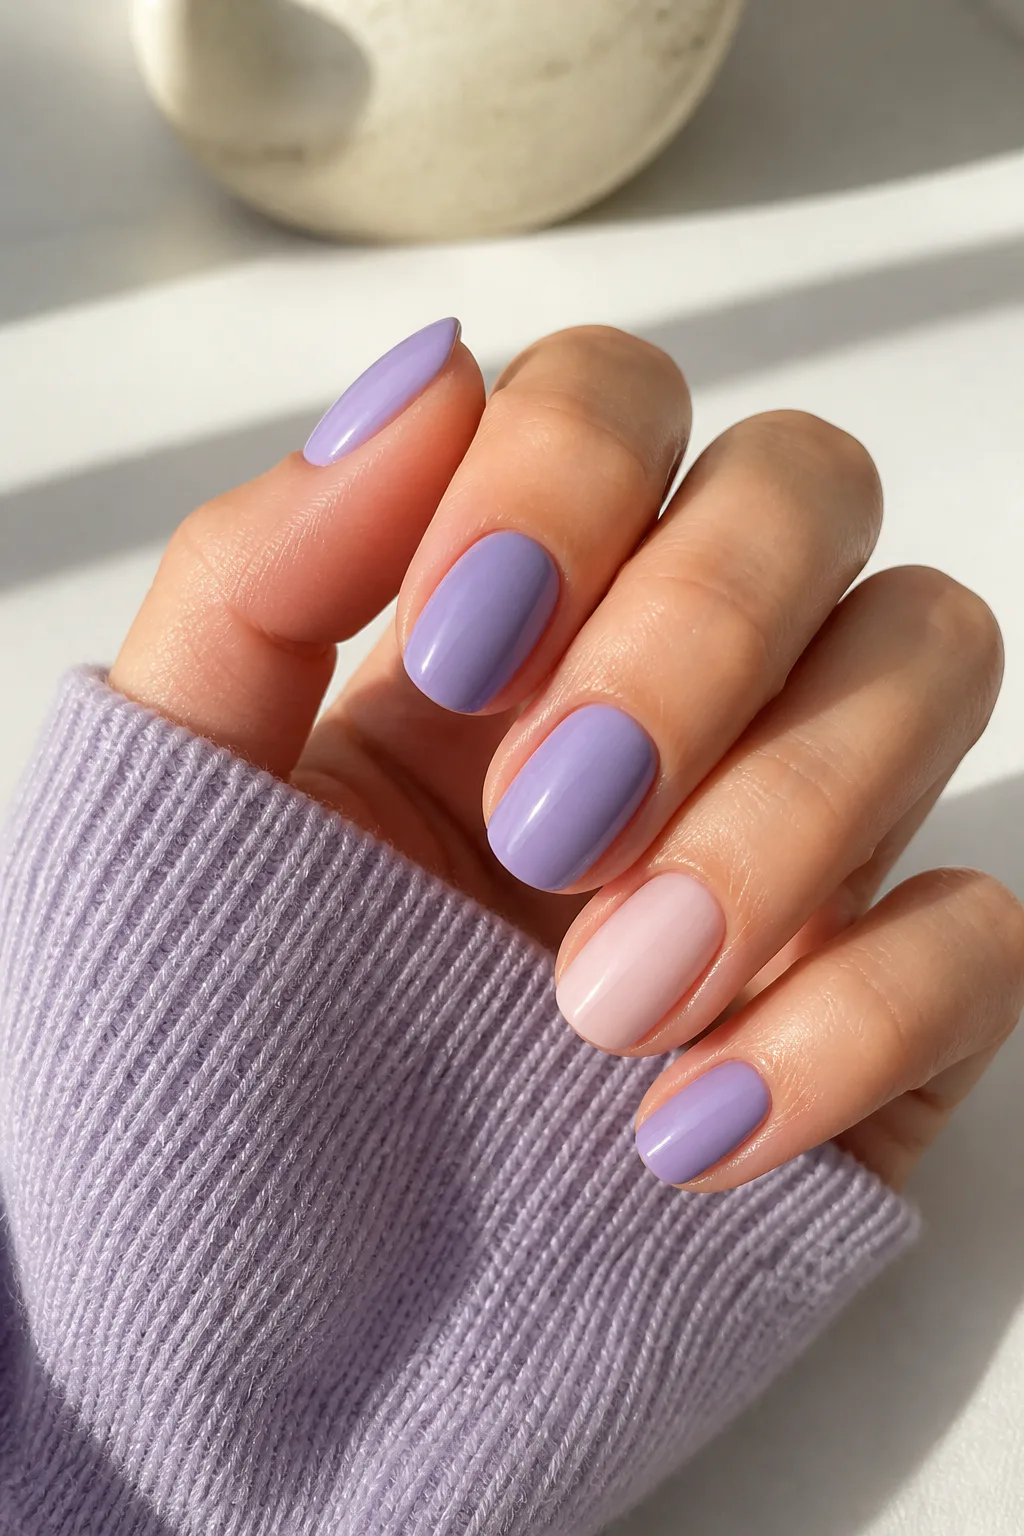
Pairing muted lavender with one milky pink accent nail creates a soft color contrast without making the manicure feel busy. The lavender keeps the overall look fresh, while the creamy accent adds warmth and gives the eye a quiet place to rest.
This combination works on nearly any nail length and is easy to customize. You can place the accent on the ring finger for a familiar arrangement or use a different finger if you want the color break to feel less expected.
Balancing the two shades
Apply the same glossy finish to both colors so they feel connected as part of one manicure. A sheer milky pink is a gentle partner for muted lavender, while a more opaque cream gives the accent greater contrast.
- Use lavender on most nails to keep it as the main color.
- Choose one accent nail for a simple, tidy composition.
- Match the shine level across both shades with top coat.
The pairing is understated enough for everyday wear but still feels thoughtfully put together.
9. Try Dark Cherry Mocha Nails
Dark cherry mocha blends the warmth of brown with a subtle red undertone, creating a moody neutral that feels especially fitting in February. It offers more depth than a traditional nude but remains versatile enough to pair with a wide range of outfits.
The shade looks rich as a full manicure and can work on short nails, almond shapes, or longer lengths. On shorter nails, its glossy surface gives a neat, intentional finish; on longer nails, the color has more room to show its warm, layered character.
Styling the shade
Because the color is already nuanced, it does not need much nail art. A smooth, glossy finish brings out the cherry-brown quality, while a sheer base coat can help create an even surface before applying the darker polish.
- Choose a warm brown with a noticeable cherry cast.
- Keep the design solid for a refined, easy-to-style look.
- Apply thin layers to help dark polish look smooth.
It is a cozy alternative to black or classic burgundy when you want a dark manicure with warmth.
10. Choose Glossy Espresso Nails for Short Lengths

Espresso polish makes short nails look sleek and deliberate, turning a deep neutral shade into the focus of the manicure. Its near-black depth feels modern, while its brown warmth can make it softer and more wearable than a stark black polish.
This look is a natural fit for short rounded or softly squared nails, where a dark glossy color creates a clean, compact finish. It is also an easy option when you want a manicure that feels polished without adding designs or decorative details.
Keeping dark polish neat
Dark colors make the edges of each nail more noticeable, so take a little extra care with shaping and application. Leave a narrow margin near the cuticle if that helps you apply the polish cleanly, and finish with a glossy top coat for a smooth surface.
- File short nails into a shape that follows your fingertips.
- Use thin coats to avoid a thick-looking finish.
- Wipe away stray polish before it fully sets.
Glossy espresso is a simple way to make a short manicure feel chic and intentional.
11. Shape Cherry Mocha Polish into Almond Nails
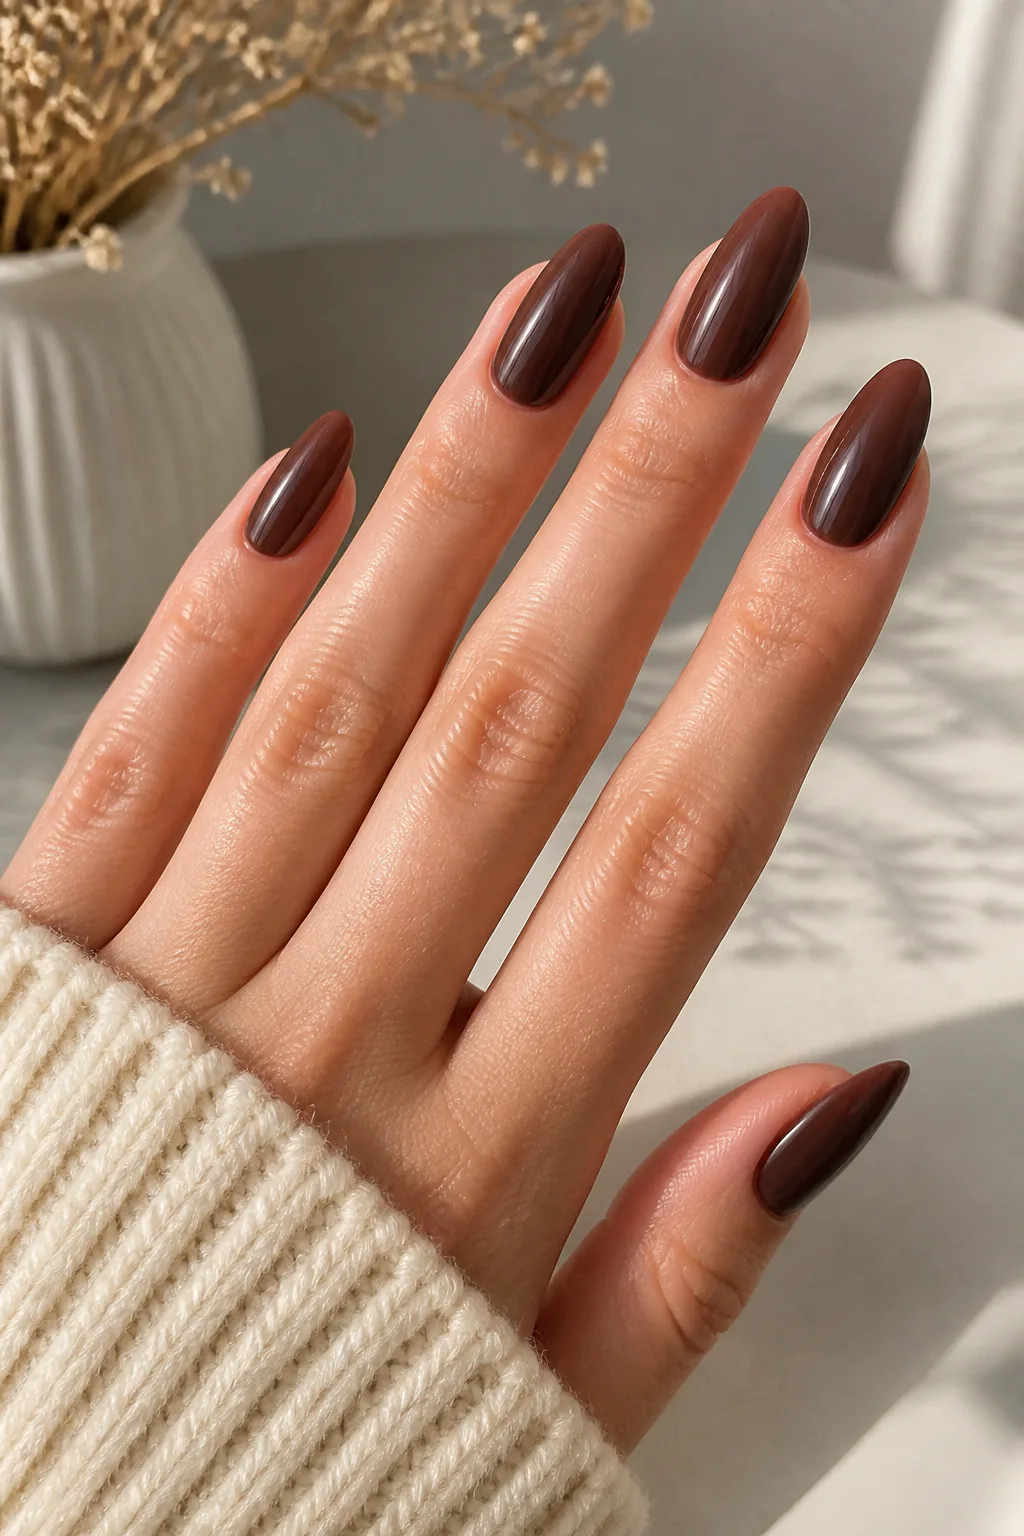
Warm cherry mocha polish and an almond shape make a graceful February combination. The softly tapered silhouette gives the fingers an elongated look, while the deep brown-red color adds cozy richness without relying on sparkle or elaborate nail art.
This manicure suits anyone who likes a dark neutral but wants a hint of color. The shade may read more brown in some lighting and more cherry-toned in others, giving a solid polish extra visual interest on a longer nail shape.
Pairing shape and color
File both sides of each nail gradually toward a rounded point, keeping the tip soft rather than sharply pointed. Apply the polish in thin, even coats and use a glossy top coat to emphasize the smooth almond silhouette.
- Choose a warm brown-red rather than a flat dark brown.
- Keep the almond tip rounded for a softer appearance.
- Use matching lengths across the set for a balanced look.
The result feels elegant and a little moody, making it easy to wear from everyday plans to a dressier evening.
12. Draw Red Swirls over a Nude Base
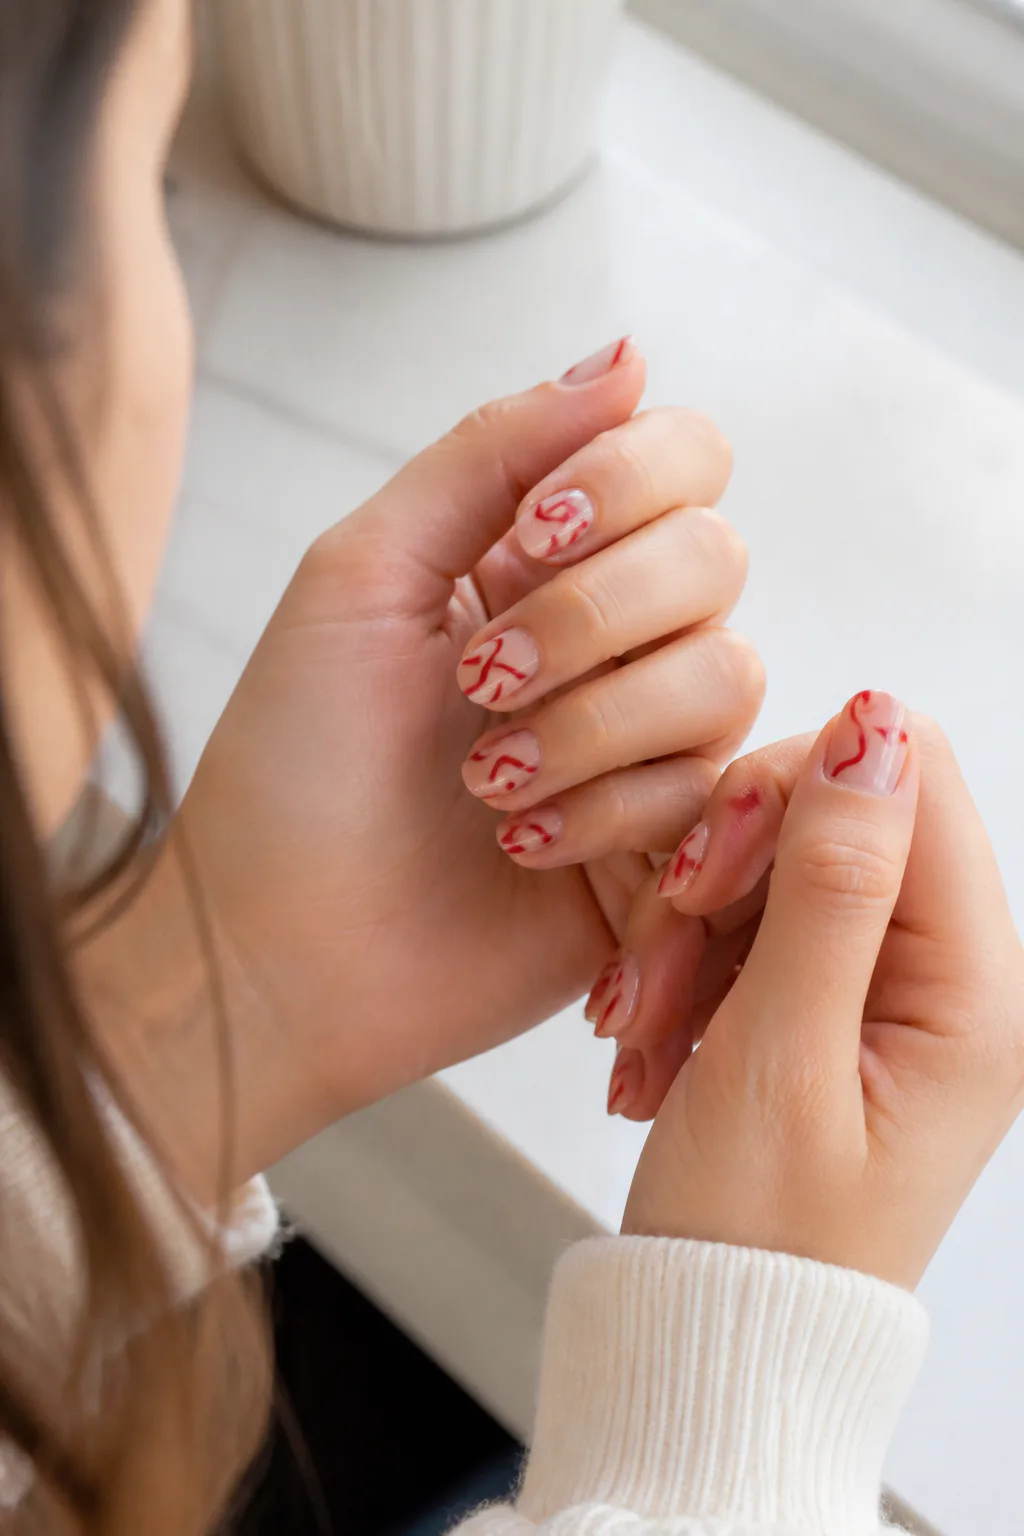
Red swirls over a clear or nude base bring a playful, abstract look to February nails. Because the background stays light, the flowing lines can stand out without covering the whole nail, leaving the manicure airy even when the red is bold.
This design is flexible: a few curves can feel minimal, while layered lines create a more expressive, retro-inspired finish. It can be adapted to short nails with simple strokes or spread across longer nails where there is more space to play with the pattern.
Painting clean curves
Apply a nude or transparent base and let it dry fully before drawing. Use a fine nail-art brush and work slowly, painting one curved line at a time rather than trying to make a complicated pattern in a single stroke. Finish with a clear top coat.
- Use a sheer base so the natural nail remains visible.
- Vary the curve and placement for a loose, abstract effect.
- Keep some nails simpler to give the pattern breathing room.
The red lines add movement while the neutral base keeps the manicure easy to pair with everyday outfits.
13. Layer Pink and White Conversation-Heart Swirls
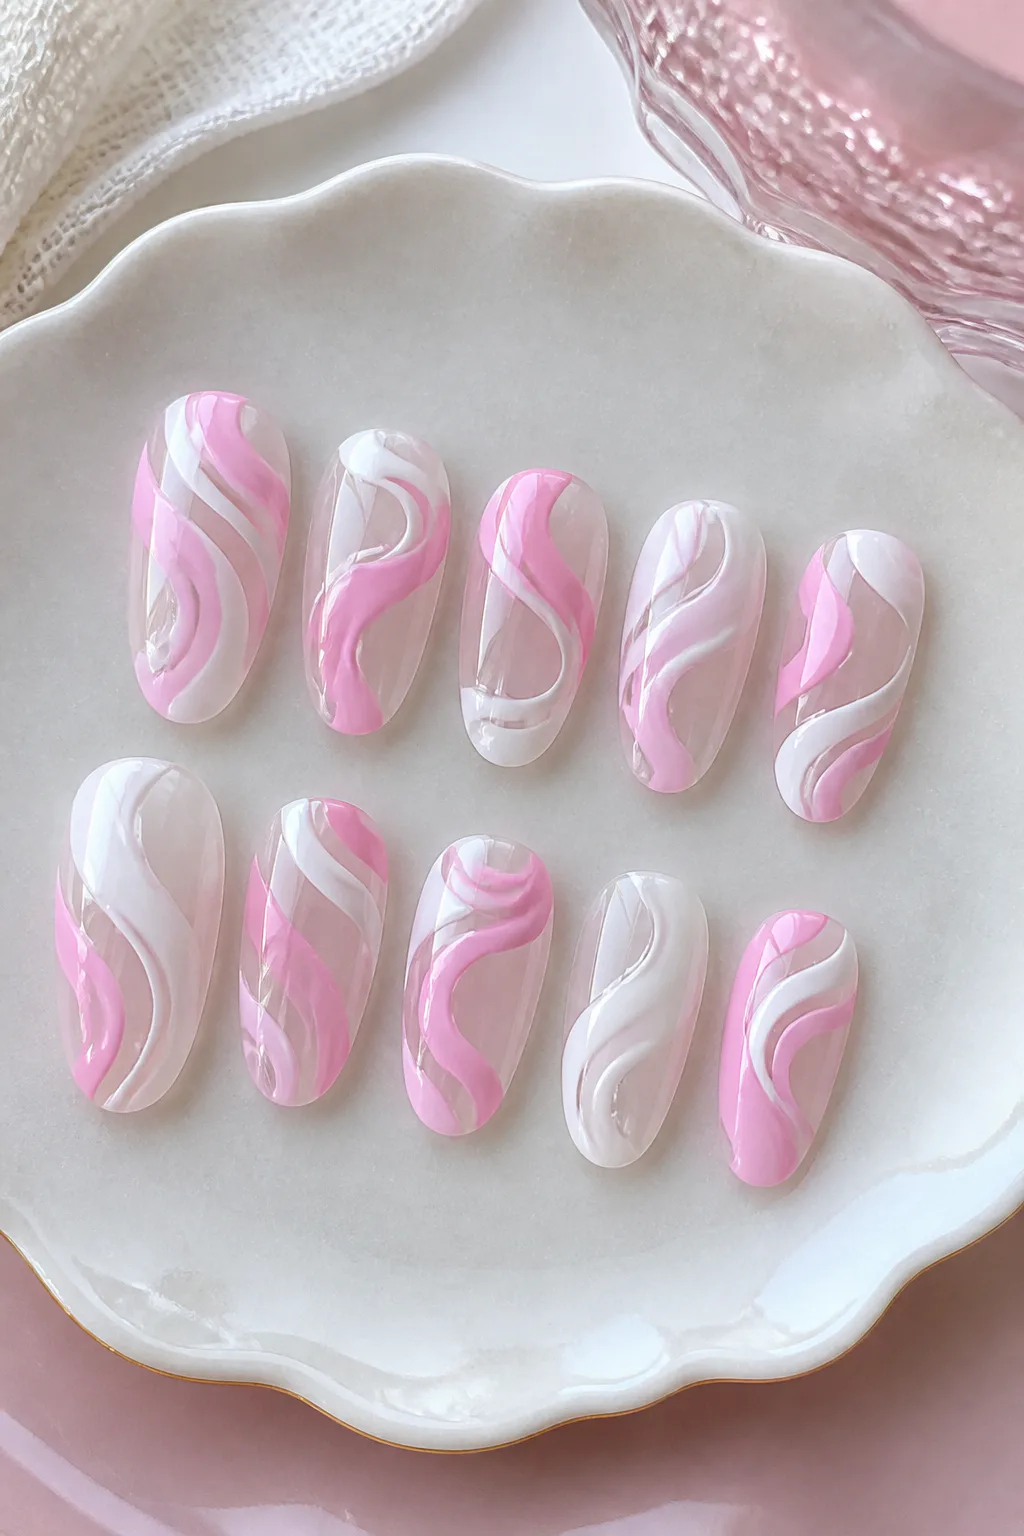
Pink and white swirls over a transparent base create a soft, candy-inspired manicure without copying a traditional heart motif. The colors can flow into one another like liquid, giving the nail art a playful sense of motion and a gentle reference to conversation hearts.
Leaving parts of the nail bare helps the pastel lines feel light rather than overly sweet. This idea is especially effective on nails with enough space for the curves to unfold, but even short nails can carry a simplified pair of sweeping strokes.
Working with two colors
Start with a clear or barely tinted base, then use a fine brush to draw loose pink and white lines. Let the colors sit alongside or cross one another rather than filling the whole nail; a little unevenness suits the fluid, hand-painted style.
- Choose soft pink for a gentle, romantic palette.
- Use white as a bright contrast rather than a full background.
- Leave open space between swirls to keep the design airy.
The finished manicure feels whimsical and seasonal while still being easy to wear beyond Valentine’s Day.
14. Mix Red and Pink Negative-Space Swirls

Negative-space swirls combine red and pink lines with uncovered areas of the nail, creating a lively design that feels lighter than full-coverage nail art. The contrast between the colorful curves and the clear or nude base gives each line room to stand out.
Using two related shades makes the pattern feel cohesive, while their different tones keep it from looking flat. You can make the design bold with broad, looping curves or understated with fine lines that trace just one side of each nail.
Planning the pattern
Begin with a smooth transparent or nude base and decide where you want the open spaces to remain. Paint one color at a time with a fine brush, allowing each line to dry before adding a crossing curve. Finish with a clear top coat to protect the artwork.
- Use red for a strong accent and pink for a softer partner.
- Leave sections of the base visible between the curves.
- Repeat a loose motif across nails without making every pattern identical.
This approach gives you colorful February nail art that still feels breathable and modern.
15. Add Ruby Glitter French Tips
Ruby glitter French tips put a sparkling spin on a familiar manicure. The glitter stays at the ends of the nails, leaving most of the surface sheer or nude, so the effect feels celebratory without turning the entire manicure into a full glitter look.
The design can be delicate or dramatic depending on how wide you make each tip. A narrow glitter edge suits short nails and minimalist tastes, while a deeper, bolder tip gives longer nails more impact.
Shaping the glitter edge
Apply a sheer pink or nude base, then carefully trace the free edge with ruby-red glitter polish. A fine brush helps create a clean curve, and a second thin layer can add more sparkle where needed. Seal the glitter with a smooth top coat.
- Keep the tips thin for a subtle French effect.
- Build the glitter gradually to control the amount of sparkle.
- Follow the natural curve of each nail for a cohesive set.
It is an easy way to make a classic shape feel festive while keeping the base polished and simple.
16. Create Cherry Glitter Ombre Tips
Cherry glitter ombre tips fade sparkling red from the nail’s edge toward a sheer nude base. This gradual transition creates more softness than a sharply defined glitter French tip, while still giving the manicure a bright, eye-catching finish.
The design works well on medium or long nails because the fade has space to develop, but a lighter application can also suit shorter nails. Keeping the base sheer helps the glitter feel intentional rather than dense and makes the red tips the clear focal point.
Blending the sparkle
Apply a nude or sheer pink base, then place cherry-red glitter near the tips. Use a sponge or a light dabbing motion to soften the glitter toward the center of the nail, adding more sparkle at the edge than near the base. Finish with top coat to smooth the surface.
- Concentrate the strongest glitter along the free edge.
- Blend gradually for a soft ombre rather than a hard line.
- Choose a sheer base to keep the overall look light.
The finished fade gives you the sparkle of a statement manicure with a graceful, wearable transition.
Final Thoughts
February nails can be romantic, moody, glossy, or softly pastel, and they do not need to be reserved for Valentine’s Day. Ruby and cherry shades bring warmth, espresso and cherry mocha offer a cozy neutral option, and lavender makes an easy shift toward spring.
Choose the idea that suits your usual nail length, comfort level, and appetite for detail. A solid color or tiny accent is a lovely place to start, while magnetic finishes, swirls, and glitter tips offer room to play when you want a manicure with more personality.