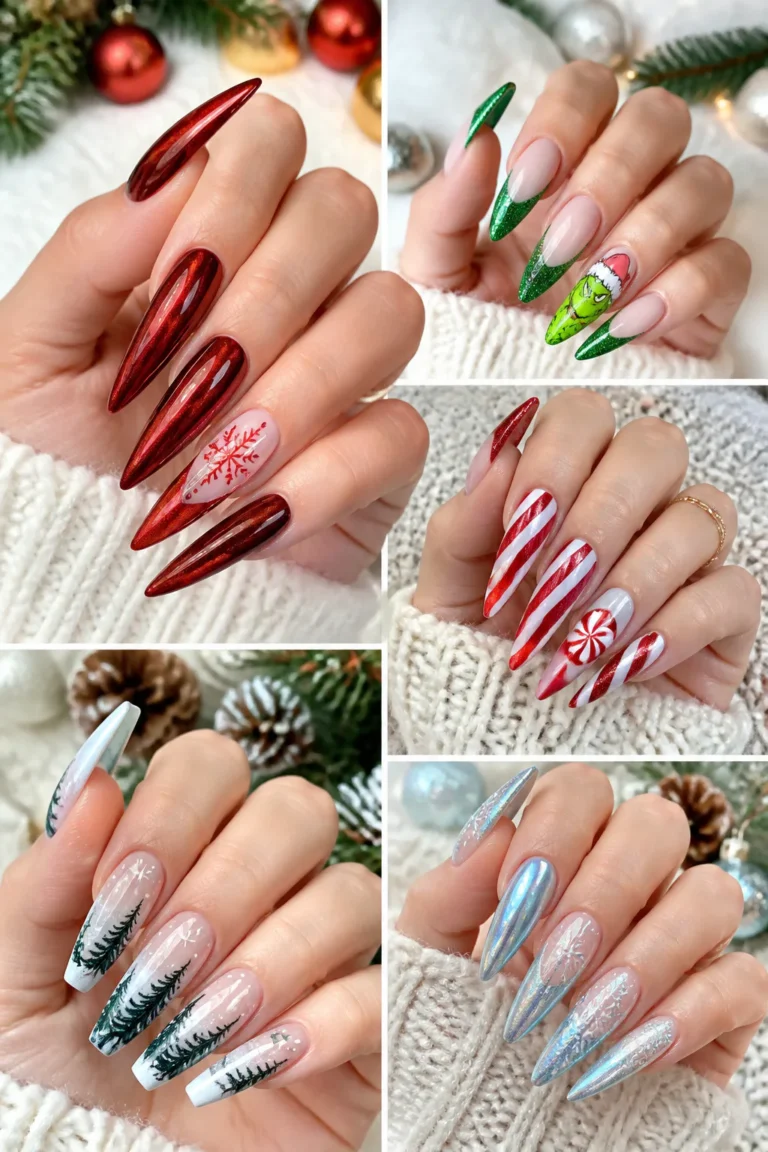
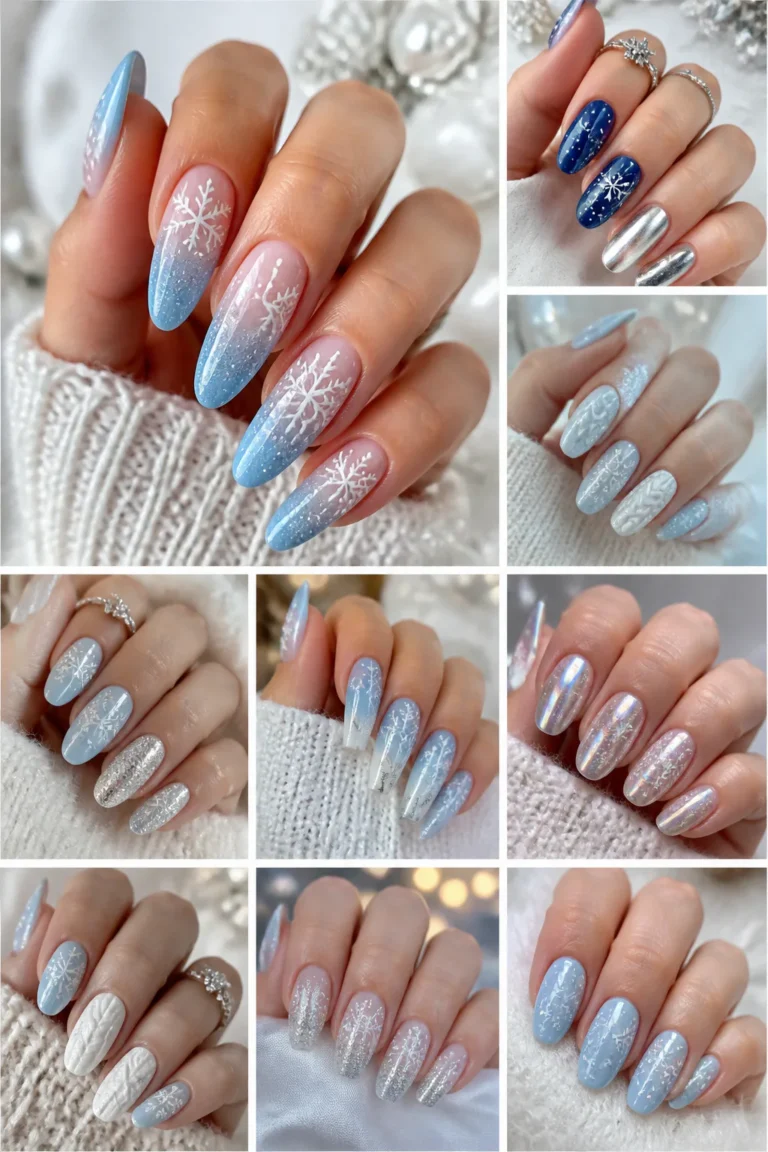
15 Stunning Candy Cane Nails Ideas for a Festive Holiday Manicure
Candy cane nails bring the familiar colors and stripes of the holidays to a manicure, but there’s plenty of room to make the look your own. From a classic diagonal pattern to delicate micro-stripes, these ideas range from subtle enough for everyday wear to dressed-up designs for a festive gathering.
Think about how much detail you want, what nail shape you prefer, and whether you’ll use regular polish, gel, or press-ons. A simple stripe can be painted freehand, while tiny details and raised accents may be easier with a fine brush or help from a nail professional.
Here are 15 ways to wear candy cane nails, with practical ideas for adapting each design to your manicure. Use them as inspiration for every nail or choose one or two accent fingers for a more understated holiday look.
Quick Answer
Candy cane nails use red-and-white (or pink-and-white) diagonal stripes inspired by the classic holiday sweet. For an easy start, try classic stripes or candy cane French tips; for a subtle look, choose micro-stripes or negative space; for a dressier set, add glitter, chrome glaze, rhinestones or a small bow.
1. Classic Red and White Candy Cane Stripes

Best for: Classic holiday look on any length
Skill level: Beginner (tape helps)
For the unmistakable candy cane look, paint diagonal red and white stripes across each nail. A sheer white or nude base lets the pattern feel light and polished, while an opaque white base gives the colors a brighter, more graphic contrast.
This design suits short and long nails alike, though wider nail beds can make the stripes especially easy to see. Keep the stripe spacing consistent for a neat finish, or vary the widths slightly for a more playful, hand-painted effect.
How to pull it off
Let the base coat dry thoroughly before adding the stripes so your brush does not drag the color underneath. A striping brush gives you control, but narrow nail-art tape can help create crisp lines if freehand painting feels tricky.
- Choose a glossy topcoat to make the red and white pop.
- Angle the stripes in the same direction across each hand for a coordinated look.
- Try the pattern on one or two accent nails if you prefer a quieter manicure.
The classic version is an easy starting point, and you can add extra details later without losing its cheerful holiday feel.
Video: @nailsbycodiex on Instagram. Shade shown: NBC Red Dude (Naughty or Nice).
2. Candy Cane French Tip Nails

Best for: Subtle festive detail on oval, almond or square nails
Skill level: Intermediate
Candy cane French tips bring holiday color to the ends of the nails while leaving most of the base simple. Instead of a solid French line, decorate the tip with diagonal red-and-white stripes over a nude or crisp white base.
The design works especially well on oval, almond, or square nails, where the tip has enough room to show the pattern. It also offers a balanced option if you like festive nail art but do not want stripes covering the full nail.
Design tips
Keep the base thin and even, then map out the tip shape before painting the stripes. A soft curved guide can help the finished edge follow the natural nail, while a clean-up brush dipped in polish remover sharpens the smile line.
- Use a sheer nude base for a delicate, salon-style finish.
- Choose a white base when you want the striped tips to look brighter.
- Keep the stripe direction consistent across all five fingers.
- Make the tips narrow for a subtle look or deeper for a bolder pattern.
A candy cane French manicure pairs well with simple rings and seasonal outfits because the detail stays concentrated at the tips.
Video: @daisymae.beauty on Instagram. Shade shown: ‘Night at the Opera’.
3. Peppermint Swirl Accent Nails
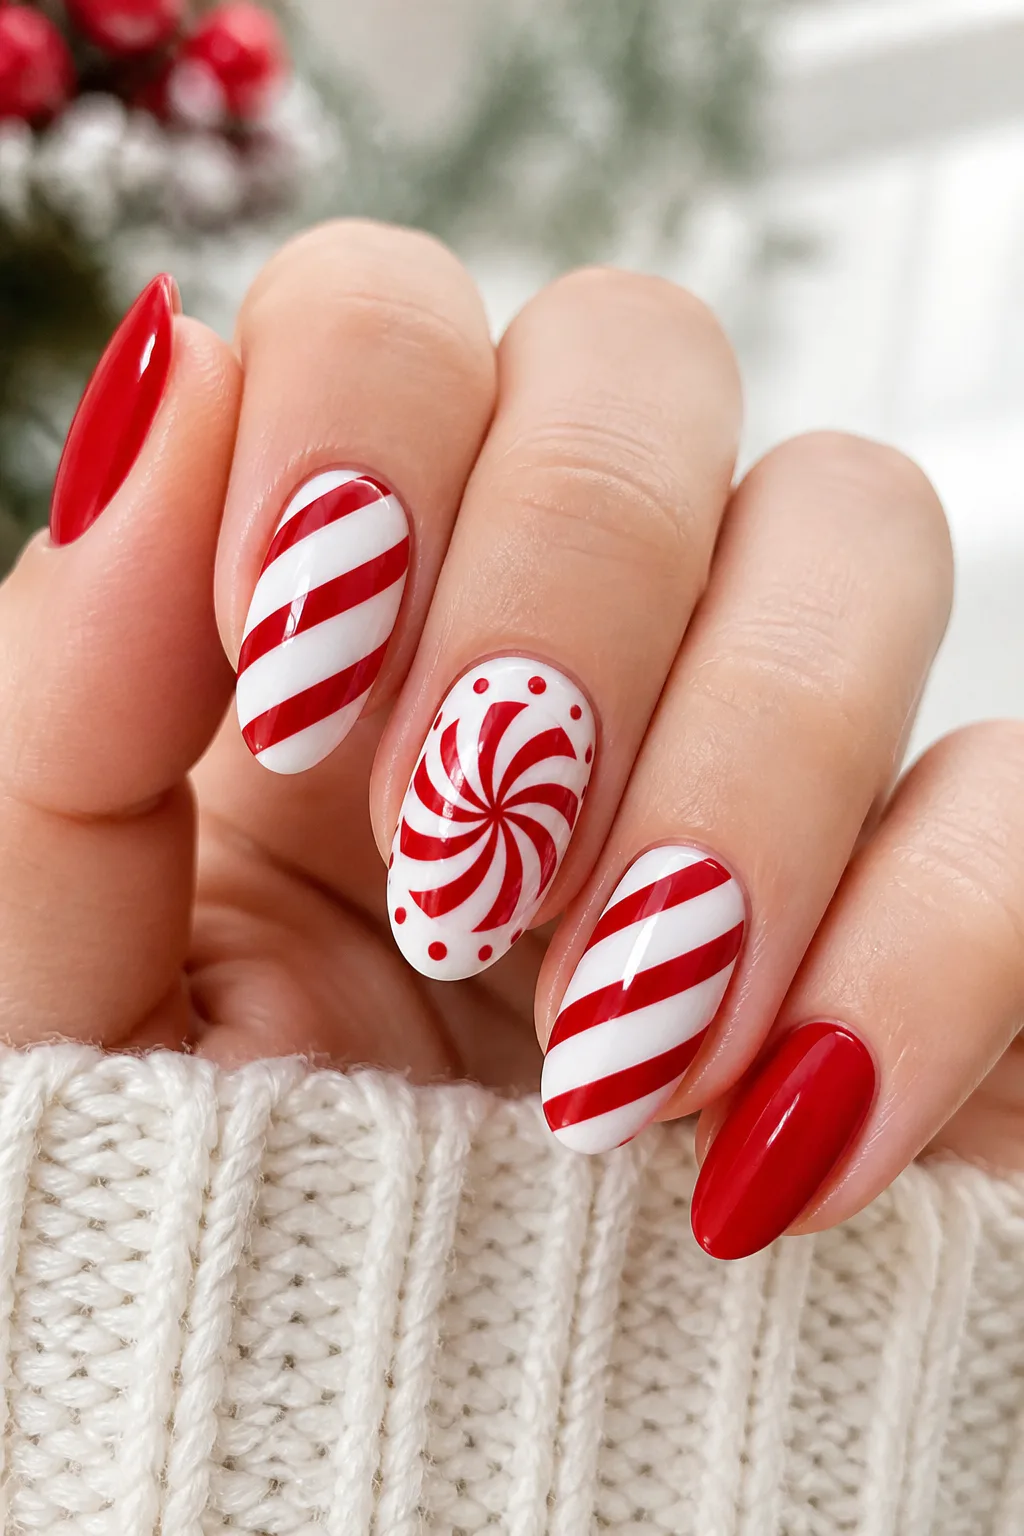
Best for: Playful accent nails
Skill level: Intermediate
Peppermint swirls turn one or two nails into tiny candy-inspired focal points. Paint a bold red spiral on a white accent nail, then echo the same colors with stripes on the surrounding fingers for a coordinated manicure.
This combination gives you more variety than repeating one pattern across every nail. It can suit both short and long nails; on a smaller nail, simplify the swirl into a few curved bands so the design remains clear rather than crowded.
Make the accent stand out
Start the swirl near the center of a fully dry white base and work outward with a fine nail-art brush. If drawing a continuous spiral feels difficult, use separate curved strokes and leave slim white spaces between them to suggest the familiar peppermint pattern.
- Limit the swirl to one accent nail per hand for a balanced effect.
- Pair it with classic diagonal stripes on the middle or ring fingers.
- Use a dotting tool to add small red details around the swirl.
- Finish with a smooth topcoat to protect the fine lines.
The swirl adds a playful focal point while the simpler striped nails keep the overall design cohesive.
Video: @nailsxmina on Instagram. Style shown: white peppermint swirl on a sparkly red base.
4. Glitter-Infused Candy Cane Stripes

Best for: Holiday parties
Skill level: Beginner–Intermediate
Glitter gives candy cane stripes a party-ready finish without changing the familiar red-and-white palette. Apply red stripes over a silver or gold glitter base, or reserve the sparkle for one or two nails and keep the rest of the manicure classic.
Silver creates a cool, icy look that pairs naturally with bright white polish. Gold adds warmth and can make the design feel more dressed up, especially when used as a fine shimmer rather than a chunky layer that competes with the stripes.
Keep the sparkle balanced
Use a smooth glitter polish or a fine glitter layer beneath the stripes so the design does not become too textured. Allow each layer to dry before painting over it, and seal the finished manicure well to help the surface feel even.
- Choose silver glitter for a frosty holiday effect.
- Try gold glitter with deeper or warmer reds.
- Place glitter on accent nails if full sparkle feels like too much.
- Use a glossy topcoat to bring out the reflective finish.
The sparkle adds celebration, while the stripes keep the look recognizably candy cane-inspired.
Video: @hannahroxit on Instagram. Shades shown: DND 776 Ice Ice Baby, 2531 Petal Power and 757 Chili Pepper.
5. Matte Velvet Candy Cane Nails

Best for: Soft, modern finish
Skill level: Beginner
A matte topcoat gives traditional candy cane stripes a soft, modern finish. The red and white pattern remains recognizable, but the reduced shine makes the manicure feel more understated and a little different from the usual glossy holiday nail.
This finish works on full stripes, French tips, or a mix of patterns. It can look especially striking on a simple white base, where the texture change becomes part of the design rather than competing with glitter or extra embellishments.
Get an even matte finish
Paint the stripes as usual and let the color dry completely before applying matte topcoat. A thin, even layer helps prevent patchiness; if your polish is still tacky, the finish may look uneven or the brush may pull at the design.
- Use a glossy base coat to protect the natural nail.
- Keep the color palette simple so the soft finish stays noticeable.
- Try a glossy accent nail for a subtle contrast in texture.
- Apply topcoat carefully to the free edge to help seal the design.
Matte candy cane nails are a lovely choice when you want holiday color with a softer, less reflective look.
6. Pastel Pink Candy Cane Nails

Best for: A sweet pastel twist
Skill level: Beginner
Swap the traditional red for soft pink to give candy cane nails a sweet, pastel twist. Pink-and-white stripes keep the familiar diagonal pattern while making the manicure feel lighter and a little more playful.
Choose a pale blush for a delicate effect or a brighter bubblegum shade when you want more contrast. This design works across the whole manicure, but it can also be mixed with white or sheer pink nails for an especially gentle holiday palette.
Choose the right pink
Consider your base color and the amount of contrast you want before painting. A milky white base helps pale pink stripes remain visible, while a deeper pink stands out against a nude or translucent base. Keep the lines clean to make the pastel colors read clearly.
- Pair blush stripes with a sheer nude base for a subtle look.
- Use a brighter pink for a more graphic candy-inspired pattern.
- Add one classic red accent nail if you want a touch of tradition.
- Finish with gloss to give the pastel colors a fresh appearance.
Pink stripes offer a cheerful alternative for anyone who enjoys the motif but wants a softer departure from classic red.
7. Mixed Candy Cane Nail Patterns

Best for: Custom, mix-and-match sets
Skill level: Intermediate
Mixing patterns lets each finger contribute a different detail while keeping the manicure within one festive color story. Combine solid red nails, striped accents, peppermint swirls, and small polka dots for a look that feels playful rather than repetitive.
The key is to give the patterns a shared element, such as the same red and white shades or a consistent glossy finish. On shorter nails, use fewer details so each design has room to show; longer nails can accommodate more elaborate accents.
Plan the pattern mix
Choose the design for each finger before you start painting. A simple arrangement, such as one solid nail, two striped nails, one swirl, and one dotted nail, creates variety without making the set feel random.
- Repeat red and white across every nail for cohesion.
- Reserve the most detailed art for one or two accent fingers.
- Use polka dots to fill the visual gap between bolder patterns.
- Keep the solid red nails glossy and free of extra decoration.
A thoughtful pattern mix makes the manicure feel custom while still reading as one coordinated holiday design.
8. Delicate Micro-Stripe Candy Cane Nails
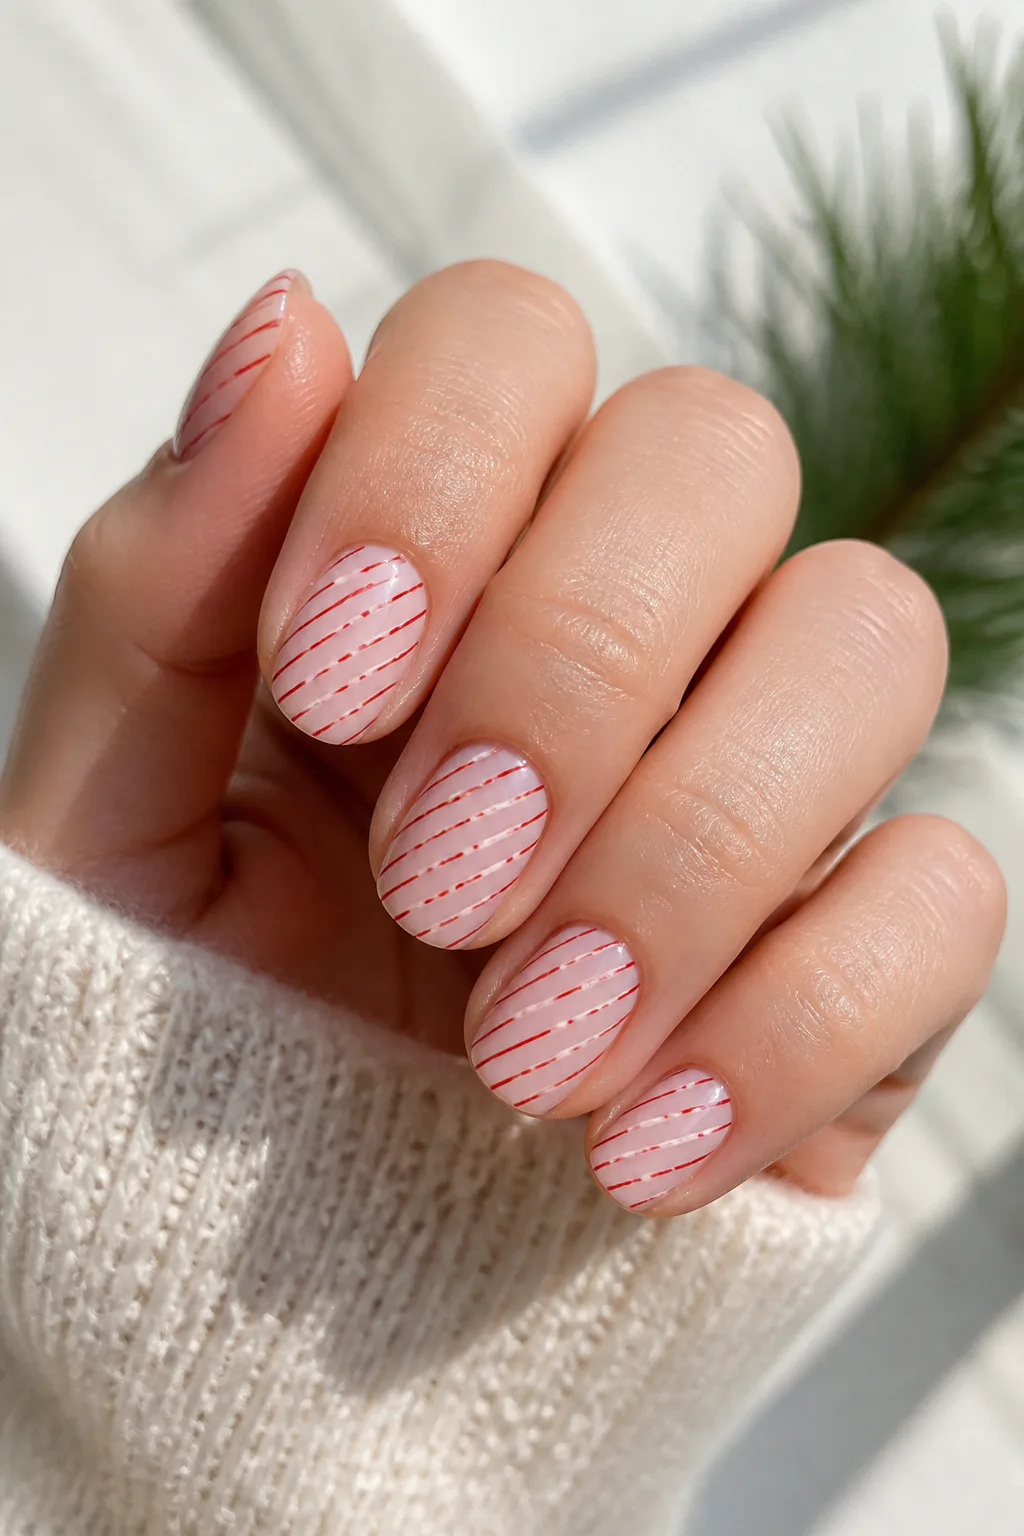
Best for: Short nails and minimal style
Skill level: Intermediate (fine brush)
Micro-stripes offer a more understated take on candy cane nails. Fine red diagonal lines over a milky white or translucent base create a delicate pattern that shows the holiday inspiration without filling the nail with bold blocks of color.
This look is especially suited to short nails or anyone who prefers minimal nail art. The narrow lines can also flatter longer shapes when spaced evenly, leaving enough open base color to keep the finished design light and airy.
Keep the lines fine and tidy
Use a thin striping brush and a small amount of polish to keep each line controlled. Work slowly over a completely dry base, and avoid adding too many stripes; a little open space helps the design feel intentional rather than crowded.
- Choose a sheer base for a barely-there effect.
- Use opaque milky white when you want more contrast.
- Keep stripe spacing similar from nail to nail.
- Try micro-stripes on every nail or use them as accents.
The finer pattern is an easy way to wear seasonal nail art in a more subtle, polished style.
9. Snow-Capped Candy Cane French Tips
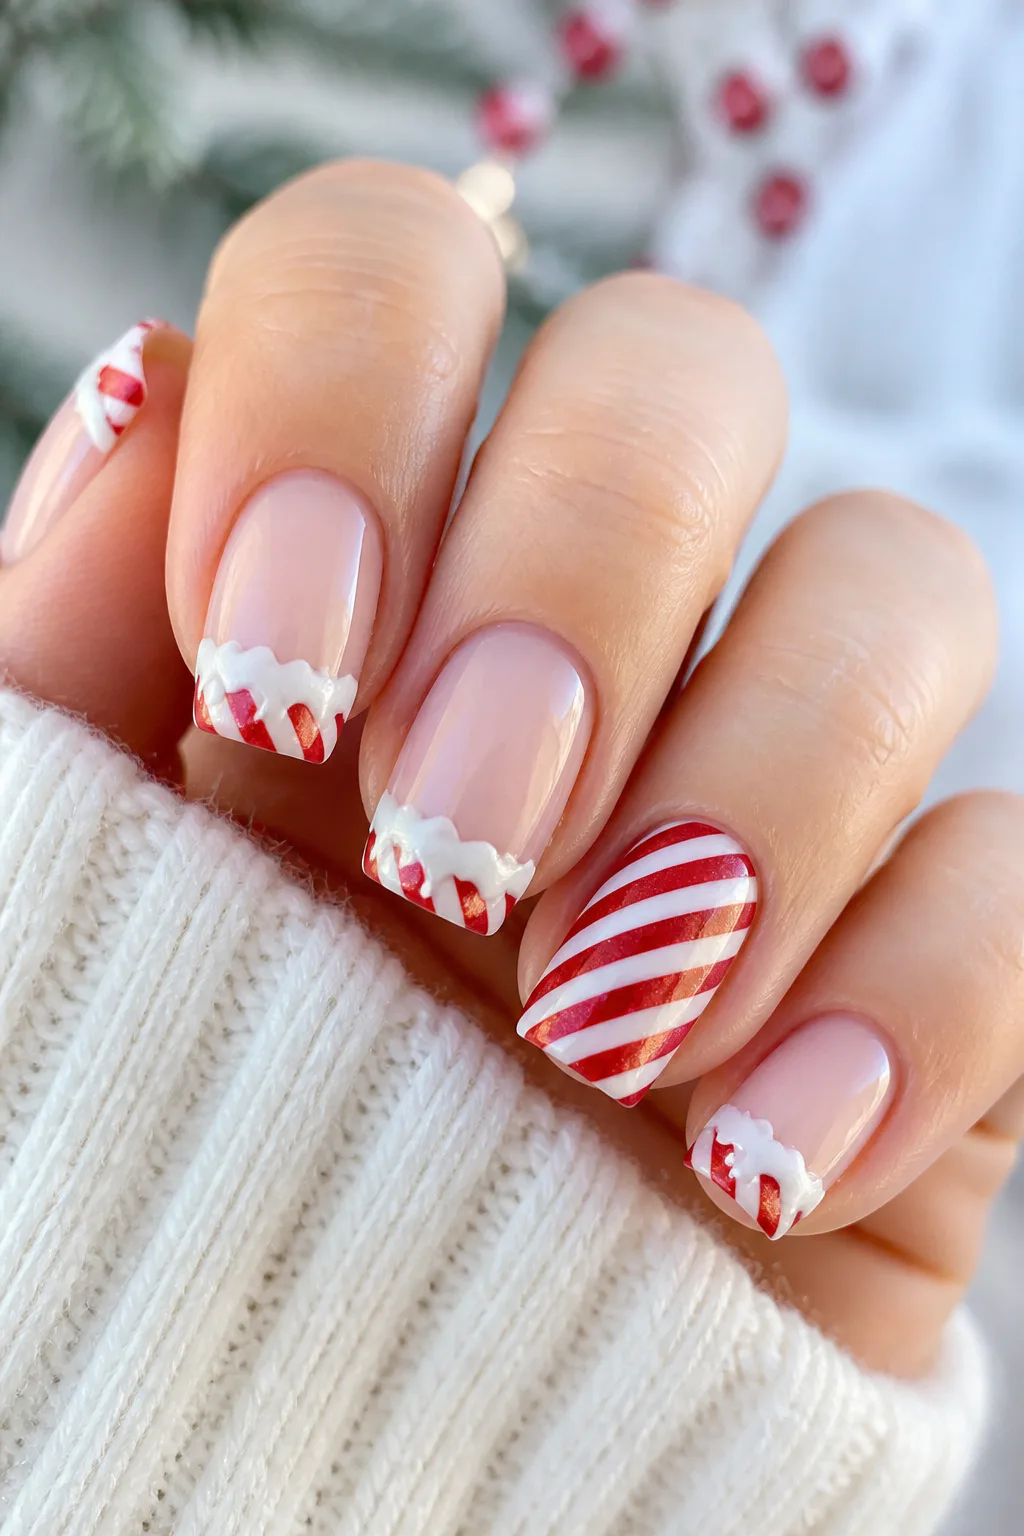
Best for: Winter-themed French tips
Skill level: Intermediate–Advanced
Snow-capped candy cane French tips combine striped detail with a snowy white finish along the free edge. The rest of the nail can stay nude or sheer, while one or two accent nails carry the fuller candy cane stripe pattern.
A soft drip shape or raised white gel can suggest snow resting on the tips. Keep the snowy detail restrained so it frames the manicure instead of covering the stripes, particularly if you are working with shorter nails or a narrow tip.
Add the snowy finish
Paint and cure or dry the base design first, then add the white cap with a fine brush. For raised gel details, follow the product’s curing instructions and keep the shape low enough to feel comfortable in everyday wear.
- Use a nude base to make the snow detail stand out.
- Pair snowy French tips with one candy cane accent nail.
- Vary the drip edges slightly for a natural-looking finish.
- Keep raised details small and smooth around the edges.
The combination brings together two familiar winter motifs in a manicure that feels festive but still carefully balanced.
10. Rhinestone Candy Cane Nail Accents

Best for: Occasion-ready sparkle
Skill level: Intermediate
Tiny rhinestones or pearls can dress up classic candy cane stripes without changing the main design. Place a small accent near the nail bed, where it catches the light but leaves the diagonal pattern easy to see.
This detail works nicely on one or two nails, especially when the rest of the manicure stays simple. A pearl gives a softer, more delicate effect, while a clear rhinestone adds a little extra sparkle against a white base or red stripe.
Place embellishments securely
Apply gems only after the polish is dry, using a small amount of nail adhesive or the appropriate gel product. Position each accent with a tool, then seal around it without covering its reflective surface if you want to preserve the shine.
- Choose small stones that suit the available nail space.
- Place embellishments near the cuticle or beside a stripe.
- Use a single accent per nail to avoid a crowded finish.
- Keep the remaining nails simple to balance the sparkle.
A few carefully placed details can make a familiar candy cane manicure feel occasion-ready without overwhelming it.
Video: @lissettesgelnails on Instagram. Style shown: red-and-white striped candy canes with rhinestone bling.
11. Holographic Candy Cane Stripes

Best for: Eye-catching reflective shine
Skill level: Intermediate
Holographic or chrome red polish gives candy cane stripes a reflective, futuristic twist. The shape of the pattern stays classic, but the changing shimmer adds dimension as the nails catch the light.
Pair the reflective red with a clean white base to keep the stripes readable. If every nail feels too bold, use holographic color on just one or two accent nails and paint the remaining stripes in a traditional red shade.
Make the effect easy to see
Choose a base and finish that allow the reflective color to show clearly. Apply narrow, controlled stripes and avoid layering on extra glitter, since the holographic polish already brings plenty of shine and visual movement.
- Use bright white as a crisp background for the reflective red.
- Try a sheer base for a lighter, less graphic version.
- Keep other nail art minimal so the shimmer remains the focus.
- Seal the design with a compatible topcoat for a smooth finish.
This version is ideal when you want a traditional holiday motif with a more contemporary, eye-catching finish.
12. Cable-Knit and Candy Cane Nails

Best for: Cozy sweater-weather sets
Skill level: Advanced (raised gel)
Pair candy cane stripes with raised white cable-knit patterns for a manicure inspired by cozy winter sweaters. One or two nails can carry the red-and-white stripes, while the remaining fingers feature textured knit lines over a pale base.
The contrast between smooth stripes and raised details makes the design feel layered and seasonal. It is especially effective on longer nails, where there is room for the knit pattern, but simplified cable lines can work on shorter nails too.
Balance the textures
Keep the palette focused on white, red, and perhaps a soft nude base. Raised gel requires careful application and curing, so follow the product directions and avoid building the pattern so high that it catches on clothing.
- Use one or two striped nails as the main color accents.
- Keep cable-knit art white or ivory for a sweater-like look.
- Repeat a simple knit motif rather than crowding each nail.
- Ask a nail professional for raised details if you are new to gel art.
The mix of cozy texture and crisp stripes makes this manicure feel especially suited to chilly-season outfits.
13. Chrome Glazed Candy Cane Nails

Best for: A soft pearly glow
Skill level: Intermediate
A sheer pearlescent chrome finish gives red-and-white stripes a soft, glowing sheen. Unlike a bold metallic stripe, the glazed effect sits over the design and adds a luminous layer while allowing the candy cane pattern to remain visible.
This look can soften a high-contrast manicure or make a simple striped accent feel more special. It pairs well with a milky white base, though a sheer nude background can create a more subtle, barely-there glow.
Layer for a glazed finish
Apply the stripes neatly and let the base layers dry or cure as required before adding the chrome effect. Use a light touch so the shimmer enhances the design rather than obscuring the edges between red and white.
- Choose a pearlescent powder or topcoat for a delicate sheen.
- Keep the red stripes crisp beneath the translucent glow.
- Try the glazed effect on accent nails if you prefer less shine.
- Follow the product instructions for applying and sealing chrome.
The pearly finish brings a polished, ethereal quality to the candy cane palette without adding a new pattern.
14. Candy Cane Nails with Bows

Best for: Sweet gift-wrap detail
Skill level: Intermediate
A delicate bow adds a sweet finishing detail to classic candy cane stripes. Keep the stripes on most nails and place a small red bow on an accent nail, or choose a white base so the ribbon detail stands apart from the surrounding design.
Three-dimensional gel bows create texture, while a painted ribbon offers a flatter, more practical alternative. Either option can look festive, but scale matters: a compact bow is less likely to crowd a short nail or compete with the stripes.
Choose a bow that suits your nails
Decide whether you want a raised accent or a simple painted motif before beginning. For a 3D detail, keep the shape smooth and secure; for a painted bow, use a fine brush to make two loops and a small center knot.
- Place the bow on one accent nail for a balanced design.
- Use red for a traditional look or white for a softer detail.
- Keep nearby nails simple so the bow remains the focal point.
- Choose a low-profile embellishment for comfortable daily wear.
The bow adds a ribbon-like holiday touch while the candy cane stripes keep the manicure connected to the season.
15. Negative-Space Candy Cane Nails

Best for: Graphic, airy minimalism
Skill level: Intermediate
Negative-space candy cane nails leave part of the natural nail visible beside a crisp striped section. A diagonal division across the nail creates a clean, modern look that feels lighter than covering every surface with polish.
This design suits anyone who likes graphic nail art but wants some breathing room in the manicure. It can be adapted to short or long nails, though a sheer base and a clear division line help the open space look intentional rather than unfinished.
Create a clean split
Mark the diagonal boundary before painting, using tape or a steady brush to keep the edge sharp. Add red-and-white stripes to one side and leave the other bare or cover it with a clear protective coat for a neat, polished finish.
- Use a sheer base that blends naturally with your nail tone.
- Keep the striped section narrow for a minimalist effect.
- Make the stripes wider if you want a bolder graphic contrast.
- Seal the design carefully while preserving the open-space look.
The open area gives the familiar candy cane pattern a fresh, contemporary shape.
Frequently Asked Questions
How do you get straight candy cane stripes?
Let the base dry completely, then use a thin striping brush or narrow nail-art tape. Keep the stripes angled in the same direction on every nail and seal with a glossy topcoat.
Do candy cane nails work on short nails?
Yes. Micro-stripes, candy cane French tips and negative-space designs suit short nails because the pattern stays fine and uncluttered.
What colors can I use besides red and white?
Pastel pink and white is a popular soft alternative, and holographic or chrome red adds a modern shine while keeping the classic pattern recognizable.
Can I do candy cane nails at home?
Classic stripes, French tips and micro-stripes are doable at home with a striping brush or tape. Raised cable-knit or snow details are easier with help from a nail professional.
Final Thoughts
Candy cane nails can be as classic or creative as you like, from crisp red-and-white stripes to pastel colors, chrome finishes, and cozy textured accents. The easiest way to find a design that feels right is to choose one main idea and decide how much detail you want across the full set.
If you prefer a subtle manicure, try micro-stripes, French tips, or a single peppermint accent. For a more festive look, combine patterns or add a little glitter, a bow, or a snow-inspired finish. Save the ideas you like and adapt the colors, shape, and details to make the manicure your own.